How to Export a Workflow as an Image and Run It as a Service?

Have you ever considered running your Workflow on a server accessible to everyone, sharing your work with others, or running your Workflow as a background service for easy invocation at any time?
Now you can achieve this with OOMOL Studio. In this article, I will detail how to export a Workflow as an image and run it in the background. I will implement a Workflow that translates a PDF and converts it to an EPUB e-book, allowing me to read literature from foreign authors on my mobile device without language barriers.
You can download the specific Workflow implementation from translate-pdf-to-epub. You can follow this article to run the Workflow as a service on any computer or cloud platform you want.
To read this article, you need basic knowledge of image containers.
Workflow Development
If you already have a completed Workflow, you can skip to Export Image
The functionality can be broken down into the following steps:
- Convert a PDF file to an EPUB file.
- Translate the converted EPUB file.
- Save the translated EPUB file to a specified location.
The process is simple, and we will use existing Blocks from the OOMOL community.
First, we create a project called translate-pdf-to-epub, then install the following Packages from the store:
pdf-craft
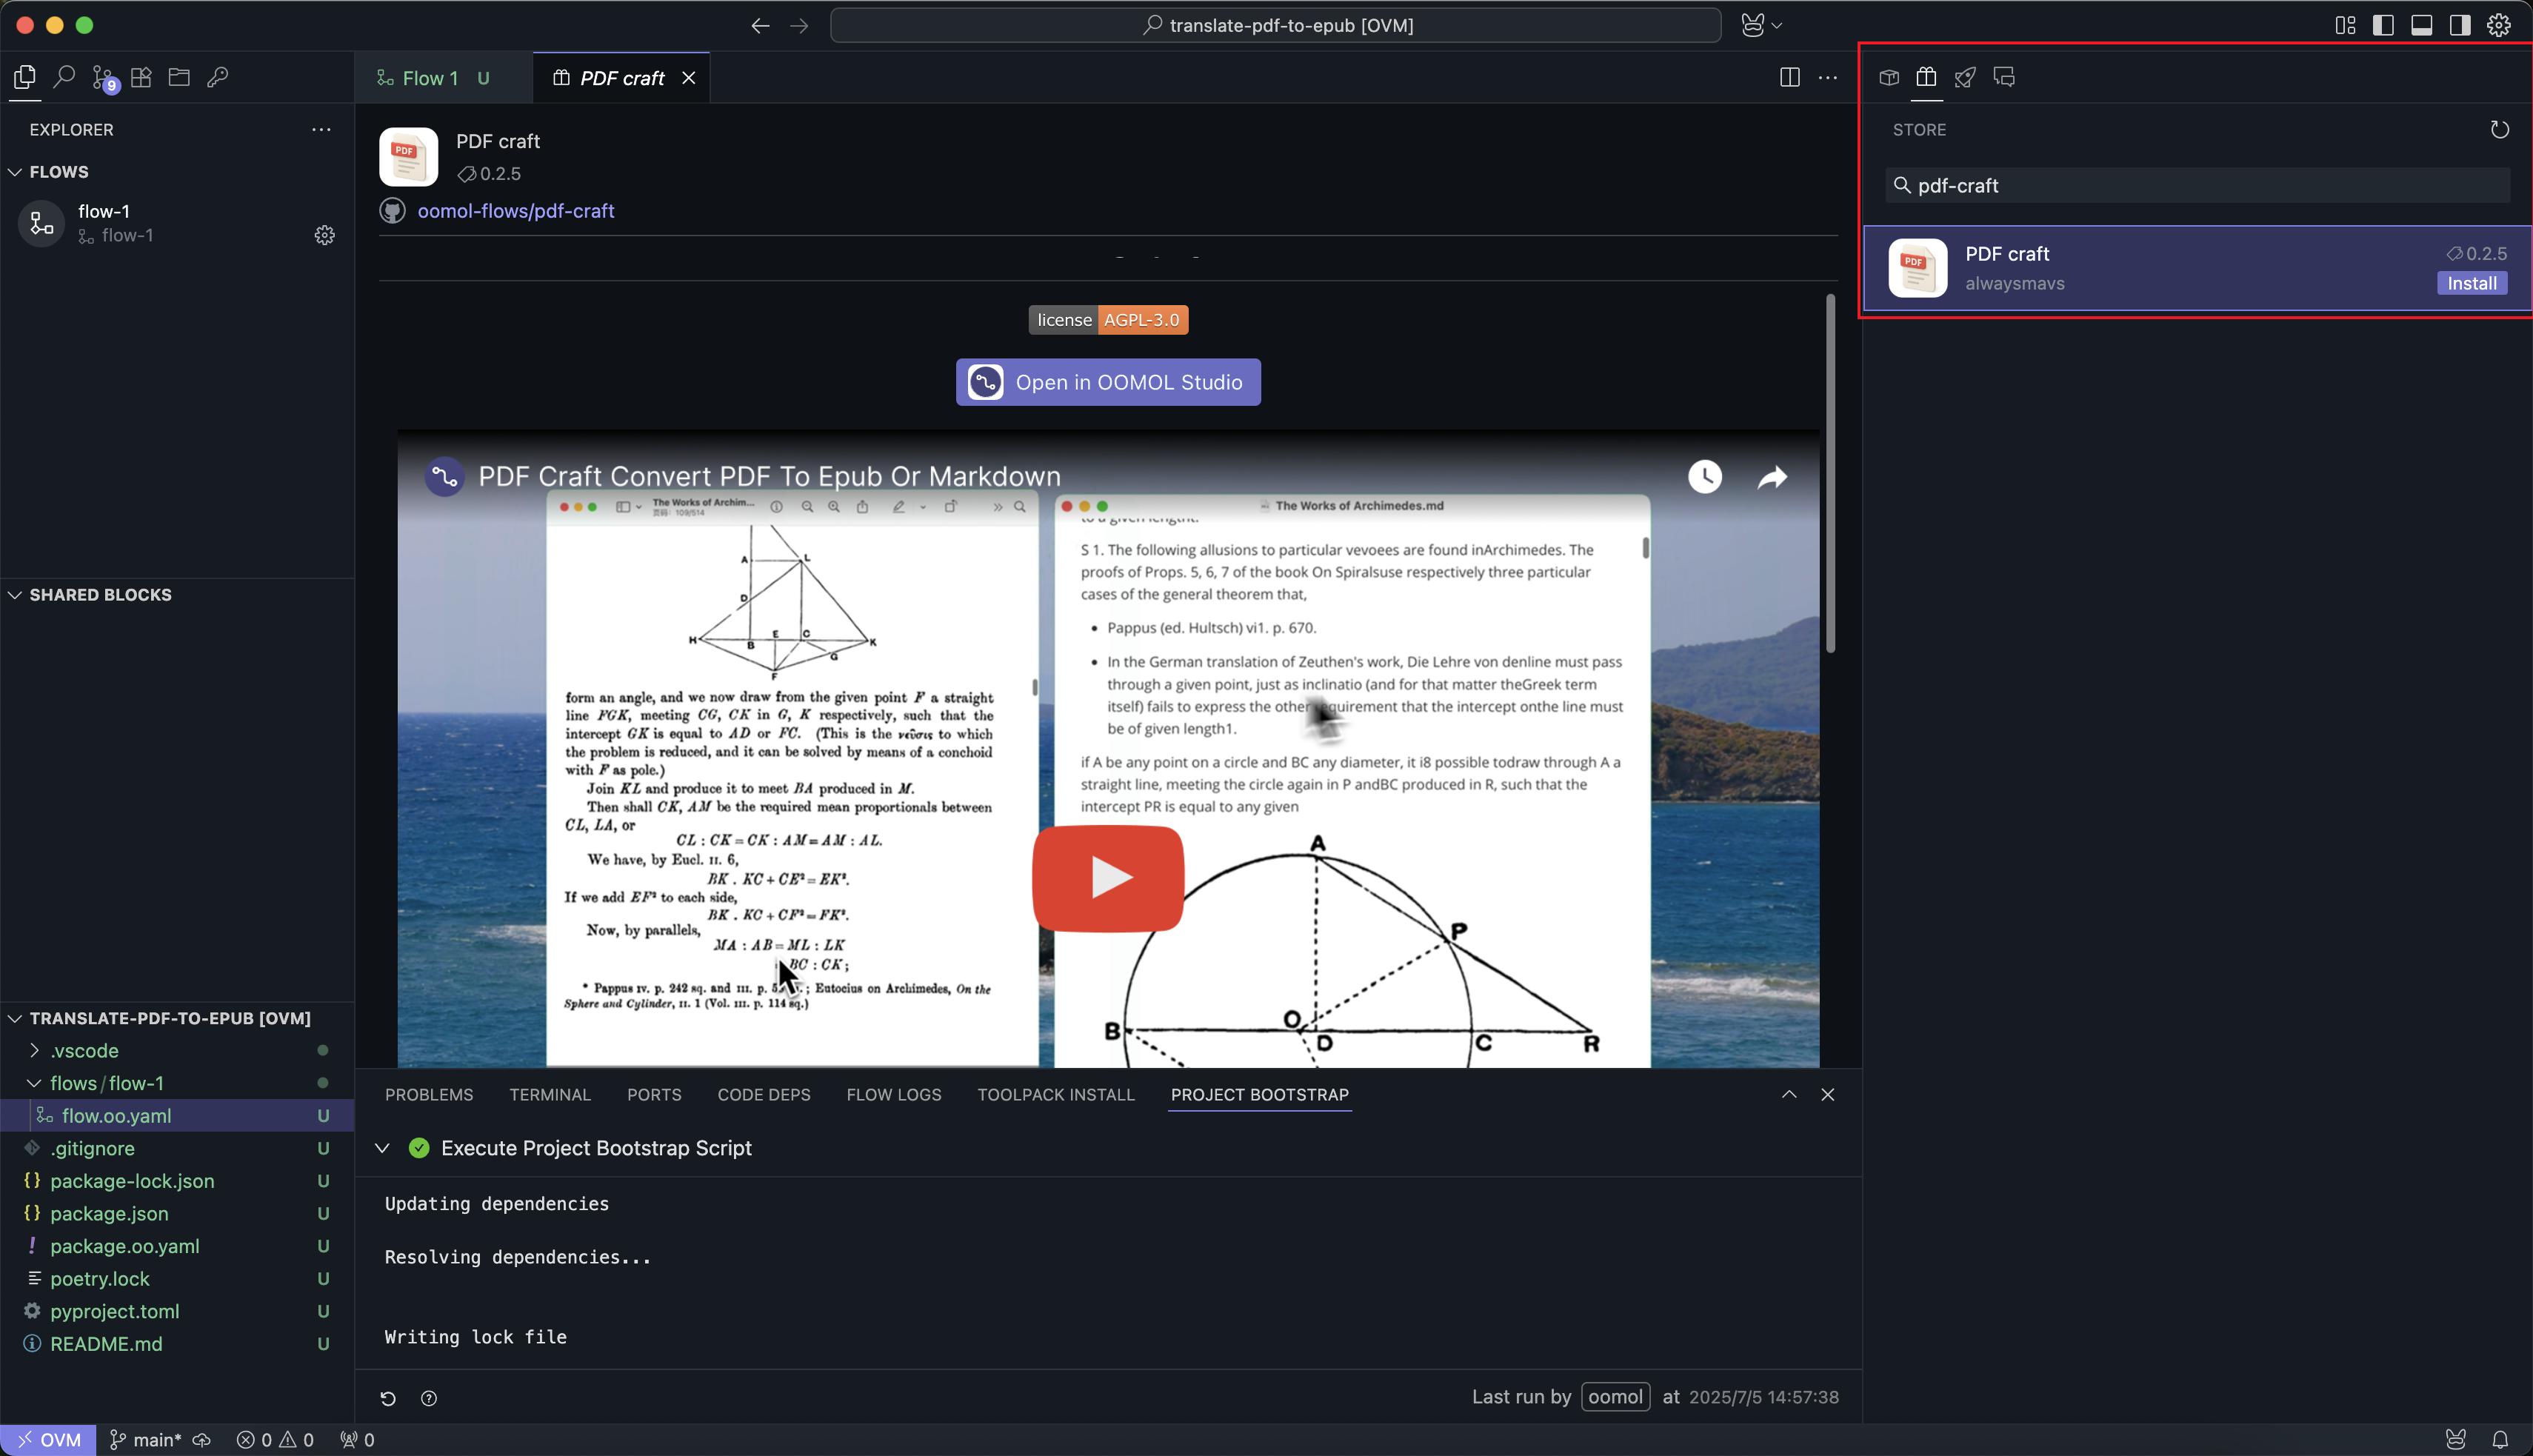
pdf-craft can convert PDF files to EPUB files
books-translator
books-translator can translate EPUB files
Then, we use the Analys PDF and Genrate EPUB Blocks from the pdf-craft Package, and the Translate epub book Block from the books-translator Package, chaining them together to form the Workflow.
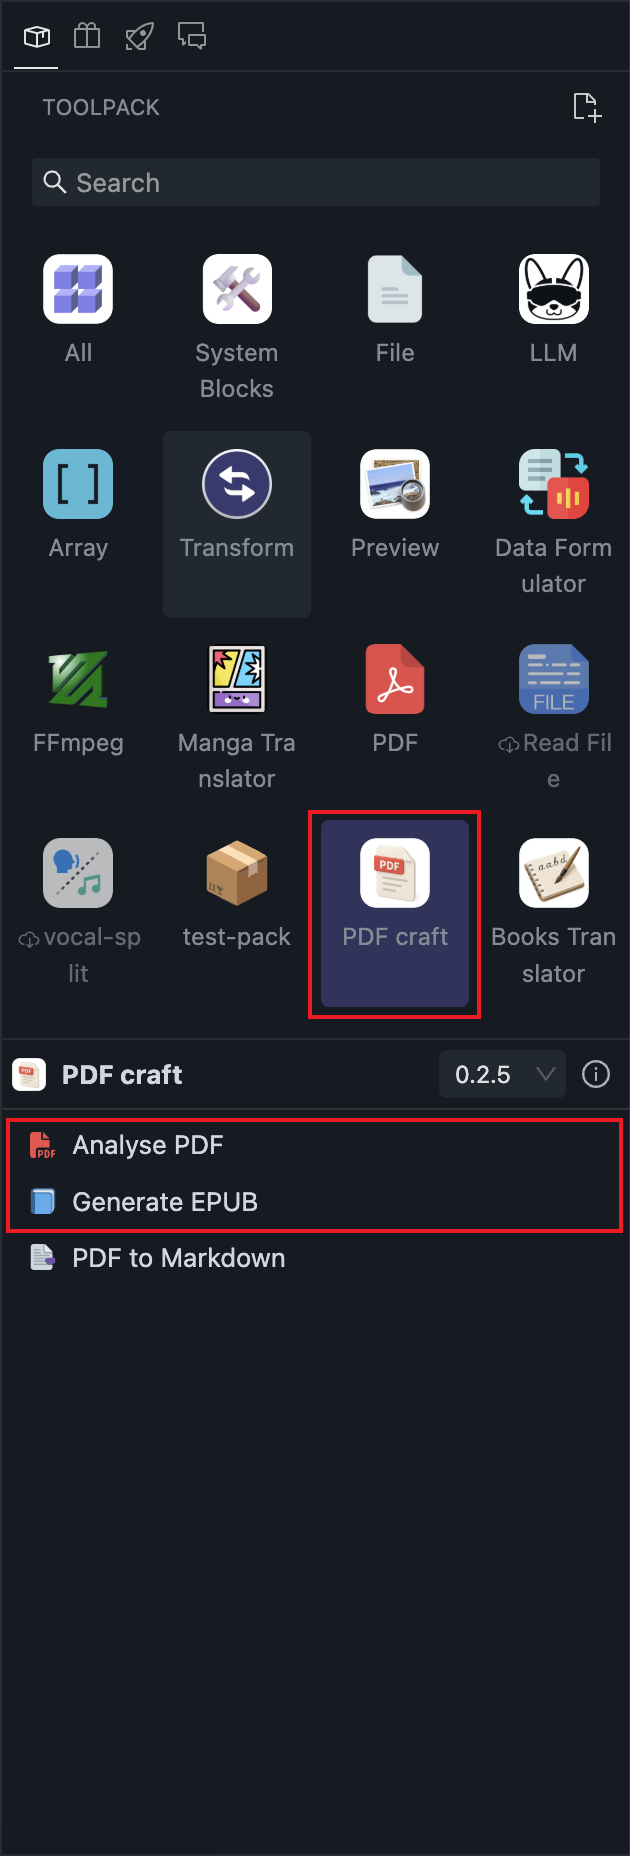
Required Blocks
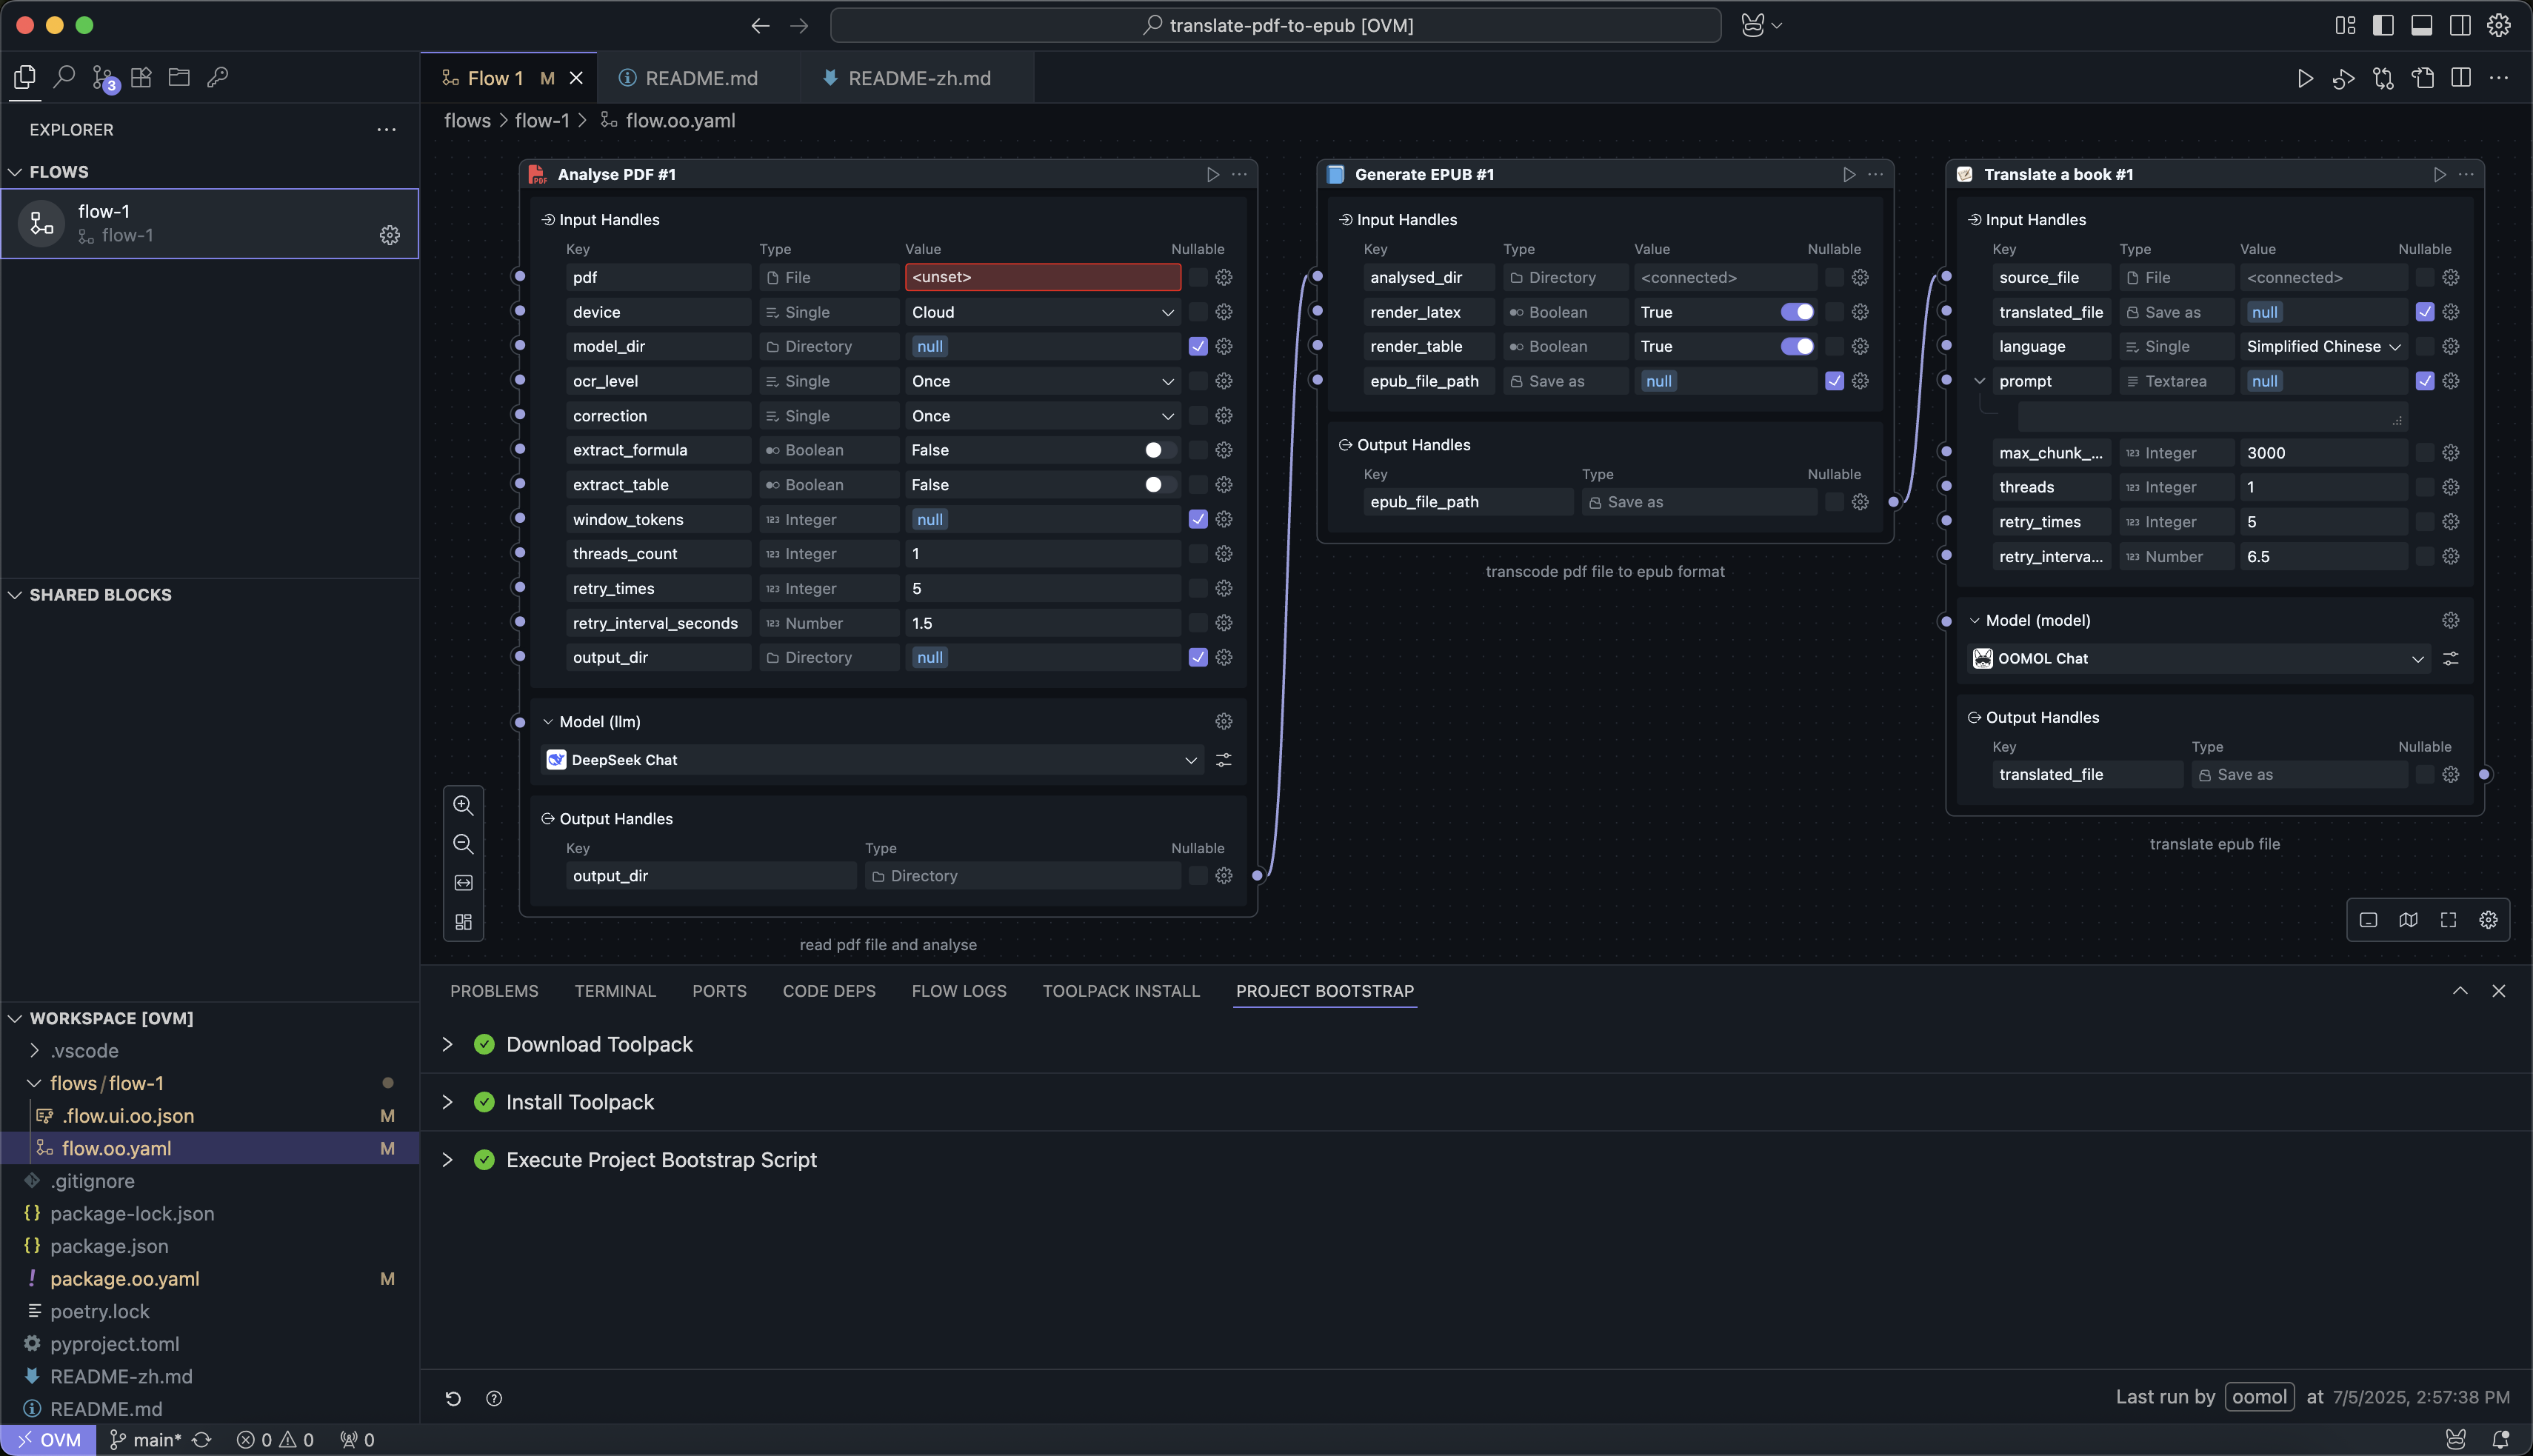
Implemented Workflow
The Workflow is now complete. Next, we need to fill in the parameters. The following parameters are required:
- The path of the PDF file to process
- The output path for the final EPUB file
The Translate epub book Block's default output language is Chinese. Adjust the parameters as needed.
You can clear the
output_dirparameter to store intermediate products in memory. Closing the application will release them.
Parameters to Fill In
Since the PDF file input requires a PDF address, we need to place the PDF file to be processed into the OOMOL Studio environment so the application can read it. Copy the file into the OOMOL space from the left panel:
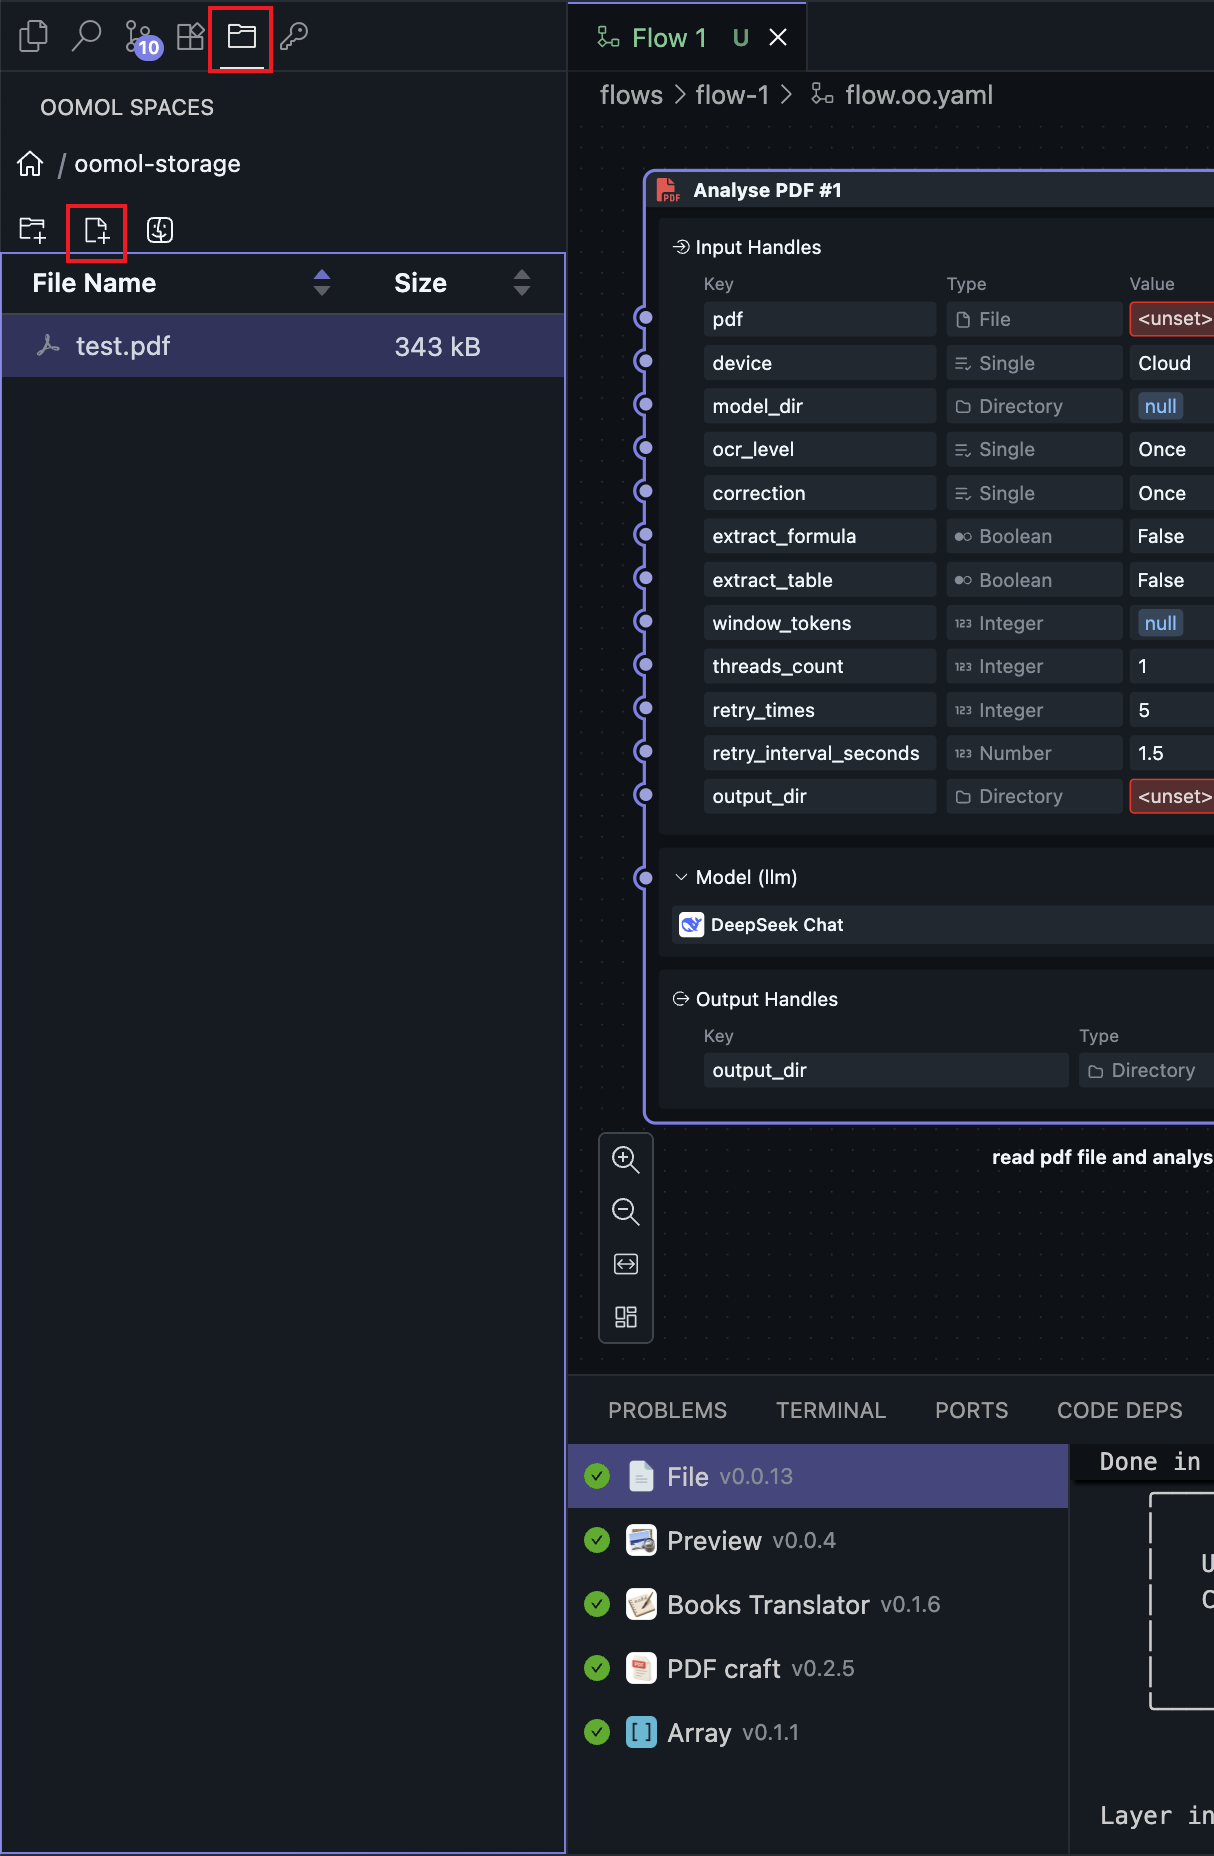
Place the file inside the OOMOL Studio application container
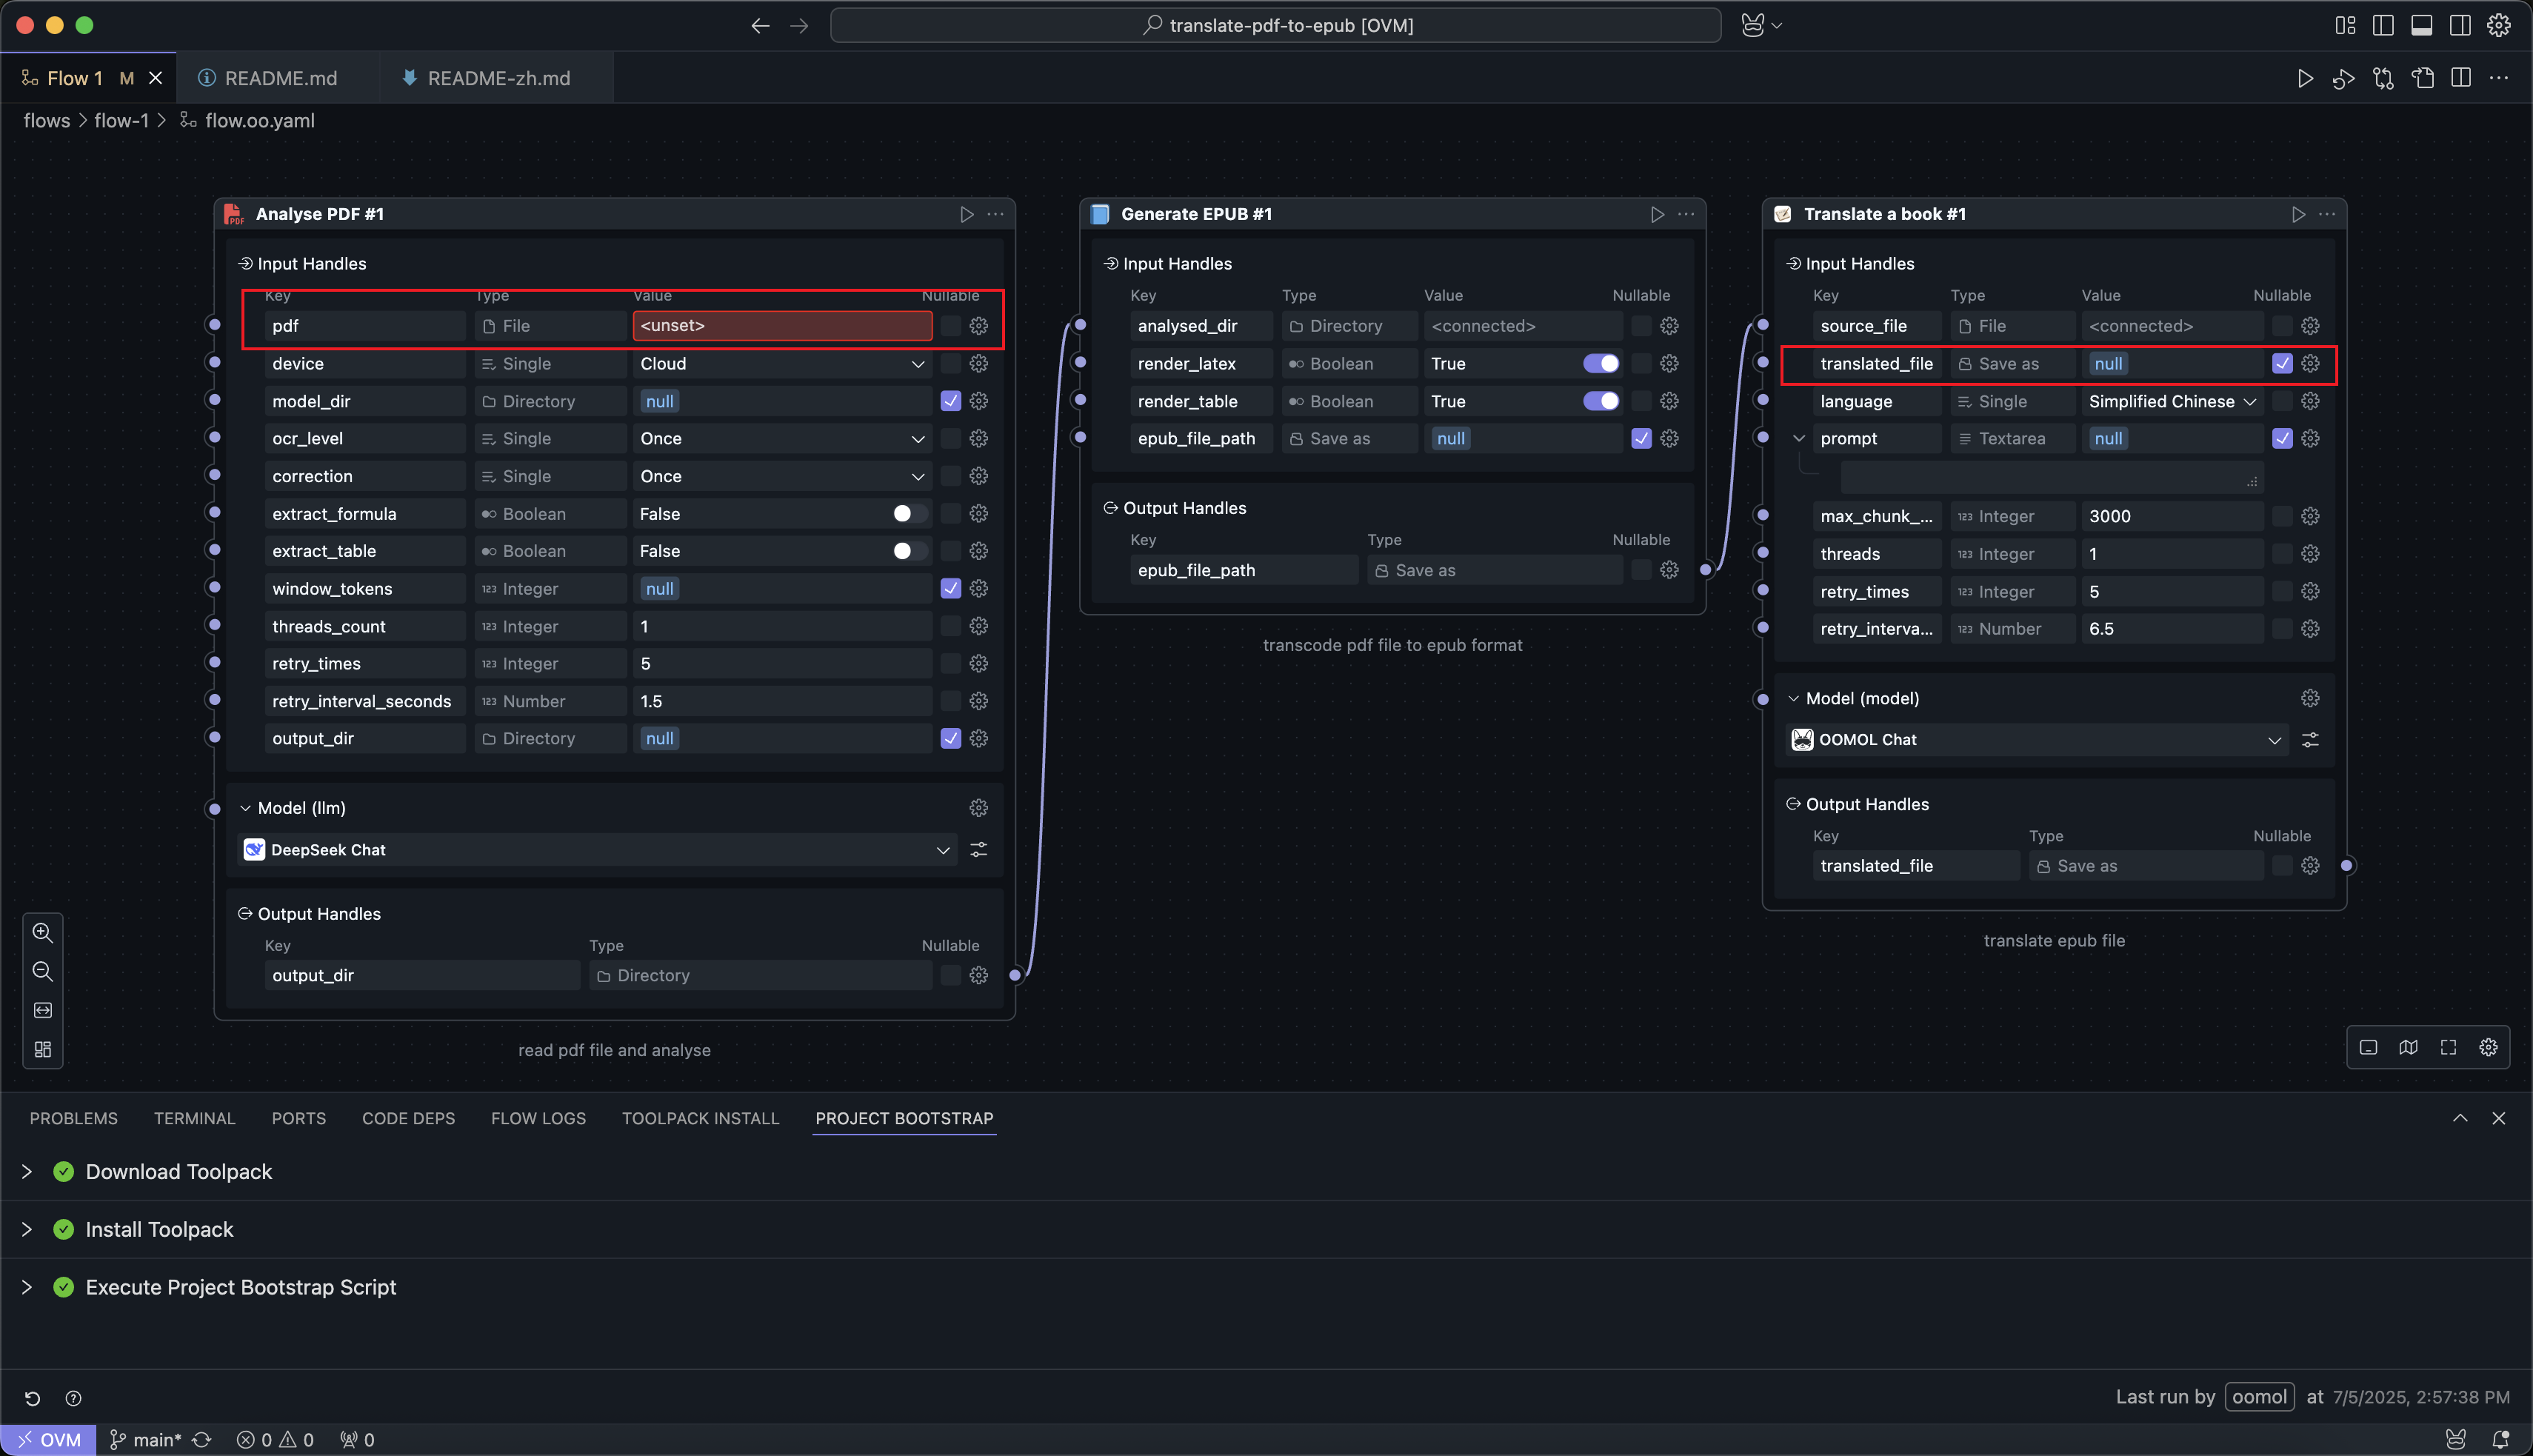
Then, select the PDF file address and the output EPUB file address and extension:
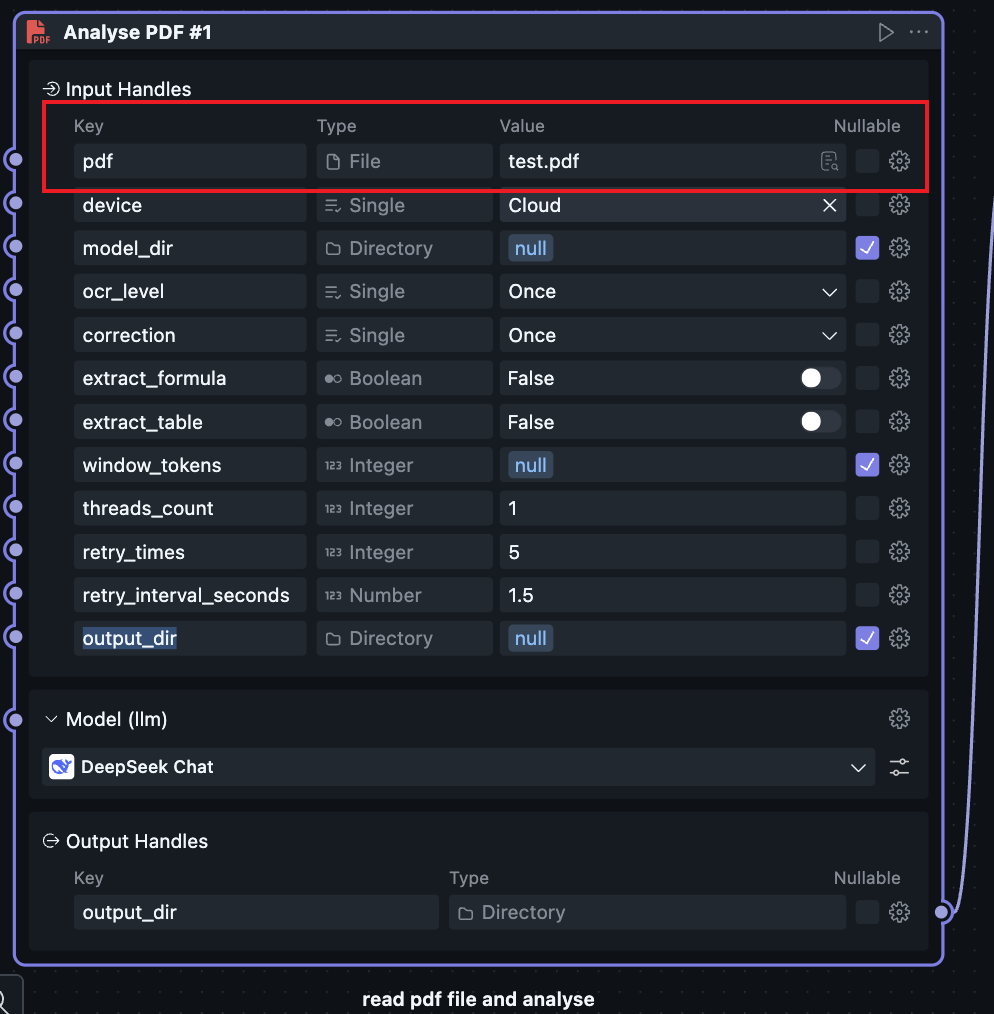
Completed Parameters
Next, run the Workflow. After some time, you will see the output file, and the content will be translated.
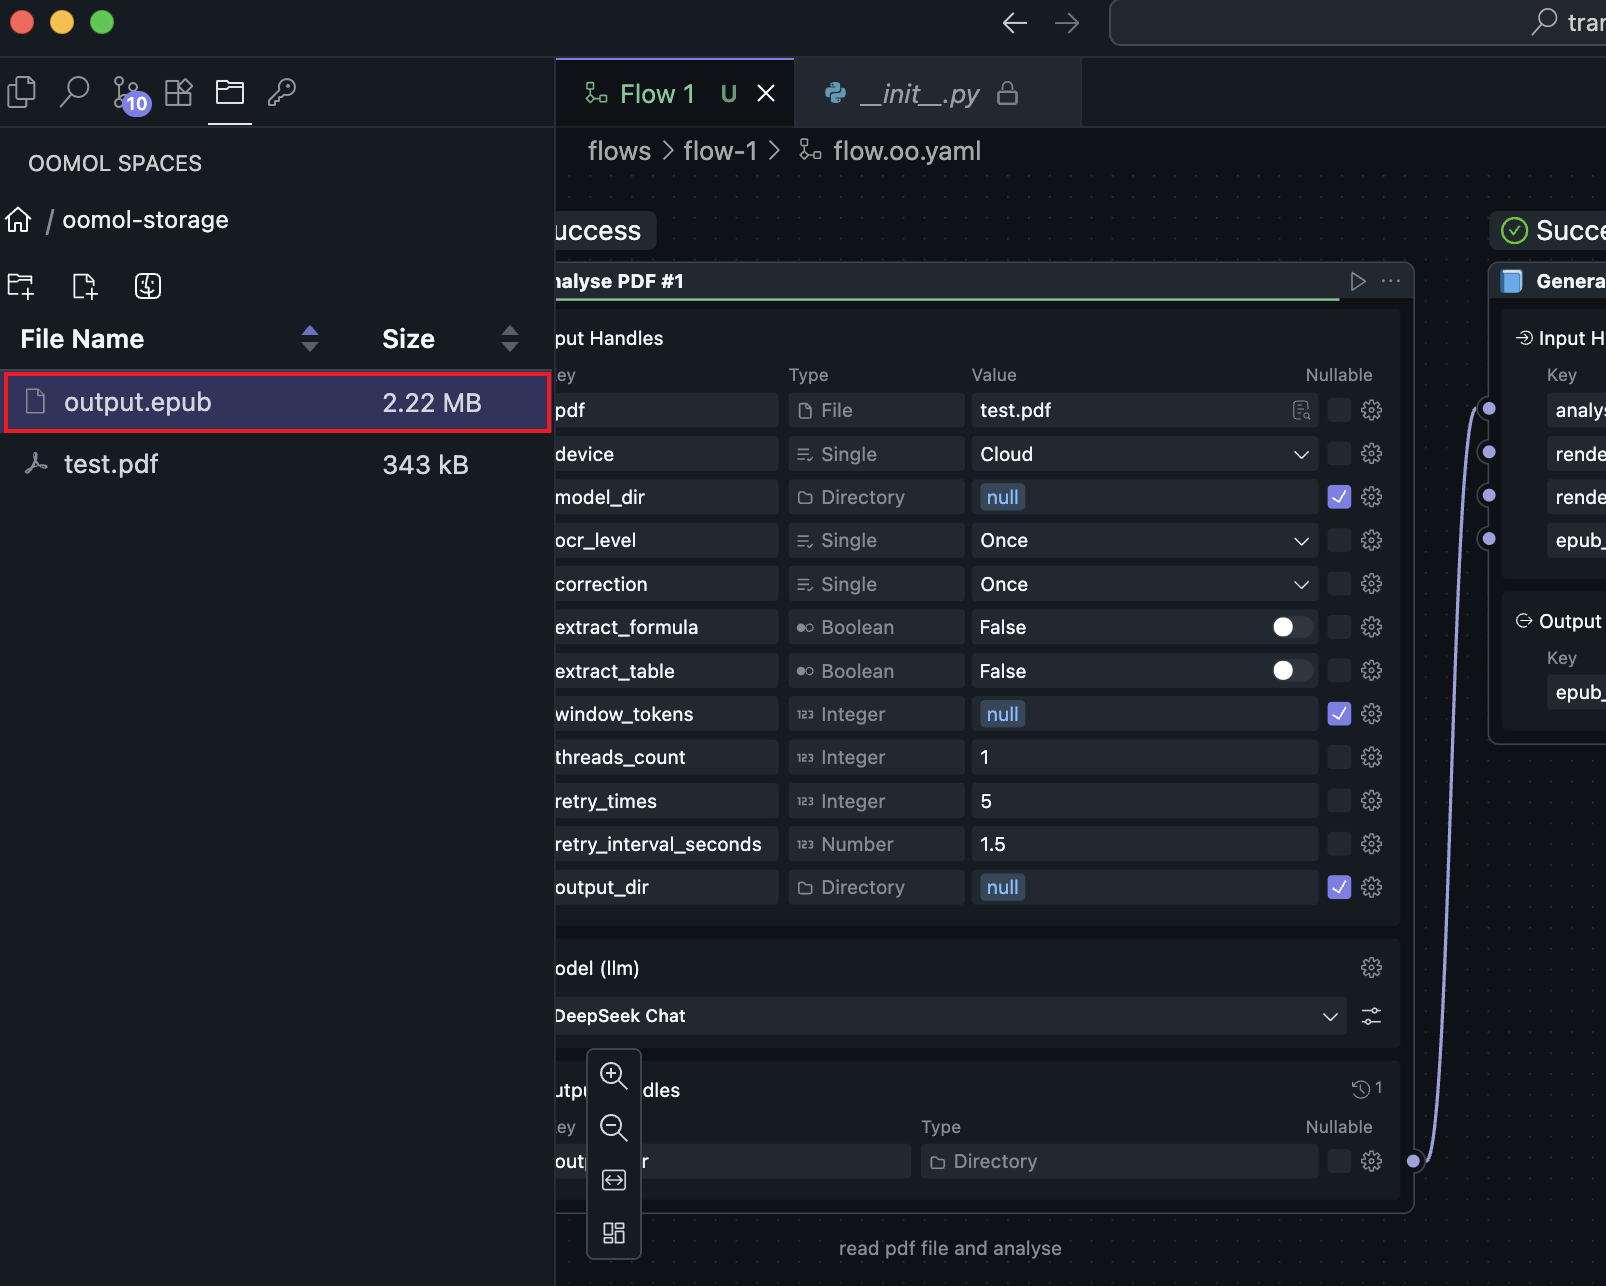

Workflow Output Result
You can see the article has been translated into Chinese.
At this point, we have developed and run a Workflow. Currently, the Workflow can only run inside the OOMOL Studio application. Next, we will detach the Workflow from the OOMOL Studio environment and run it independently.
Export Image
Return to the OOMOL Studio Home page, find the Workflow you just developed, right-click and select Export as Image, choose the export folder, and after a while, you will get an image file with the same name as the Workflow.
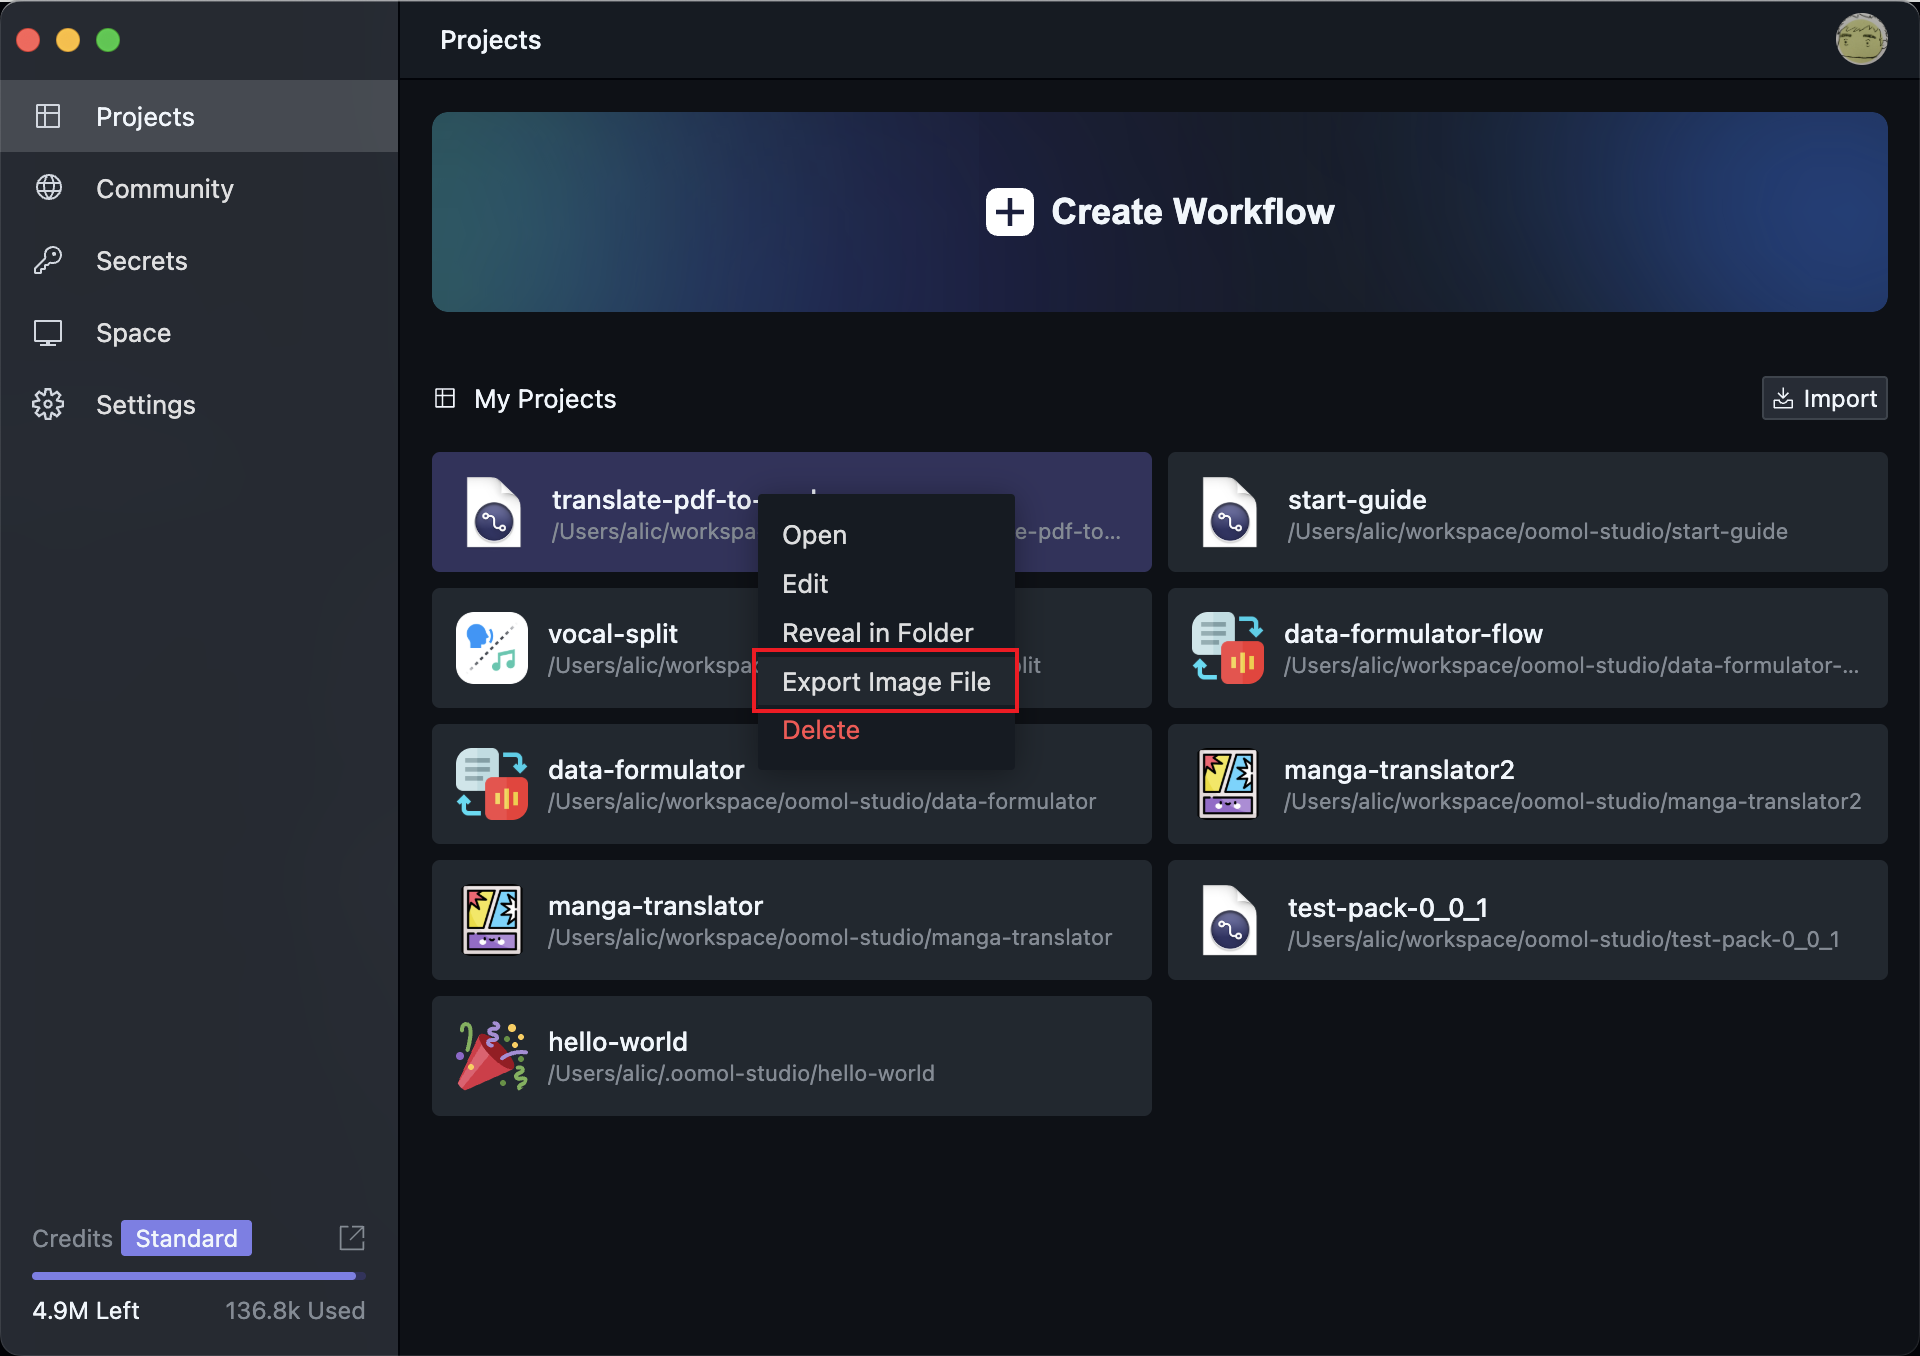
Exported Image File
Running the Image
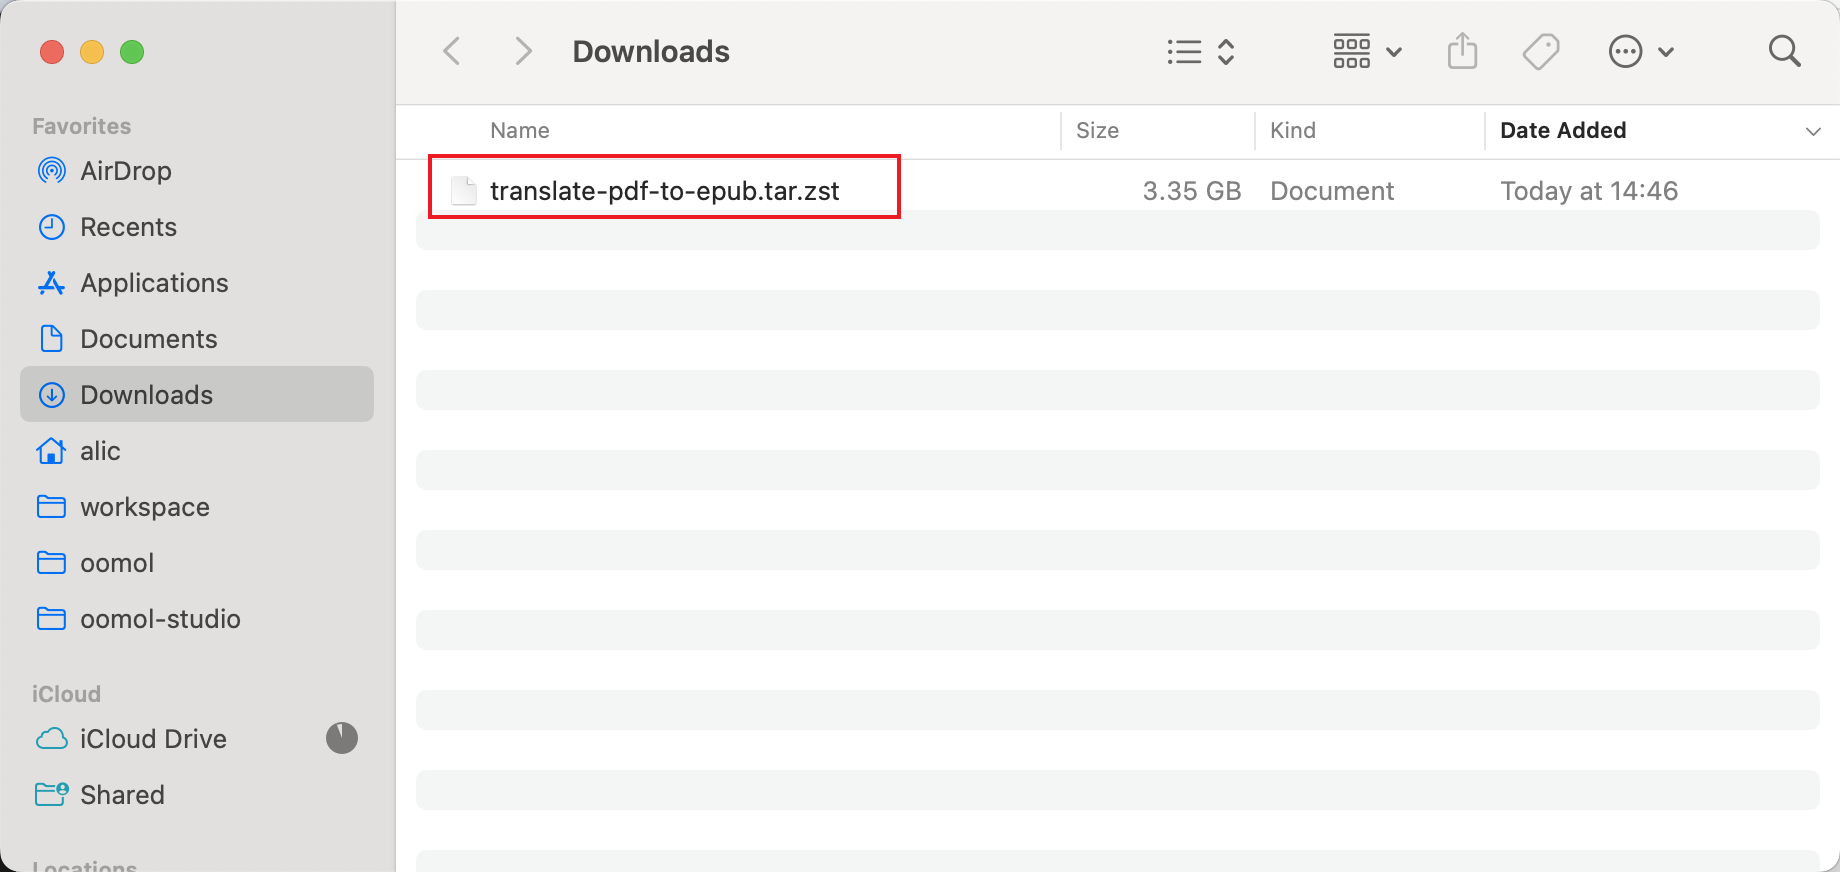
After obtaining the image file, use a container runtime command such as docker to load it. In the terminal, run
docker load -i ~/Downloads/translate-pdf-to-epub.tar.zst # Use the path where you saved the image file
After running, you can find the image:

Image File
Since the image runs outside OOMOL Studio, we cannot identify the user running the container. The current Workflow uses AI for translation, and OOMOL will convert the translation cost into credits. Using an API-key allows the credits to be deducted from the corresponding user's account, enabling the Workflow to run normally.
If the Workflow does not use built-in services like AI, or uses your own AI service, you still need to pass in the API-key when starting the container, but no credits will be deducted.
You can generate an API-key in the OOMOL Console.
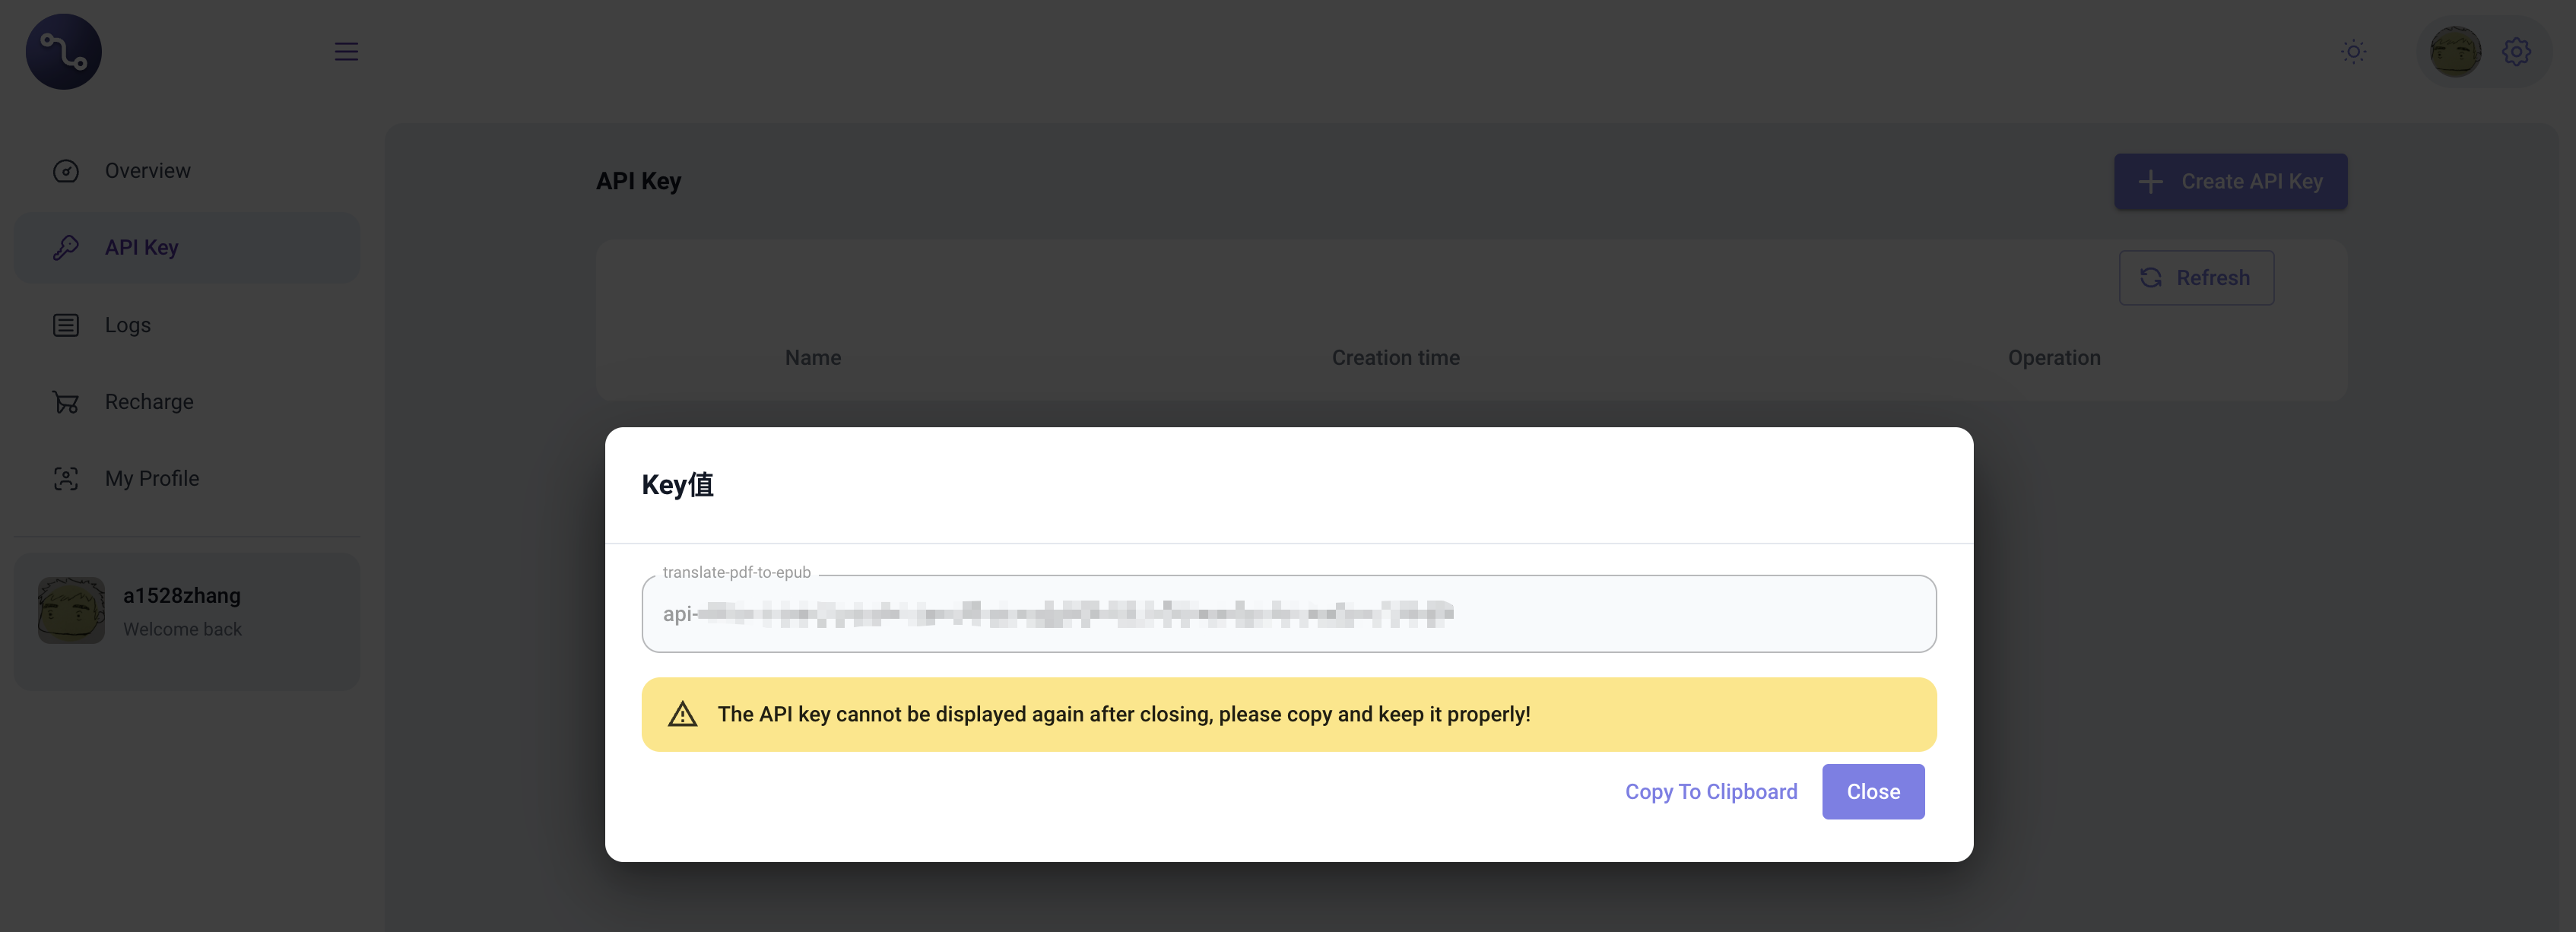
Generate API-key
Once the API-key is hidden, it cannot be retrieved again. Please keep it safe.
After obtaining the API-key, run the following command to start the container:
docker run --privileged -p 3000:3000 -e OOMOL_API_TOKEN={OOMOL_API_TOKEN} -v $HOME/oomol-storage:/oomol-driver/oomol-storage localhost/translate-pdf-to-epub:latest
After running the image, you can access the started container at http://localhost:3000. At this point, the previous Workflow is running as a local service.
File Paths Inside the Image
In this example, the Workflow starts by inputting a file path. However, after the Workflow is exported as an image, all paths inside the image container refer to paths inside the container. If you directly pass a host path to the Workflow, the Workflow inside the container cannot access the file.
Here, we mount the host's $HOME/oomol-storage path to /oomol-driver/oomol-storage inside the container. This way, adding files to $HOME/oomol-storage on your computer is equivalent to placing files in /oomol-driver/oomol-storage inside the container. This allows file exchange between the host and the container.
If you want to deploy the image to a cloud server, you also need to meet this requirement: the Workflow inside the container must be able to access the actual file path. If you find mounting files cumbersome, you can change the input file path to a network address, such as uploading to AWS S3 or other network file management services, then download and read the file inside your Workflow. This way, file access always happens inside the image container, avoiding file-not-found issues.
Calling the Workflow
After starting the image container, you can use HTTP requests to query, start, and stop the Workflow.
Visit http://localhost:3000/ui to see the HTTP request interfaces exposed by the image container:
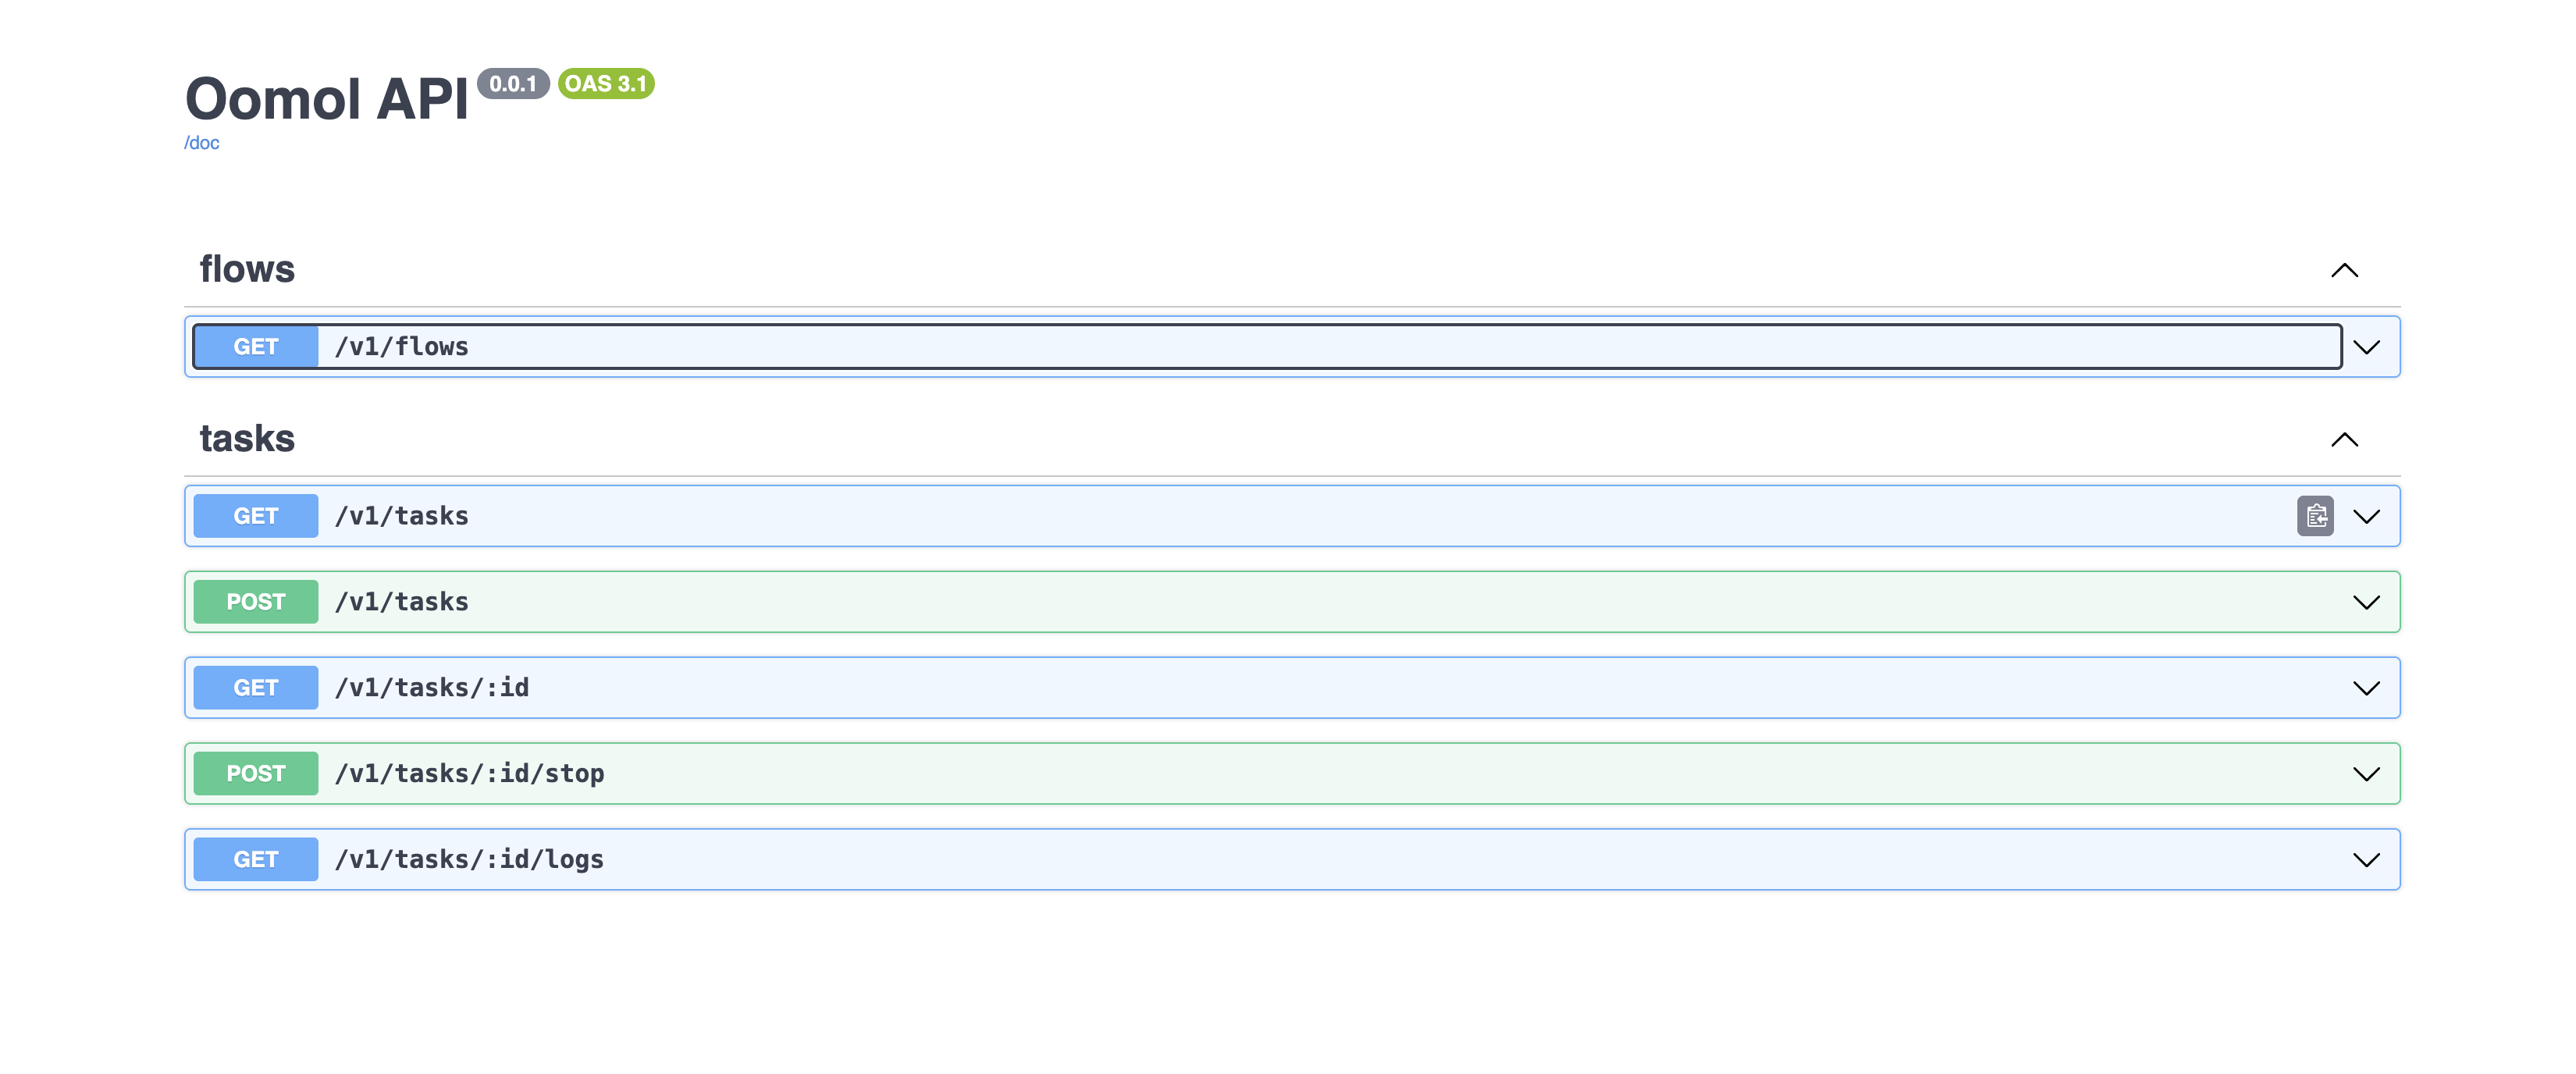
HTTP API
For detailed interface descriptions, refer to the API schema exposed at http://localhost:3000/ui.
Query Workflows
Use the GET method to call http://localhost:3000/v1/flows to query the list of Workflows in the image container.
The returned content includes detailed Workflow structures, including Node information, input/output Handle names, and types.
Run Task
Use the POST method to call http://localhost:3000/v1/tasks to run a Workflow and create a task.
As mentioned in Workflow Development, before starting a Workflow, we need to fill in parameters for several Nodes. Here, we pass the parameters in the request:
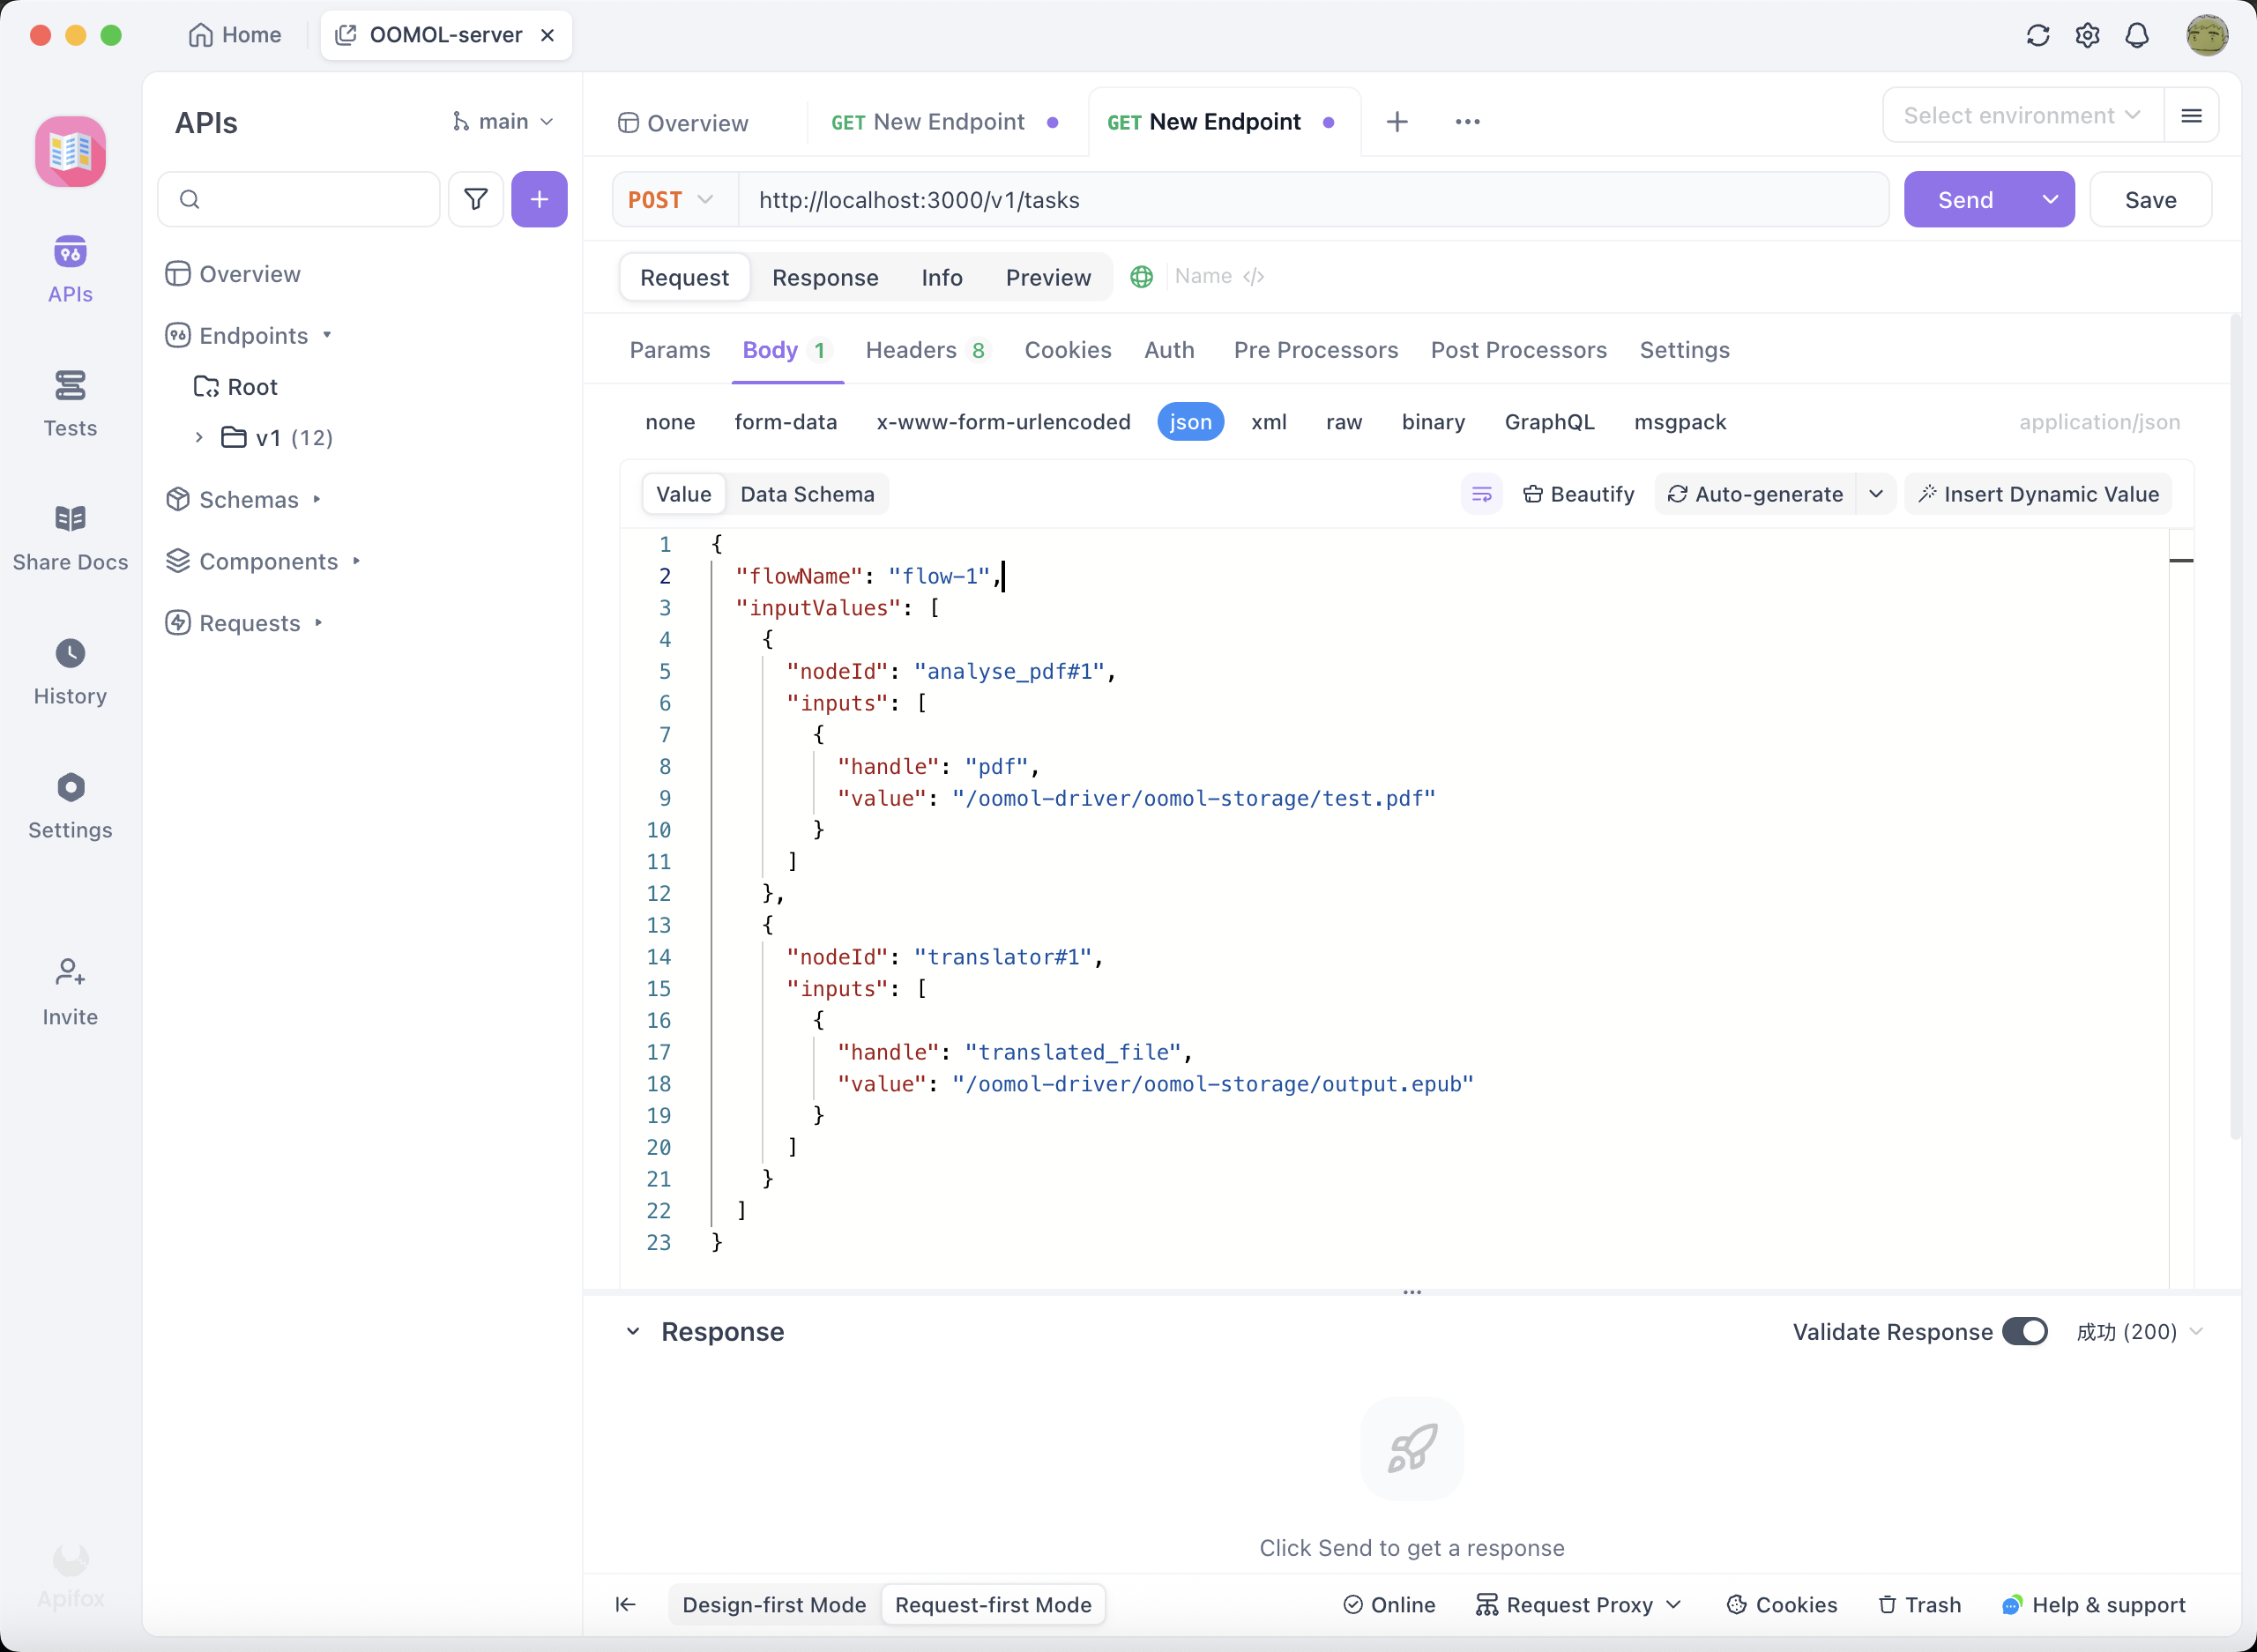
Parameters for Starting a Task
The flowName / nodeId / handle information for the parameters can be found in Query Workflows.
Here, the input file path is /oomol-driver/oomol-storage/test.pdf. Since we previously mapped the /oomol-driver/oomol-storage folder to $HOME/oomol-storage during Running the Image, simply place test.pdf in $HOME/oomol-storage, and the Workflow can read the file. We name the output file local-service-output.
After the API call, you will receive a task ID.
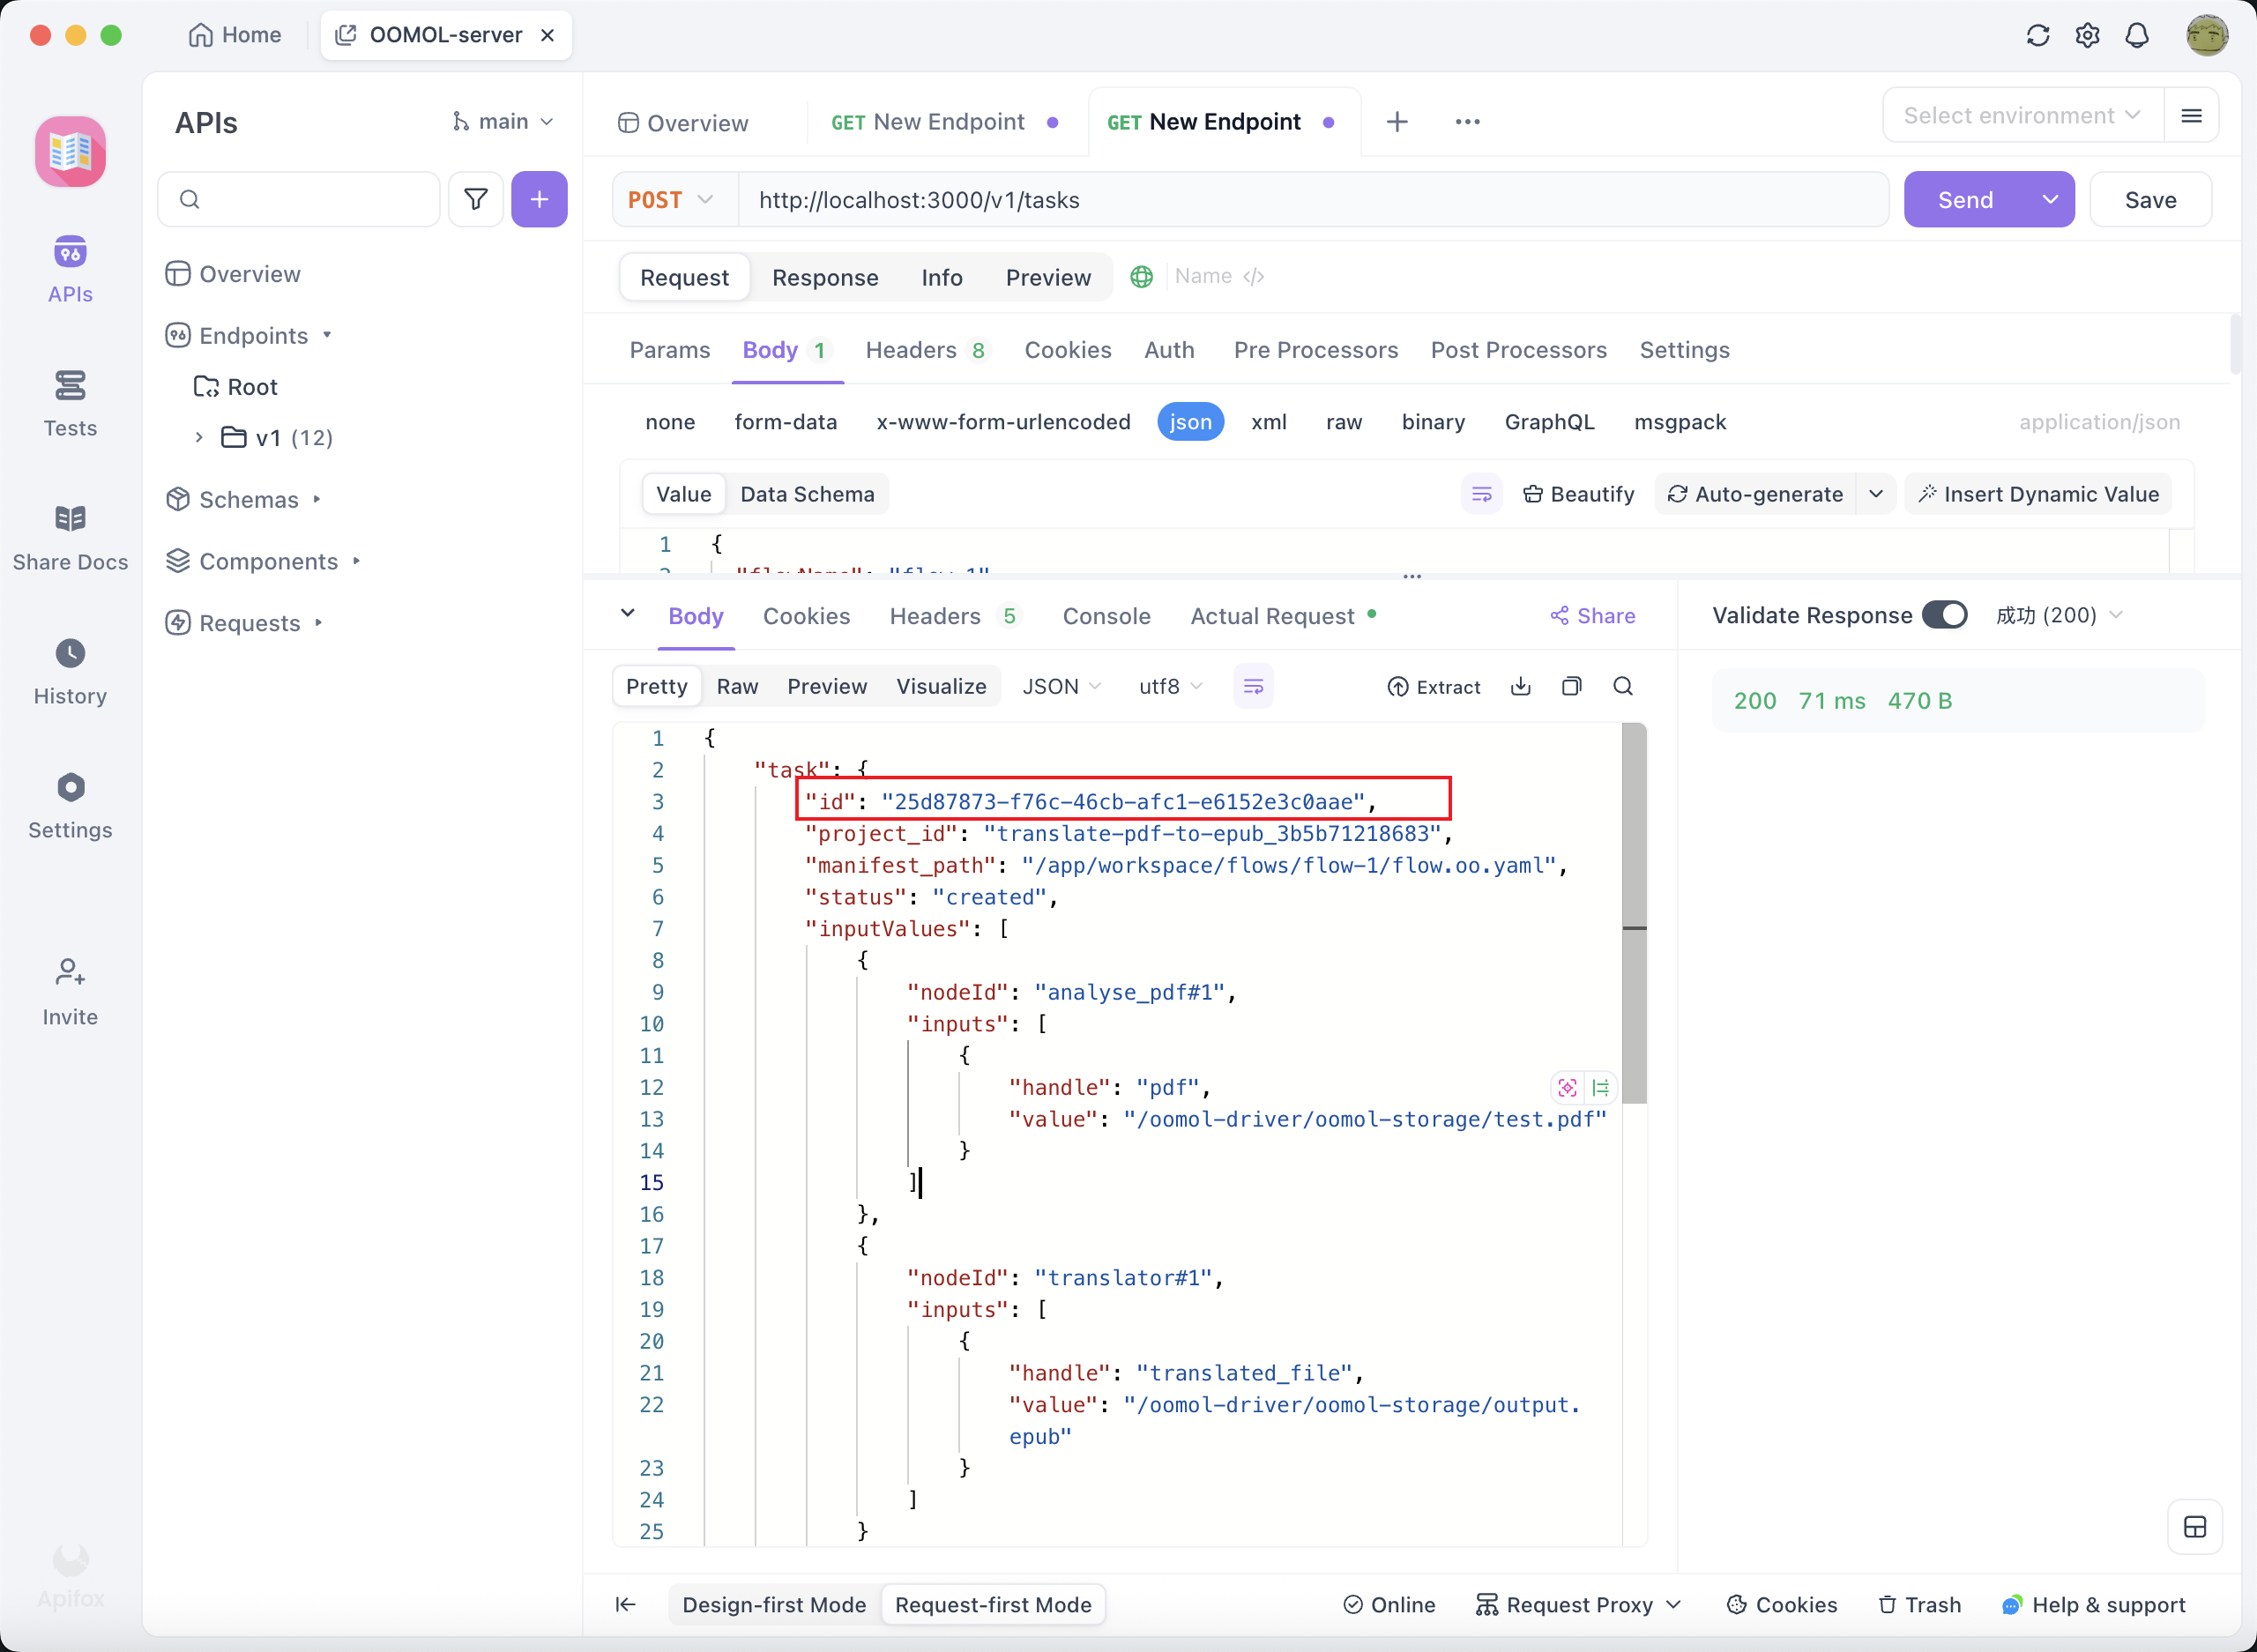
Task ID
Query Tasks
Use the GET method to call http://localhost:3000/v1/tasks to list all tasks in the image container.
Use the GET method to call http://localhost:3000/v1/tasks/{task_id} to query task details by task ID.
You can poll these two APIs to check the task status.
When the task is complete, you will see the task status as completed and view the output result:
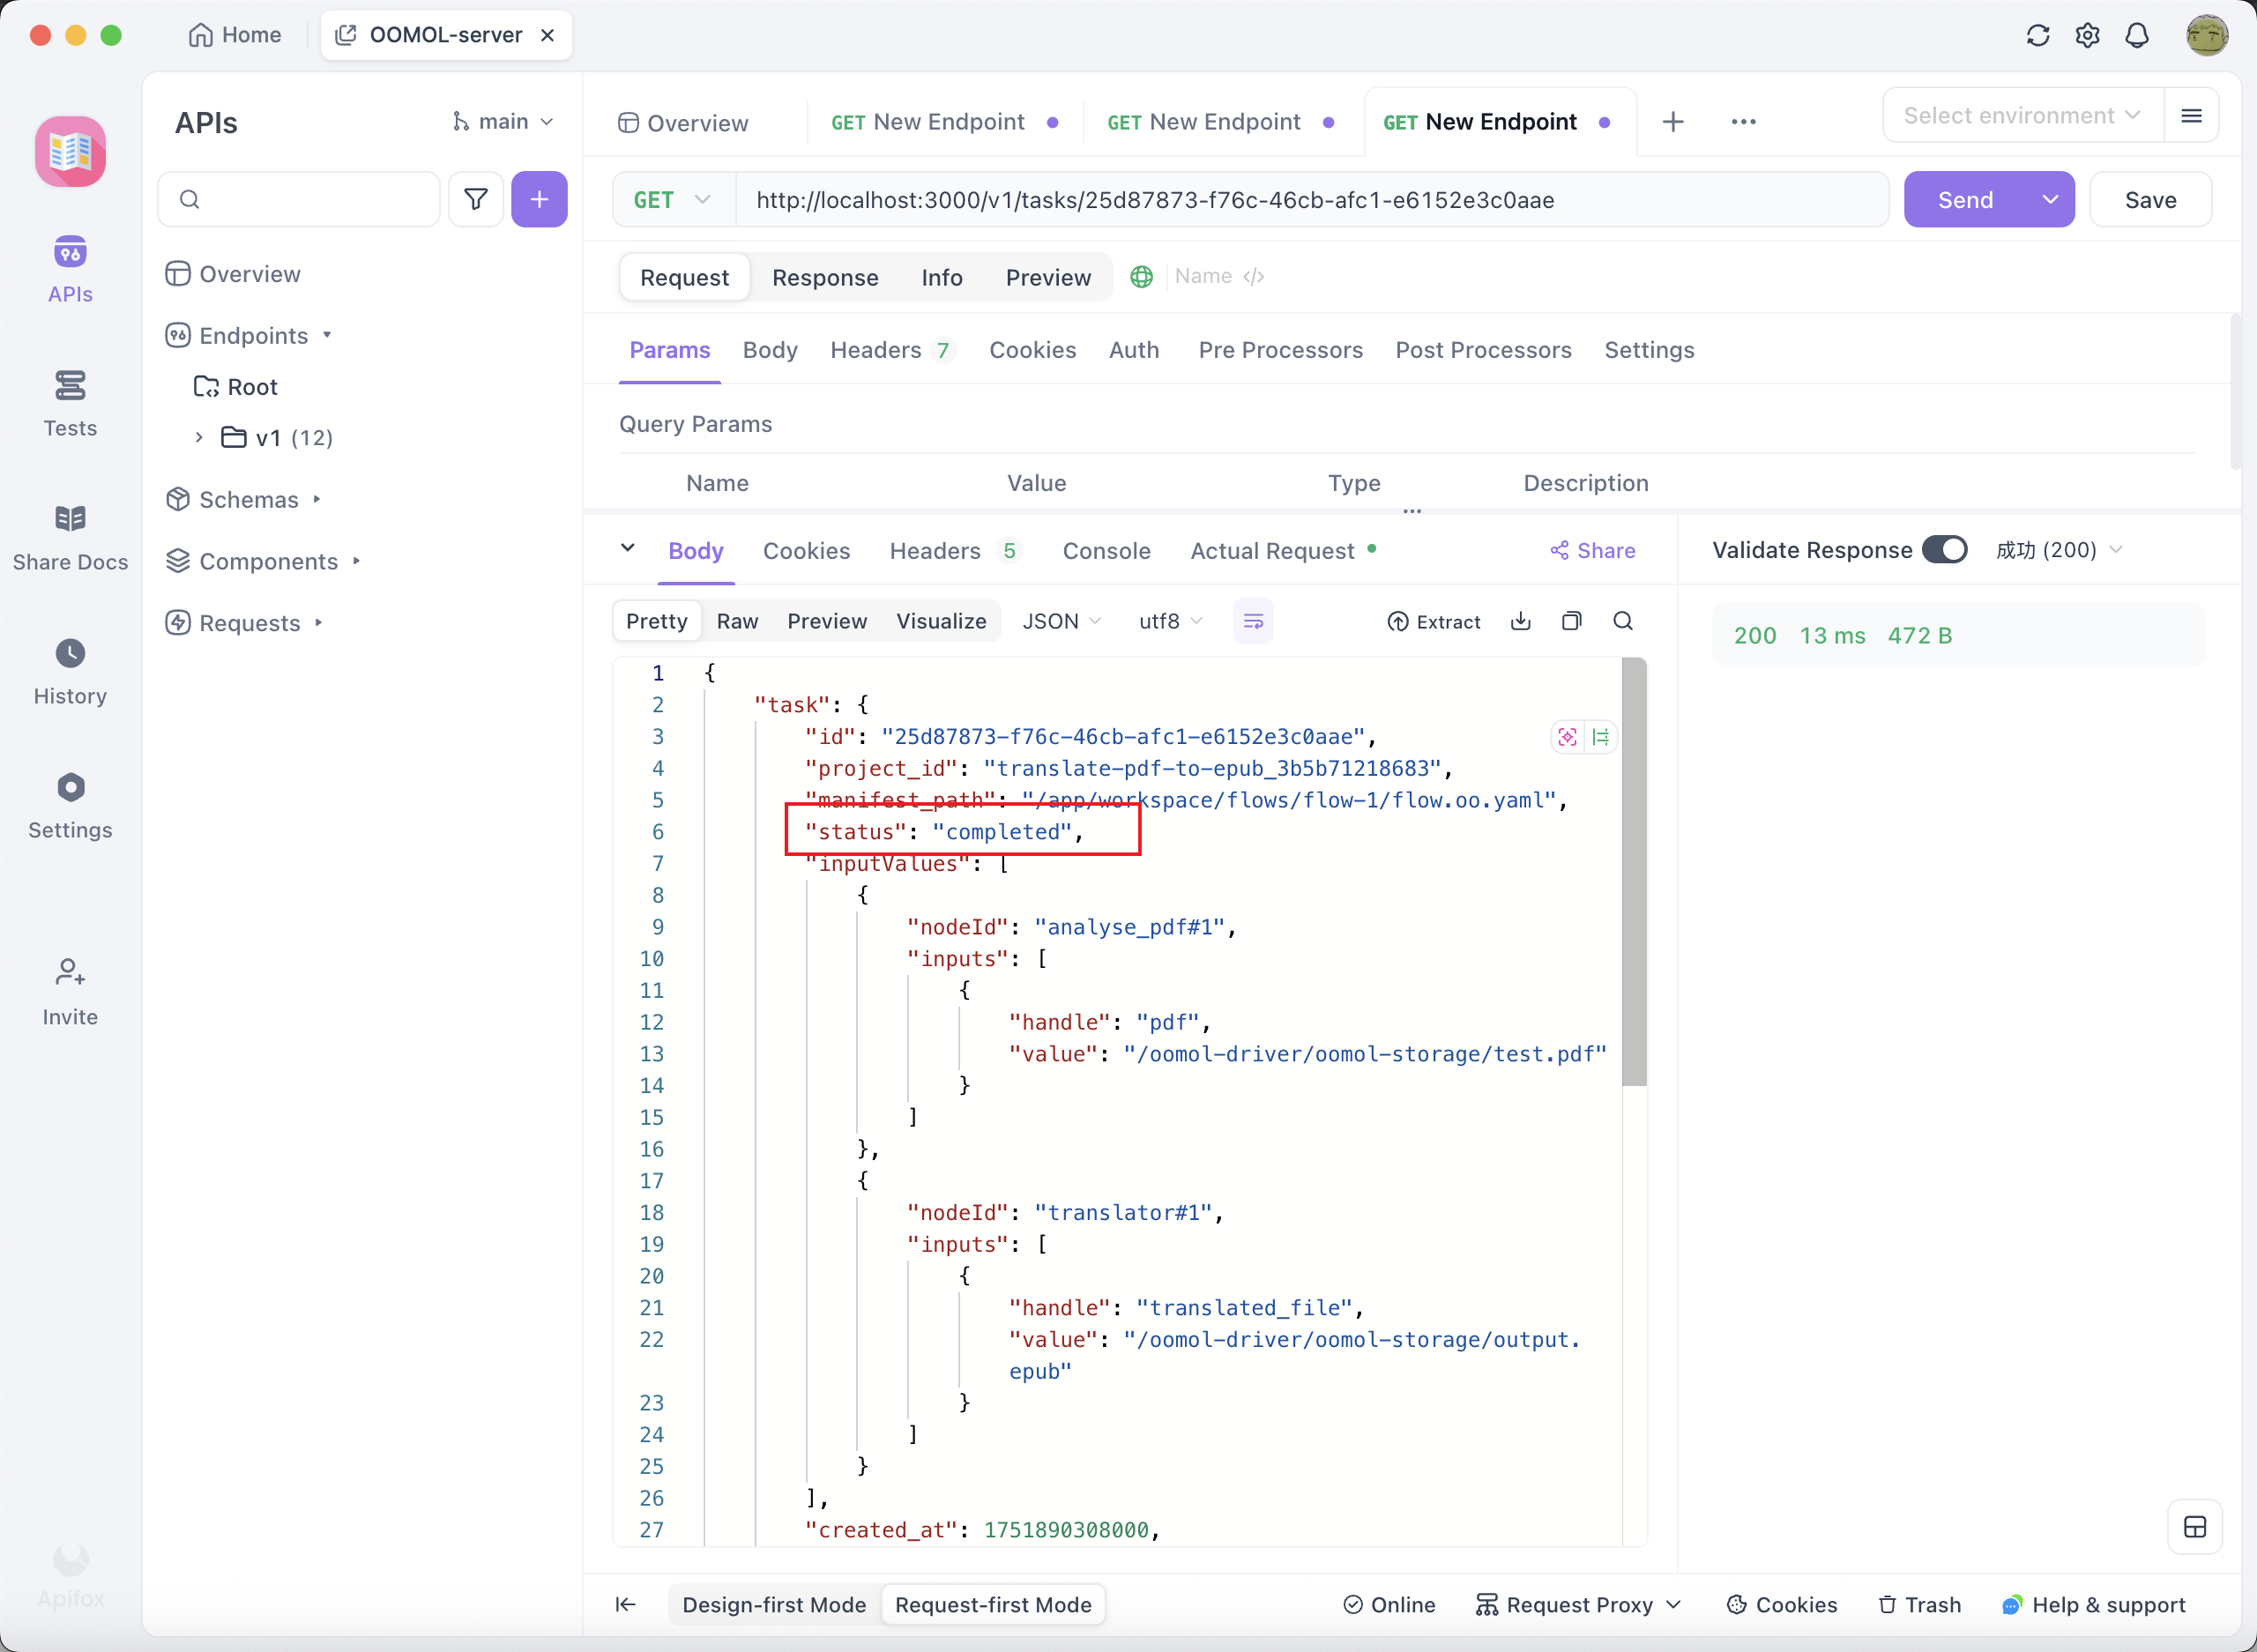
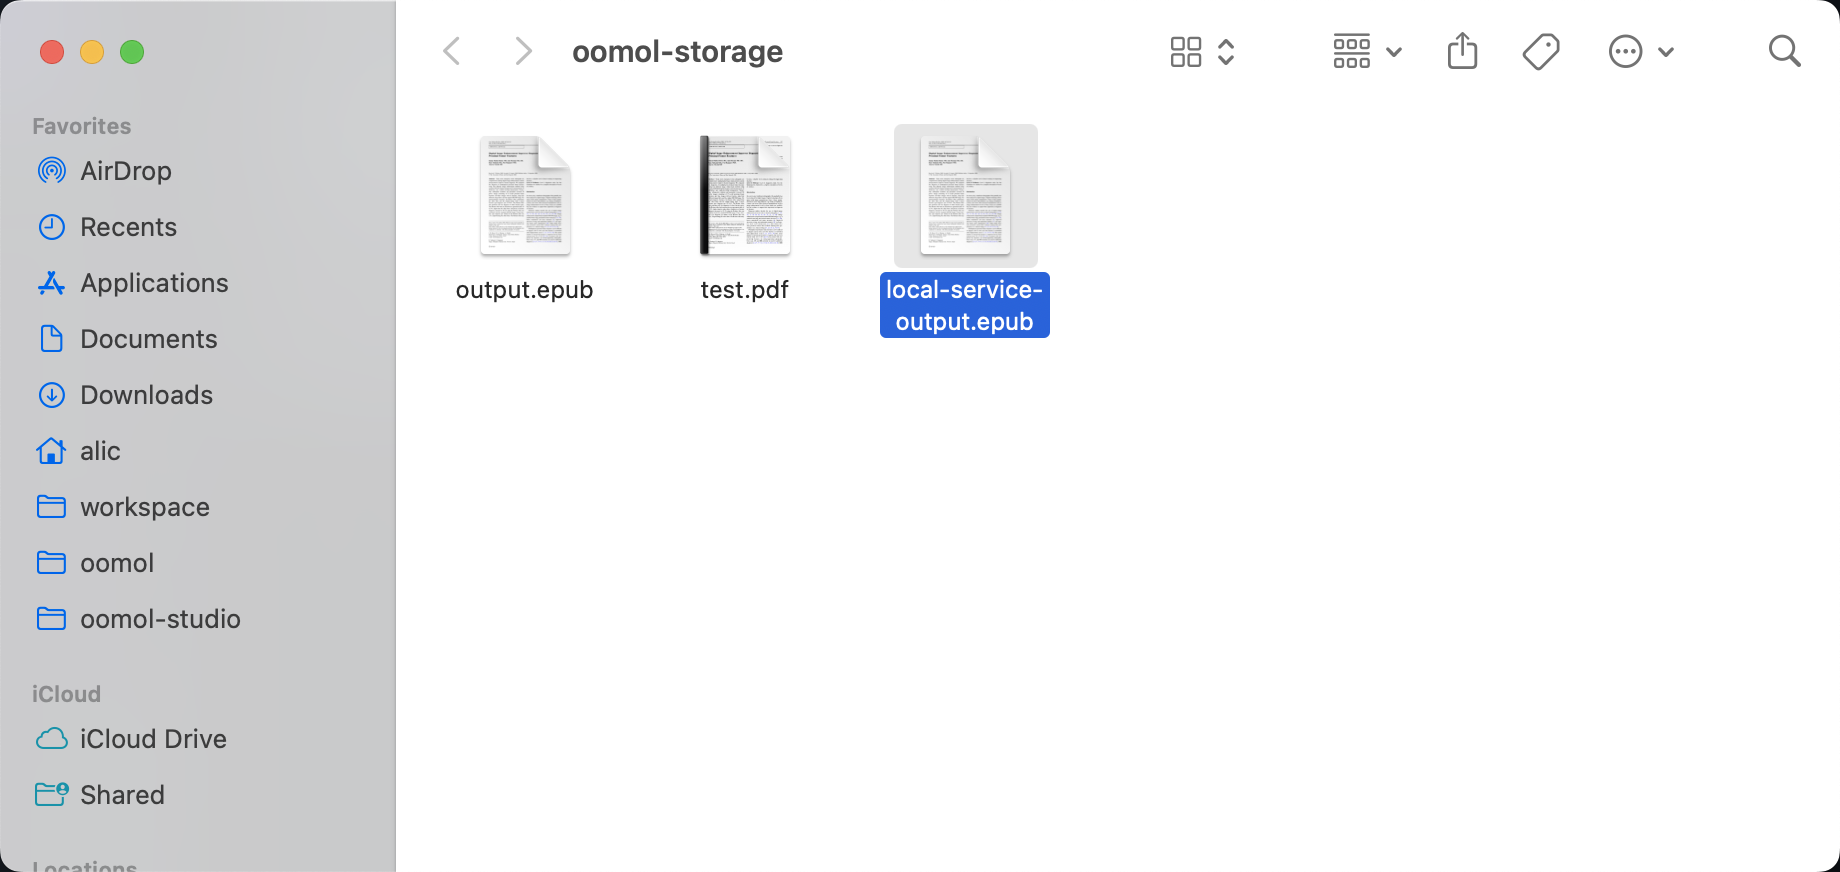
Completed Task
Summary
This article introduced how to export a Workflow from OOMOL Studio as an image and run it independently.
Users can deploy the image in any environment, turning it into a continuously running service. This allows the Workflow to maximize its value, whether on a local server, cloud platform, or in a team collaboration environment, enabling efficient reuse and sharing of automated processes.