Export Image
Select and Export
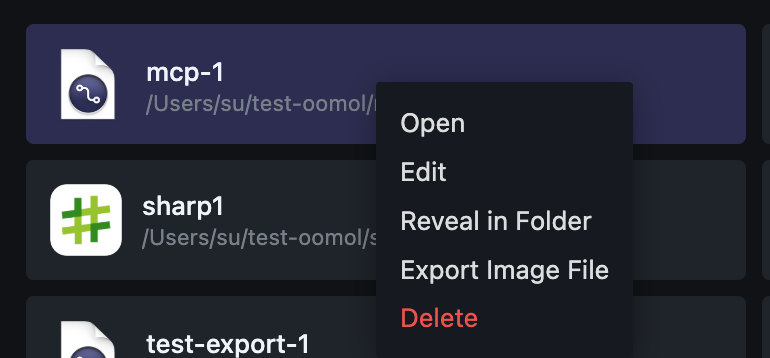
On the Home page, you can select the project you want to export, right-click, and choose the "Export Image File" option.
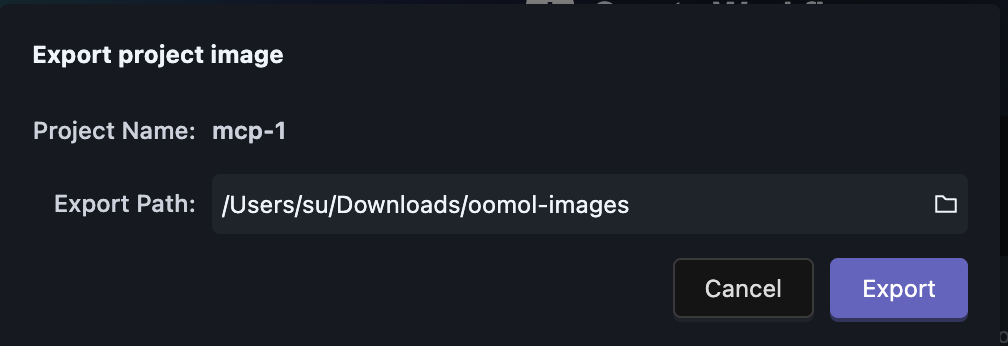
After clicking "Export," you need to wait for a moment, as the export process may take some time. Once the export is complete, you can find the exported image file in the directory you just selected.
Import to Docker
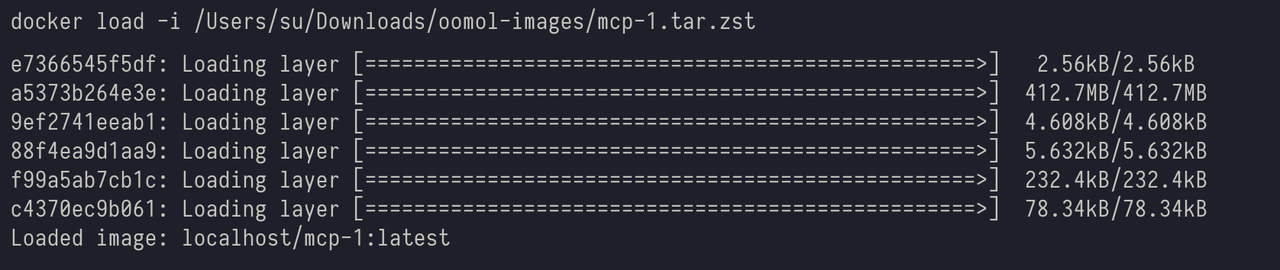
You can input the following command in the terminal to import:
docker load -i /path/to/your/image.tar.zst
When the import is complete, you will see the name of the imported image in the last line, like in the image above: Loaded image: localhost/mcp-1:latest. Here, localhost/mcp-1:latest is the name of the imported image.
Start
Before starting, we need to apply for an API Key at: https://console.oomol.com/panel/api-key, so that the workflow inside the container can use functionalities like Secret, AI, etc.
docker run --privileged -p 3000:3000 -e OOMOL_API_TOKEN={OOMOL_API_TOKEN} -v $HOME/oomol-storage:/oomol-driver/oomol-storage localhost/mcp-1:latest
- The default API service port is
3000, which can be re-specified by passing the environment variablePORT. - If the current workflow does not need to use files from the local
oomol-storagefolder, you can skip mounting (remove-v $HOME/oomol-storage:/oomol-driver/oomol-storage). - For the mounted directory, you can refer to the
Disklisted in Space.
API
Query
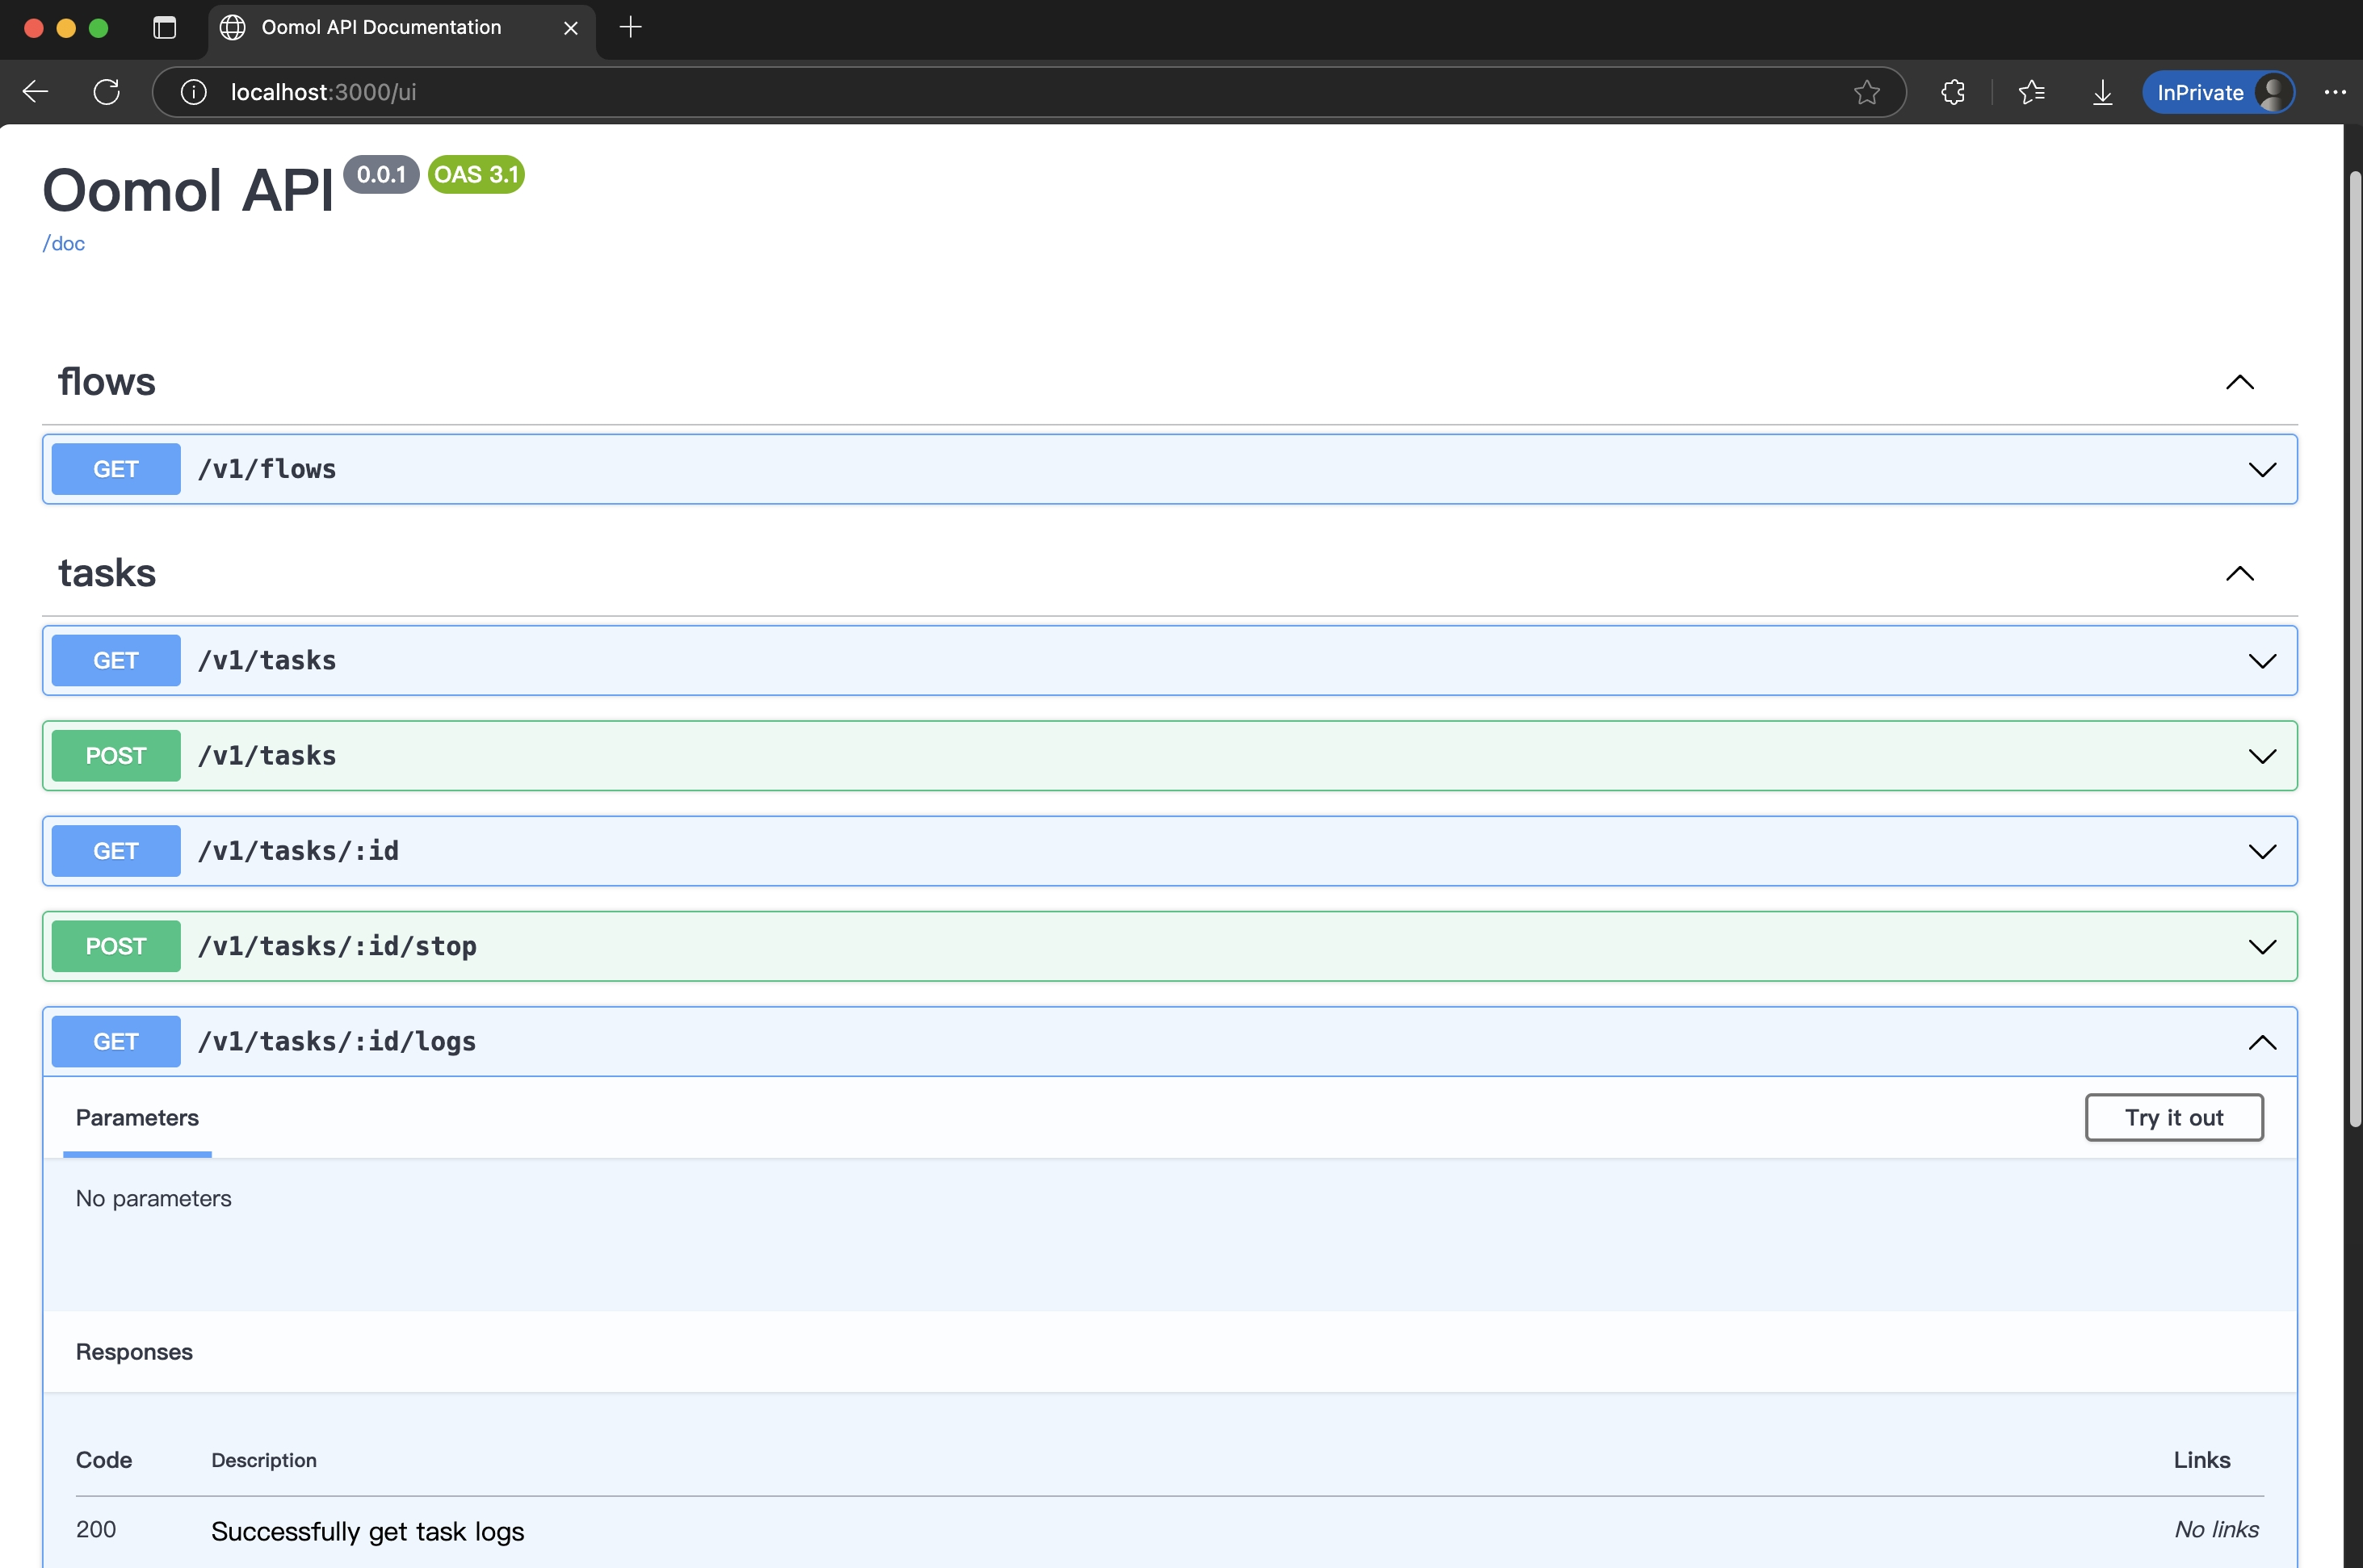
After the container starts, you can access: http://localhost:3000/ui in your browser to query the API.
Usage
You can now query workflows and their parameters by requesting http://localhost:3000/v1/flows. For example:
{
  "flows": [
    {
      "name": "zip-directory",
      "path": "/app/workspace/flows/zip-directory/flow.oo.yaml",
      "inputs": [
        {
          "nodeId": "copy_file#1",
          "inputs": [
            {
              "handle": "destination_folder",
              "json_schema": { "type": "string", "ui:widget": "dir" },
              "nullable": true,
              "value": "/oomol-driver/oomol-storage"
            }
          ]
        },
        {
          "nodeId": "zip_dir#1",
          "inputs": [
            {
              "handle": "password",
              "json_schema": { "type": "string" },
              "nullable": true,
              "value": null
            },
            {
              "handle": "zip_file_name",
              "json_schema": { "type": "string", "ui:widget": "save" },
              "nullable": true,
              "value": null
            },
            {
              "handle": "dir_to_zip",
              "description": "Input",
              "json_schema": { "type": "string", "ui:widget": "dir" }
            }
          ]
        }
      ]
    },
    {
      "name": "zip-file",
      "path": "/app/workspace/flows/zip-file/flow.oo.yaml",
      "description": "zip a file",
      "inputs": [
        {
          "nodeId": "zip_file#1",
          "inputs": [
            {
              "handle": "file_to_zip",
              "description": "Input",
              "json_schema": { "type": "string", "ui:widget": "file" }
            },
            {
              "handle": "zip_file_name",
              "json_schema": { "type": "string", "ui:widget": "save" },
              "nullable": true,
              "value": null
            },
            {
              "handle": "password",
              "json_schema": { "type": "string" },
              "nullable": true,
              "value": null
            }
          ]
        },
        {
          "nodeId": "copy_file#1",
          "inputs": [
            {
              "handle": "destination_folder",
              "json_schema": { "type": "string", "ui:widget": "dir" },
              "nullable": true,
              "value": "/oomol-driver/oomol-storage"
            }
          ]
        }
      ]
    }
  ]
}
Through the above JSON, we can see a Flow with the name as zip-file. This Flow contains a Node with nodeId as zip_file#1, and there is a handle named file_to_zip that needs a value.
With this information, we can create a task by sending a POST request to localhost:3000/v1/tasks, with the request body as
{
  "flowName": "zip-file",
  "inputValues": [
    {
      "nodeId": "zip_file#1",
      "inputs": [
        {
          "handle": "file_to_zip",
          "value": "/oomol-driver/oomol-storage/data.csv"
        }
      ]
    }
  ]
}
When the request is complete, you will receive a JSON response similar to:
{
  "task": {
    "id": "9a56494e-919c-44b7-b897-ca7bae9713aa",
    "project_id": "mcp-1_7691f464d9ef",
    "manifest_path": "/app/workspace/flows/zip-file/flow.oo.yaml",
    "status": "created",
    "inputValues": [
      {
        "nodeId": "zip_file#1",
        "inputs": [
          {
            "handle": "file_to_zip",
            "value": "/oomol-driver/oomol-storage/data.csv"
          }
        ]
      }
    ],
    "created_at": 1751530274000,
    "updated_at": 1751530274000
  }
}
You can check the status of the task execution by requesting localhost:3000/v1/tasks/{taskId}/logs.