Project Interface
After opening any project, you see the full project workspace.
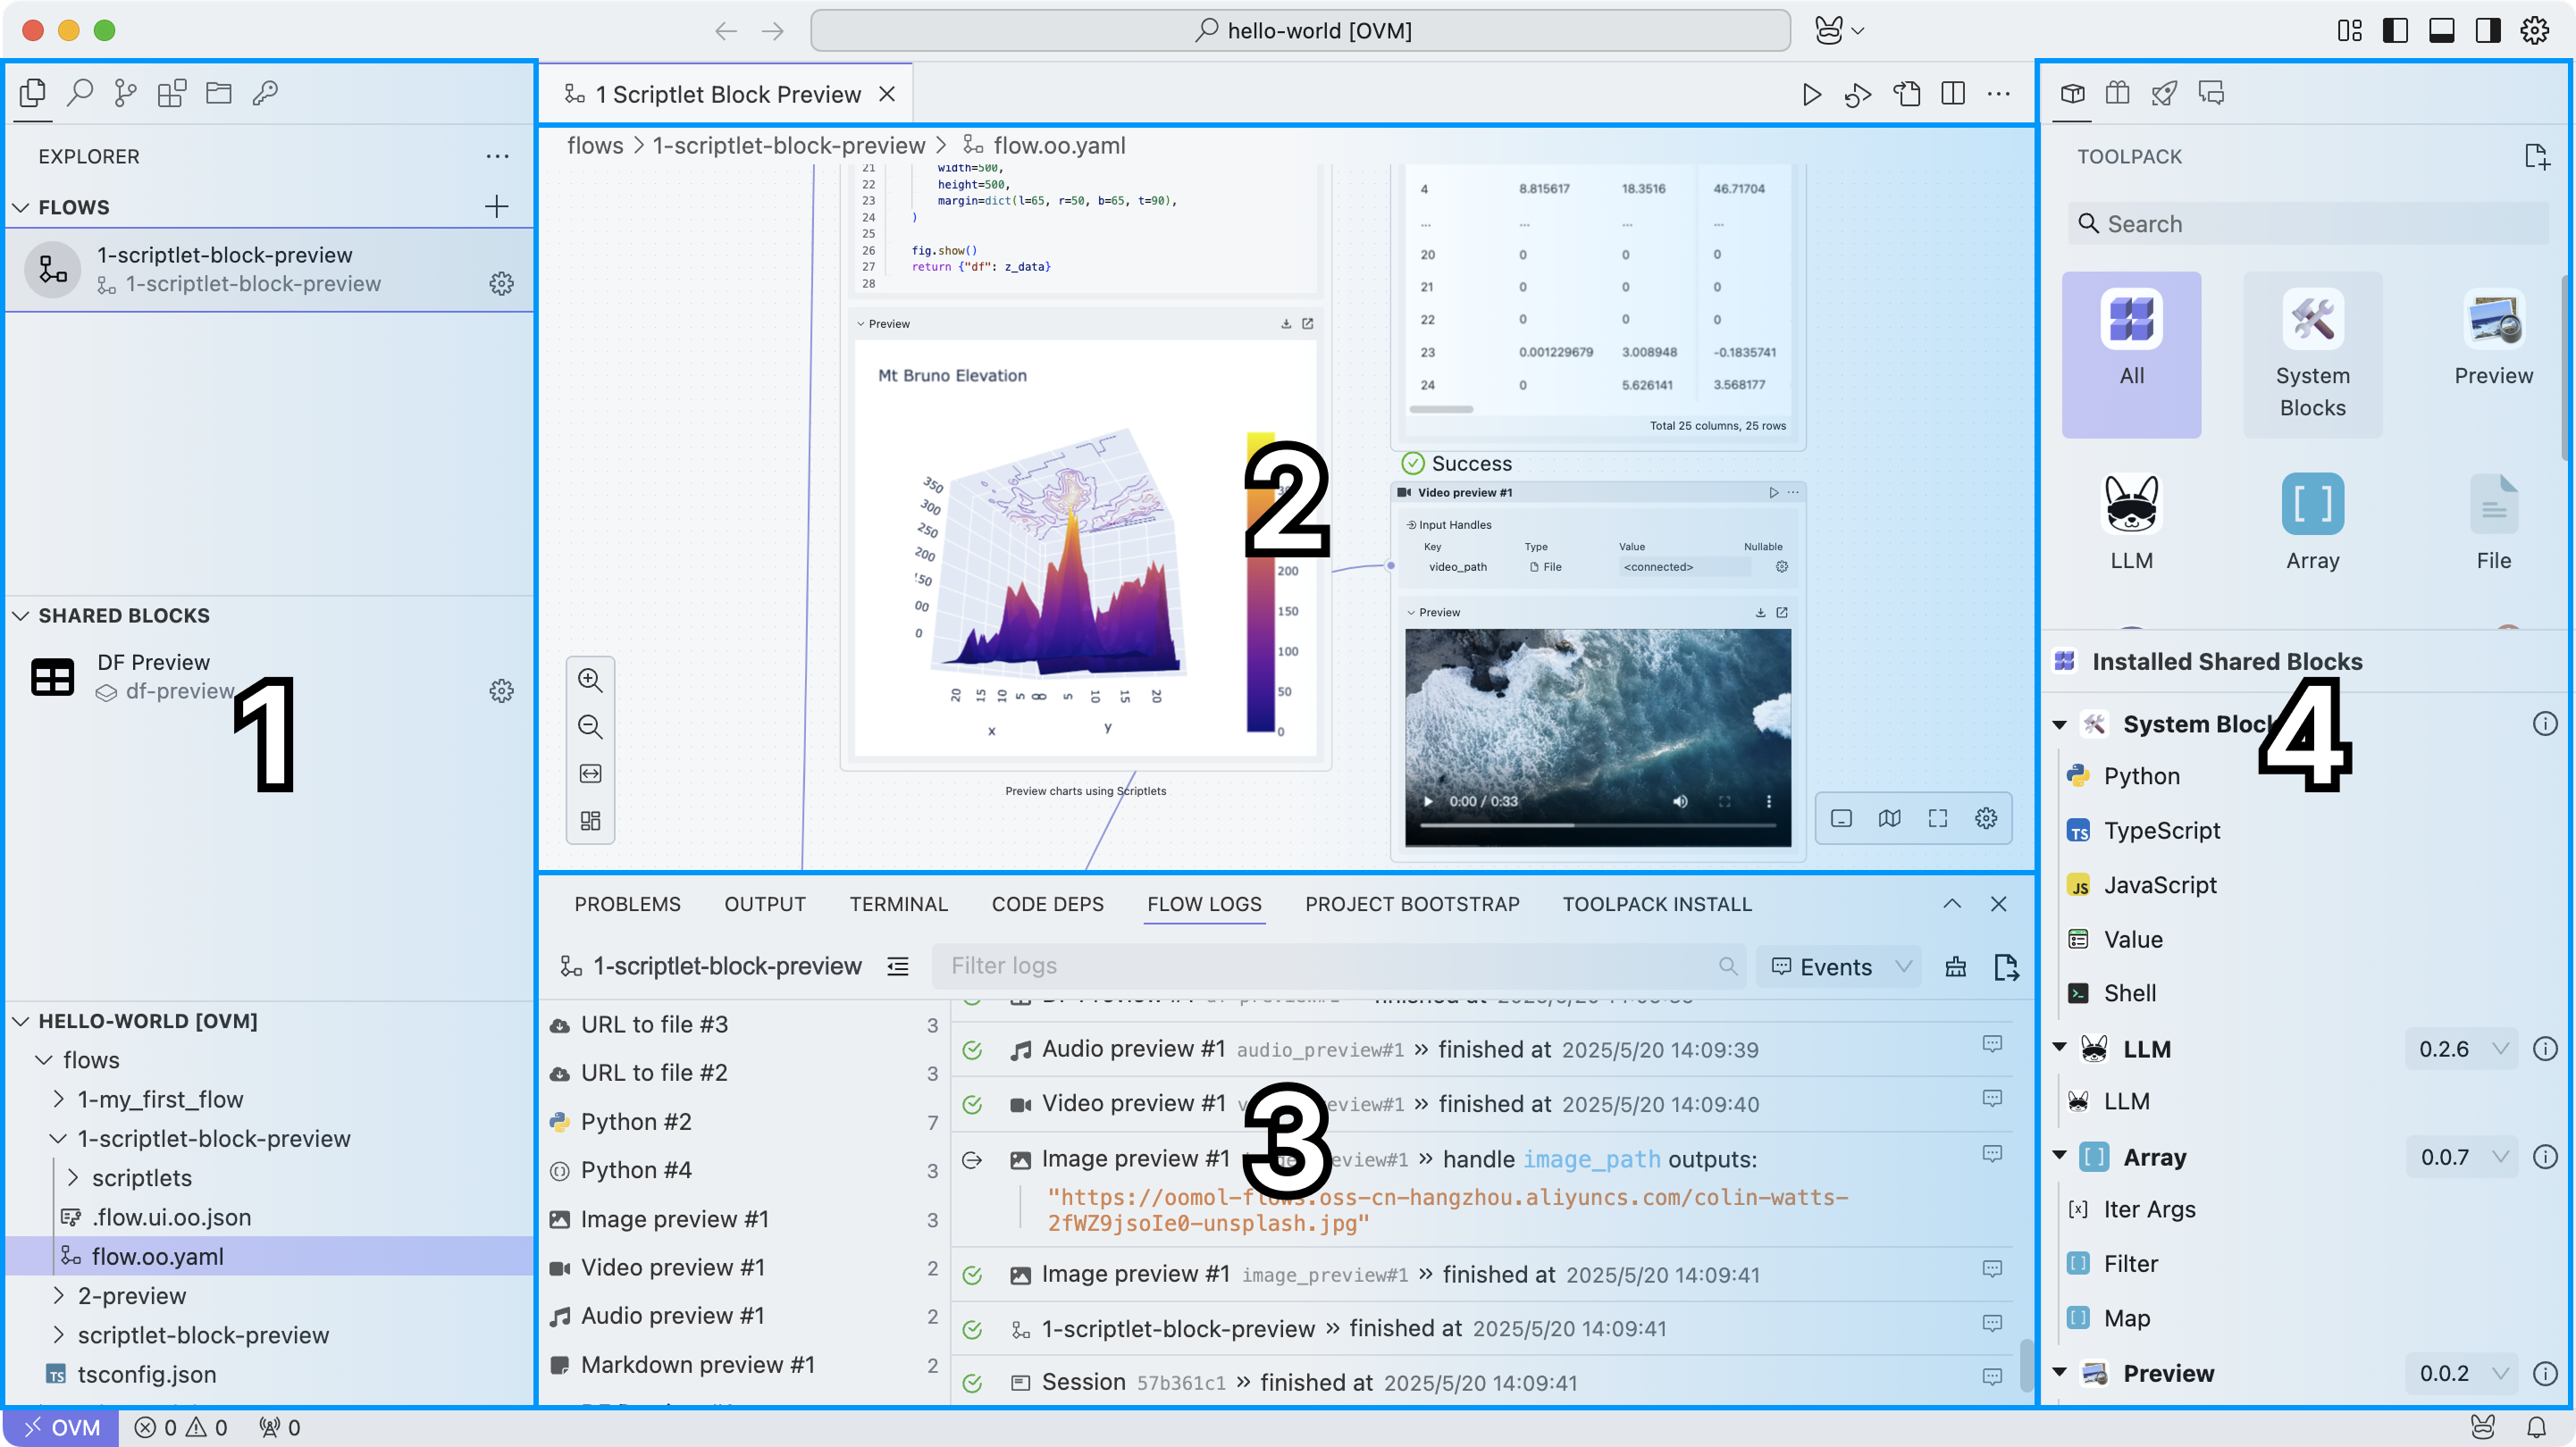
For explanation, we divide it into four areas:
Left Sidebar
By default, the left sidebar opens to Explorer. You can switch to other views such as Search, Source Control (git), Extensions, OOMOL Storage, and OOMOL Secrets.
Explorer
Here you can view all workflows, shared blocks, and files in the current project.
Flows


This area shows the Flows in the current project. You can add, delete, rename, and duplicate them here.
Clicking the left icon allows you to change the icon of this workflow, and clicking the gear icon in the lower right corner allows you to copy and delete it. The function of "Convert to Subflow Block" will be introduced in later sections.
Each Flow has both a name and an ID. The ID must be unique, while the name does not need to be. The ID is used on disk as the directory name; the name is mainly for display.
Today, multiple Flows are sorted lexicographically by ID. Drag-and-drop ordering may be added later.
By default, if you do not fill in the Flow name, the system will automatically name it as the ID.
Shared Blocks
This area displays all shared blocks in the current project. The interaction model is mostly the same as for Flows. It is mainly used for reusable logic such as utility functions and data-processing blocks.
We will introduce the usage of shared blocks in detail in subsequent sections.
File Tree
All files for this project are stored here. You can perform create, delete, modify, and query operations on the files here.
Search
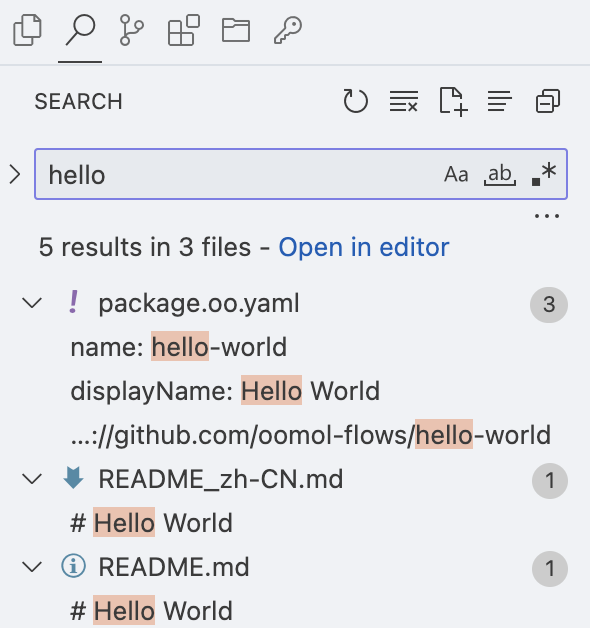
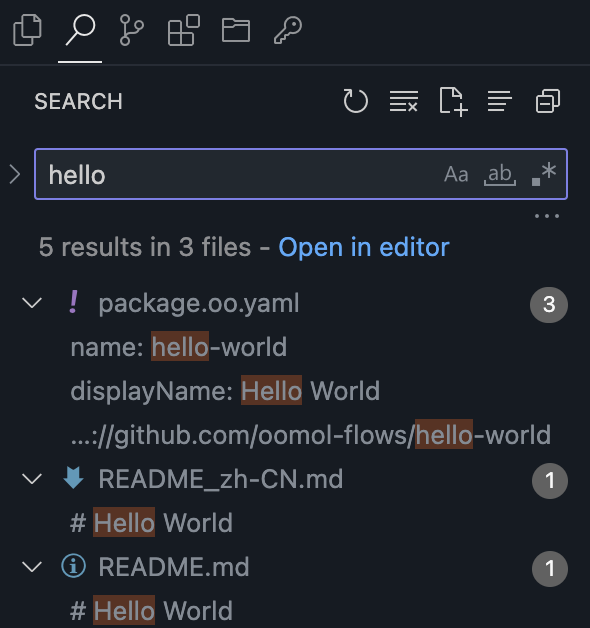
This searches across all file contents in the current project and supports regular expressions.
Source Control
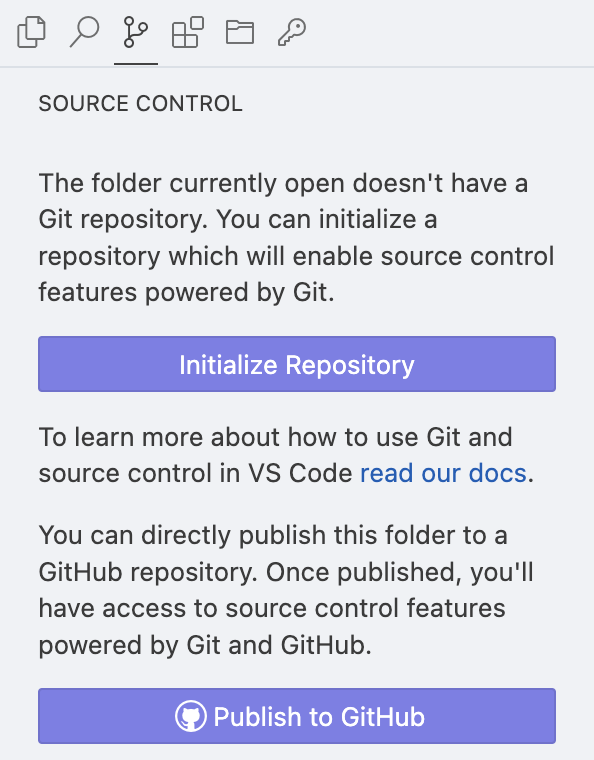
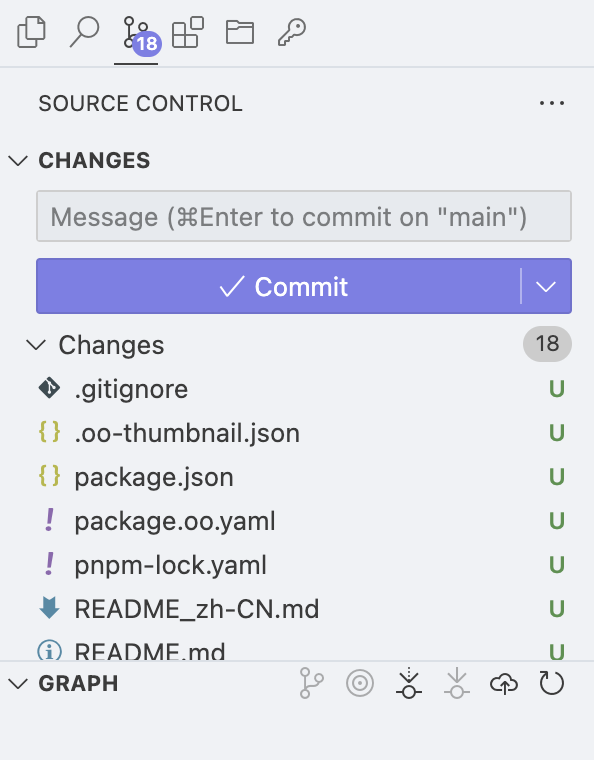
Here you can inspect the current Git status and perform operations such as commit, push, and pull. On macOS, OOMOL Studio includes a built-in SSH agent bridge that forwards your local SSH keys, so you usually do not need extra password prompts or manual SSH setup. It also works well with local 1Password integration.
Regarding the SSH Agent, we have open-sourced it: ssh-forward, ovm-ssh-agent. For usage instructions, refer to Support System's SSH Auth.
This feature currently only supports macOS.
Git status is not always refreshed immediately. If you modify project files outside OOMOL Studio, such as adding, deleting, or renaming files, the Source Control view may not update automatically. You can refresh it manually with the button in the upper-left corner.
This happens because of known issues with the Linux kernel inotify mechanism on virtiofs. More details: https://github.com/containers/podman/issues/22343.
This issue is currently only present on macOS, and we will fix it in future versions.
Extensions
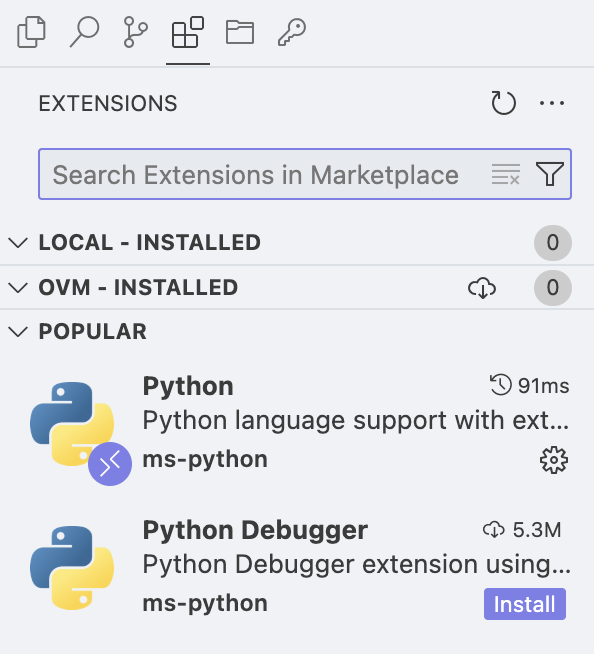
You can view all extensions for the current project in this tab, and you can also click the button in the upper right corner to install local extensions.
Currently, the extension source used by OOMOL Studio is OpenVSX.
Space
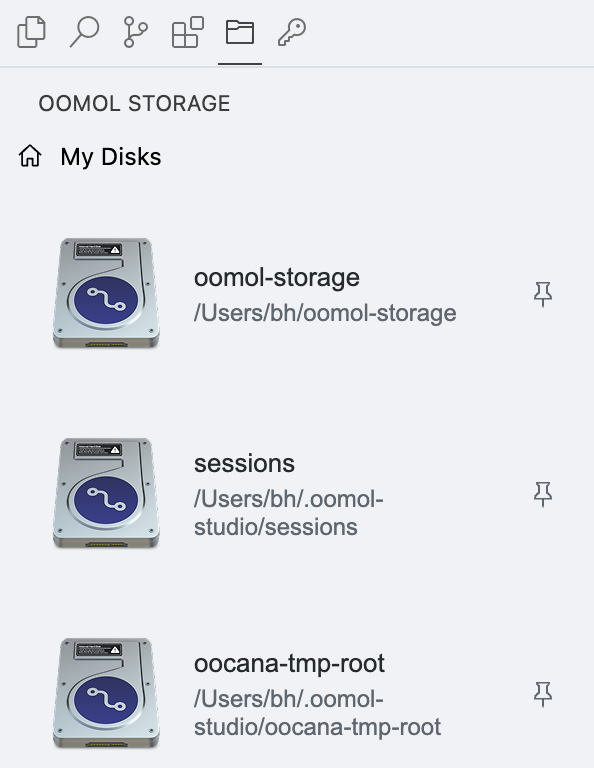
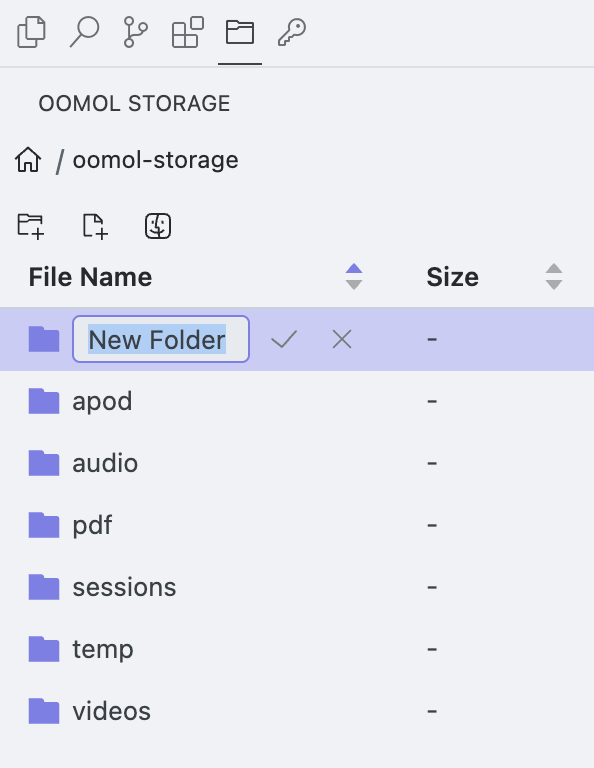
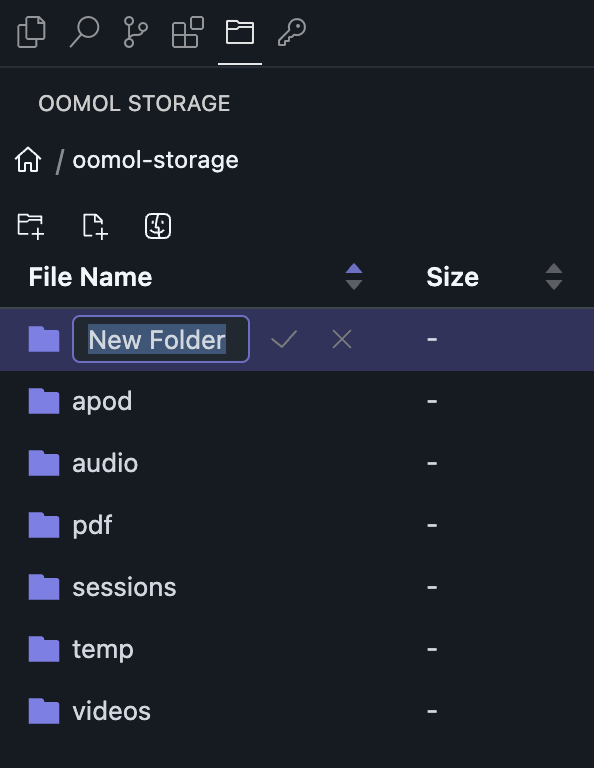
This is essentially the same as Home - Space, but adapted to a narrower layout.
You cannot create new mount points on the current page. If you want to create new mount points, please go to the Home - Space to create them.
Keys
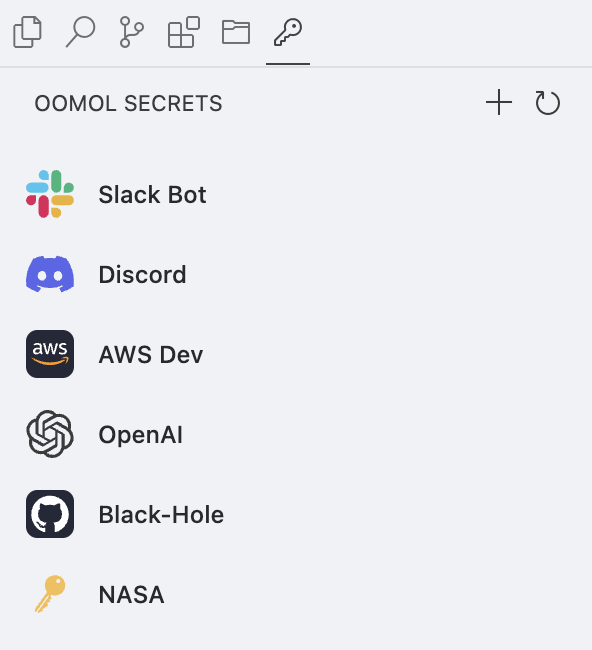
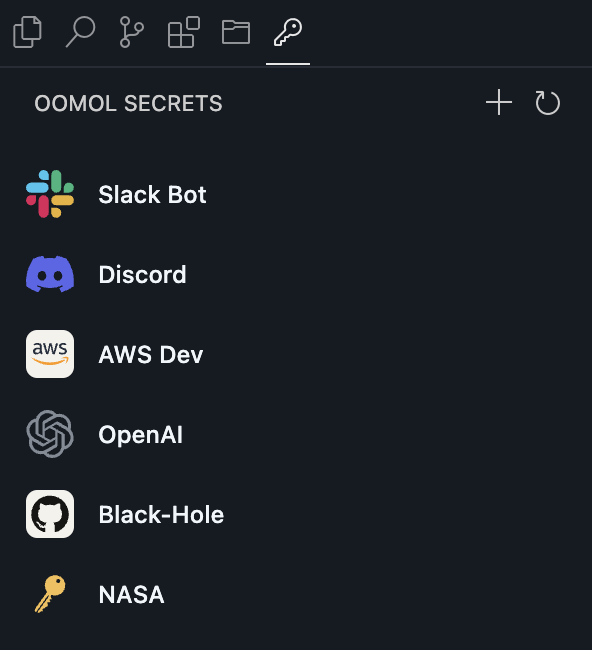
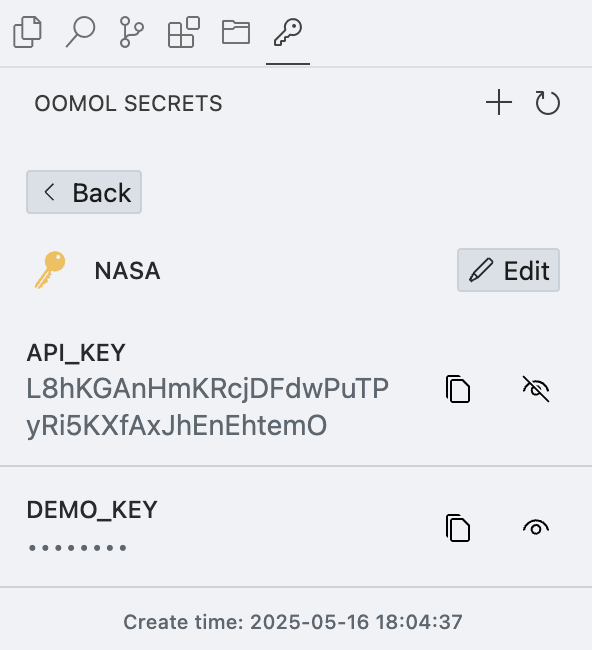
This is equivalent to Home - Secrets, but adapted to a narrower layout.
Center Main Area
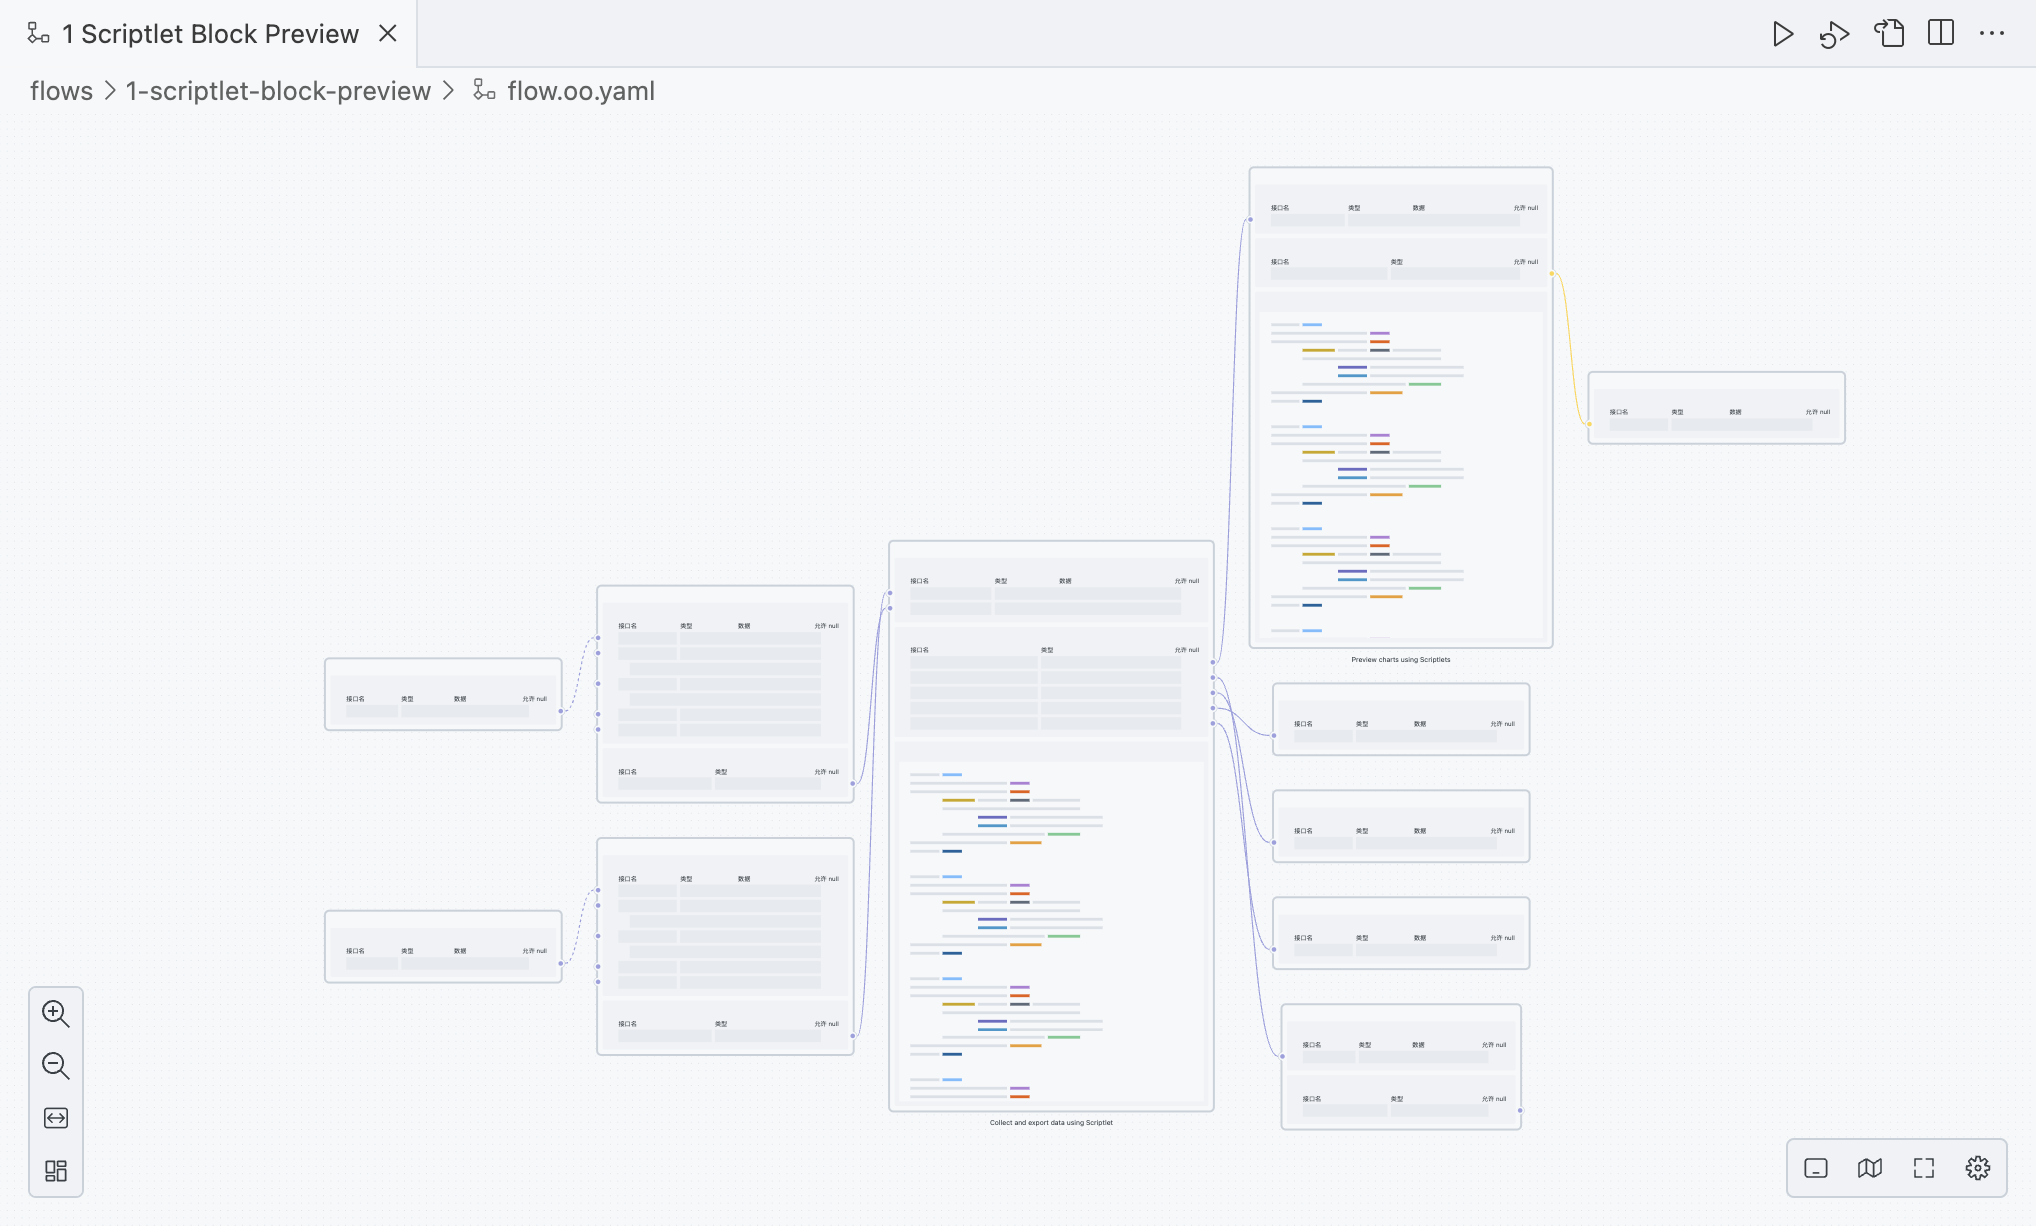
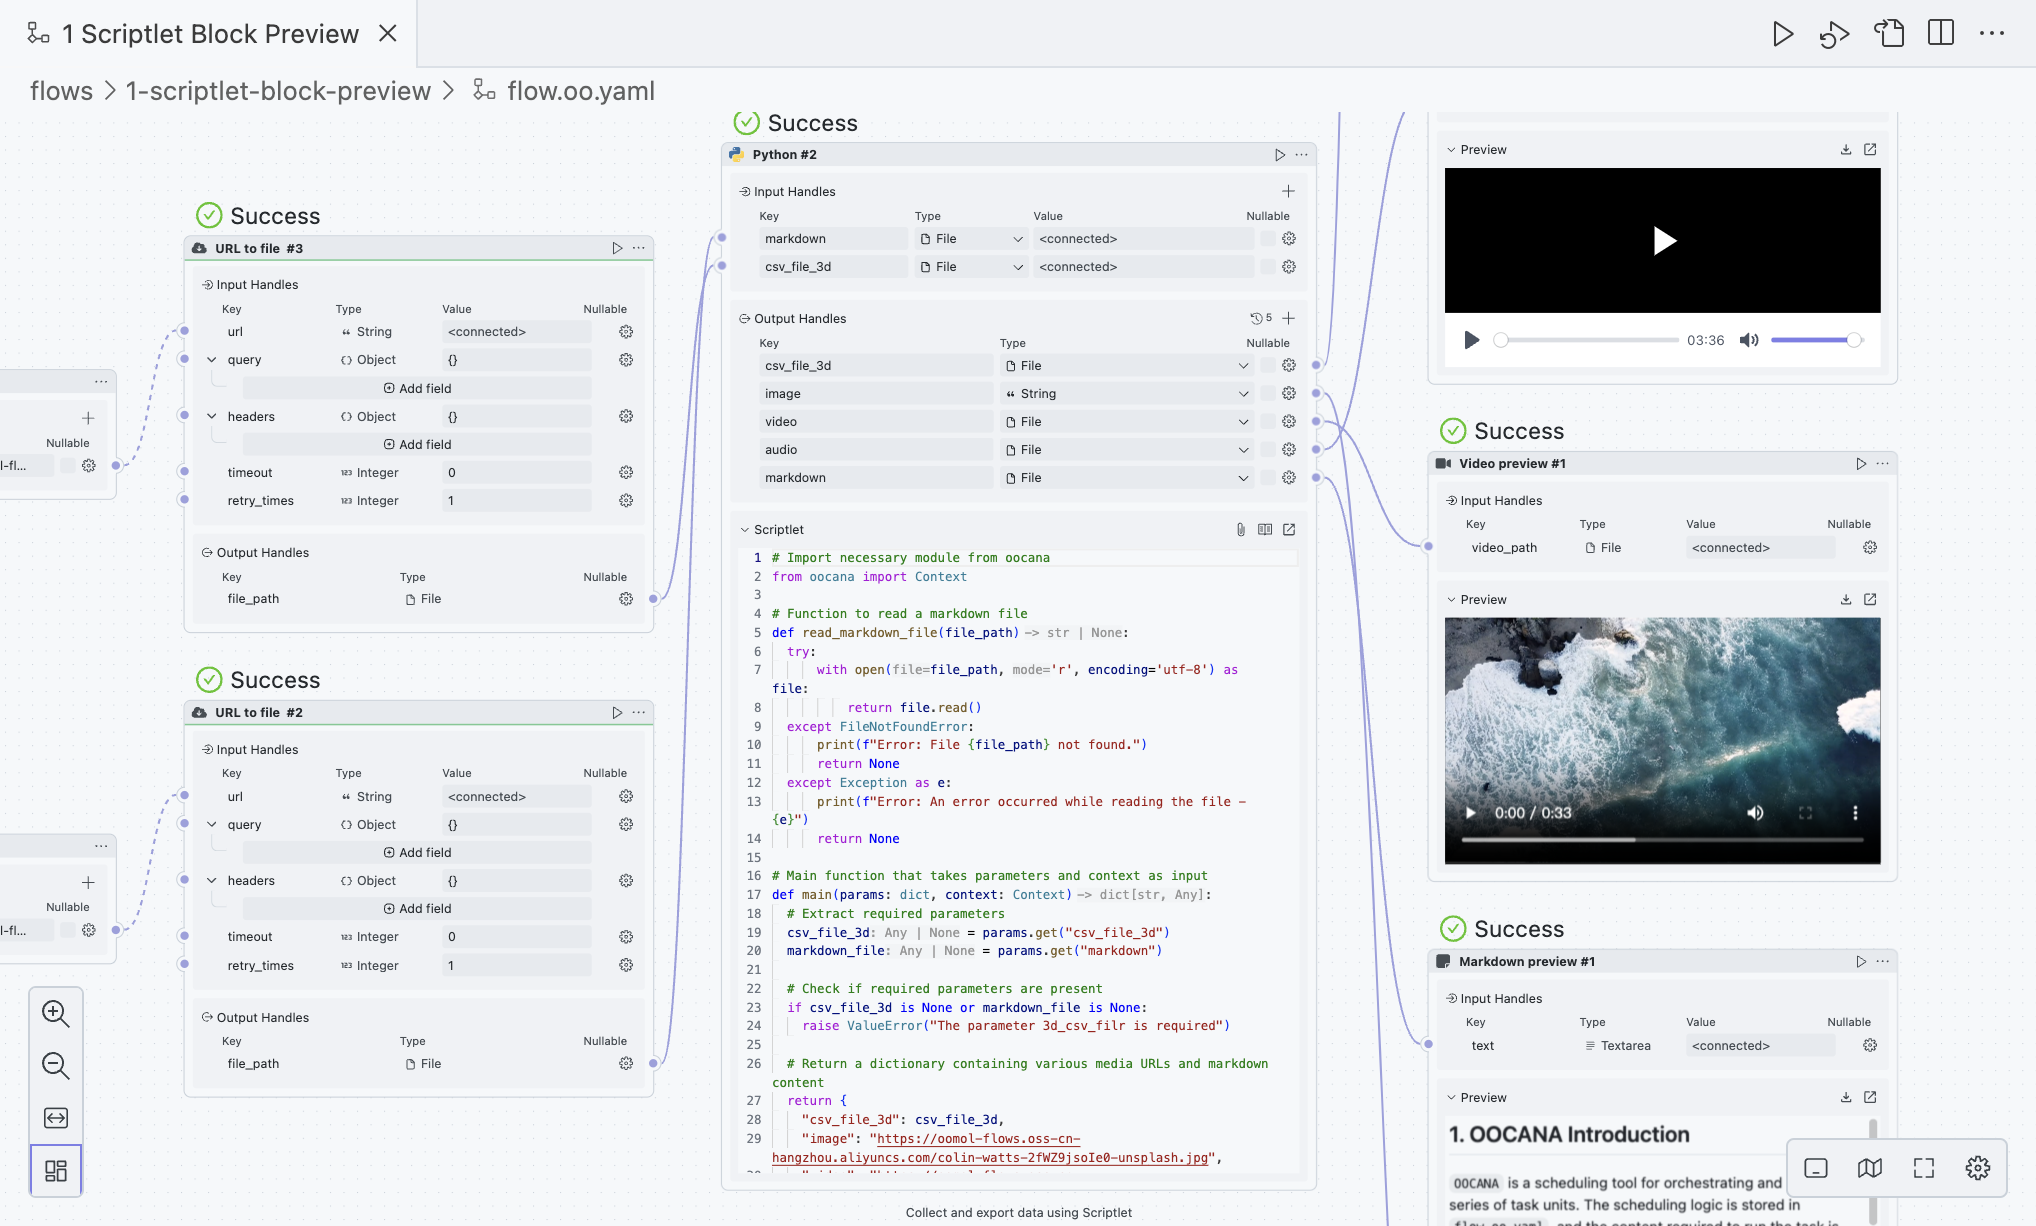
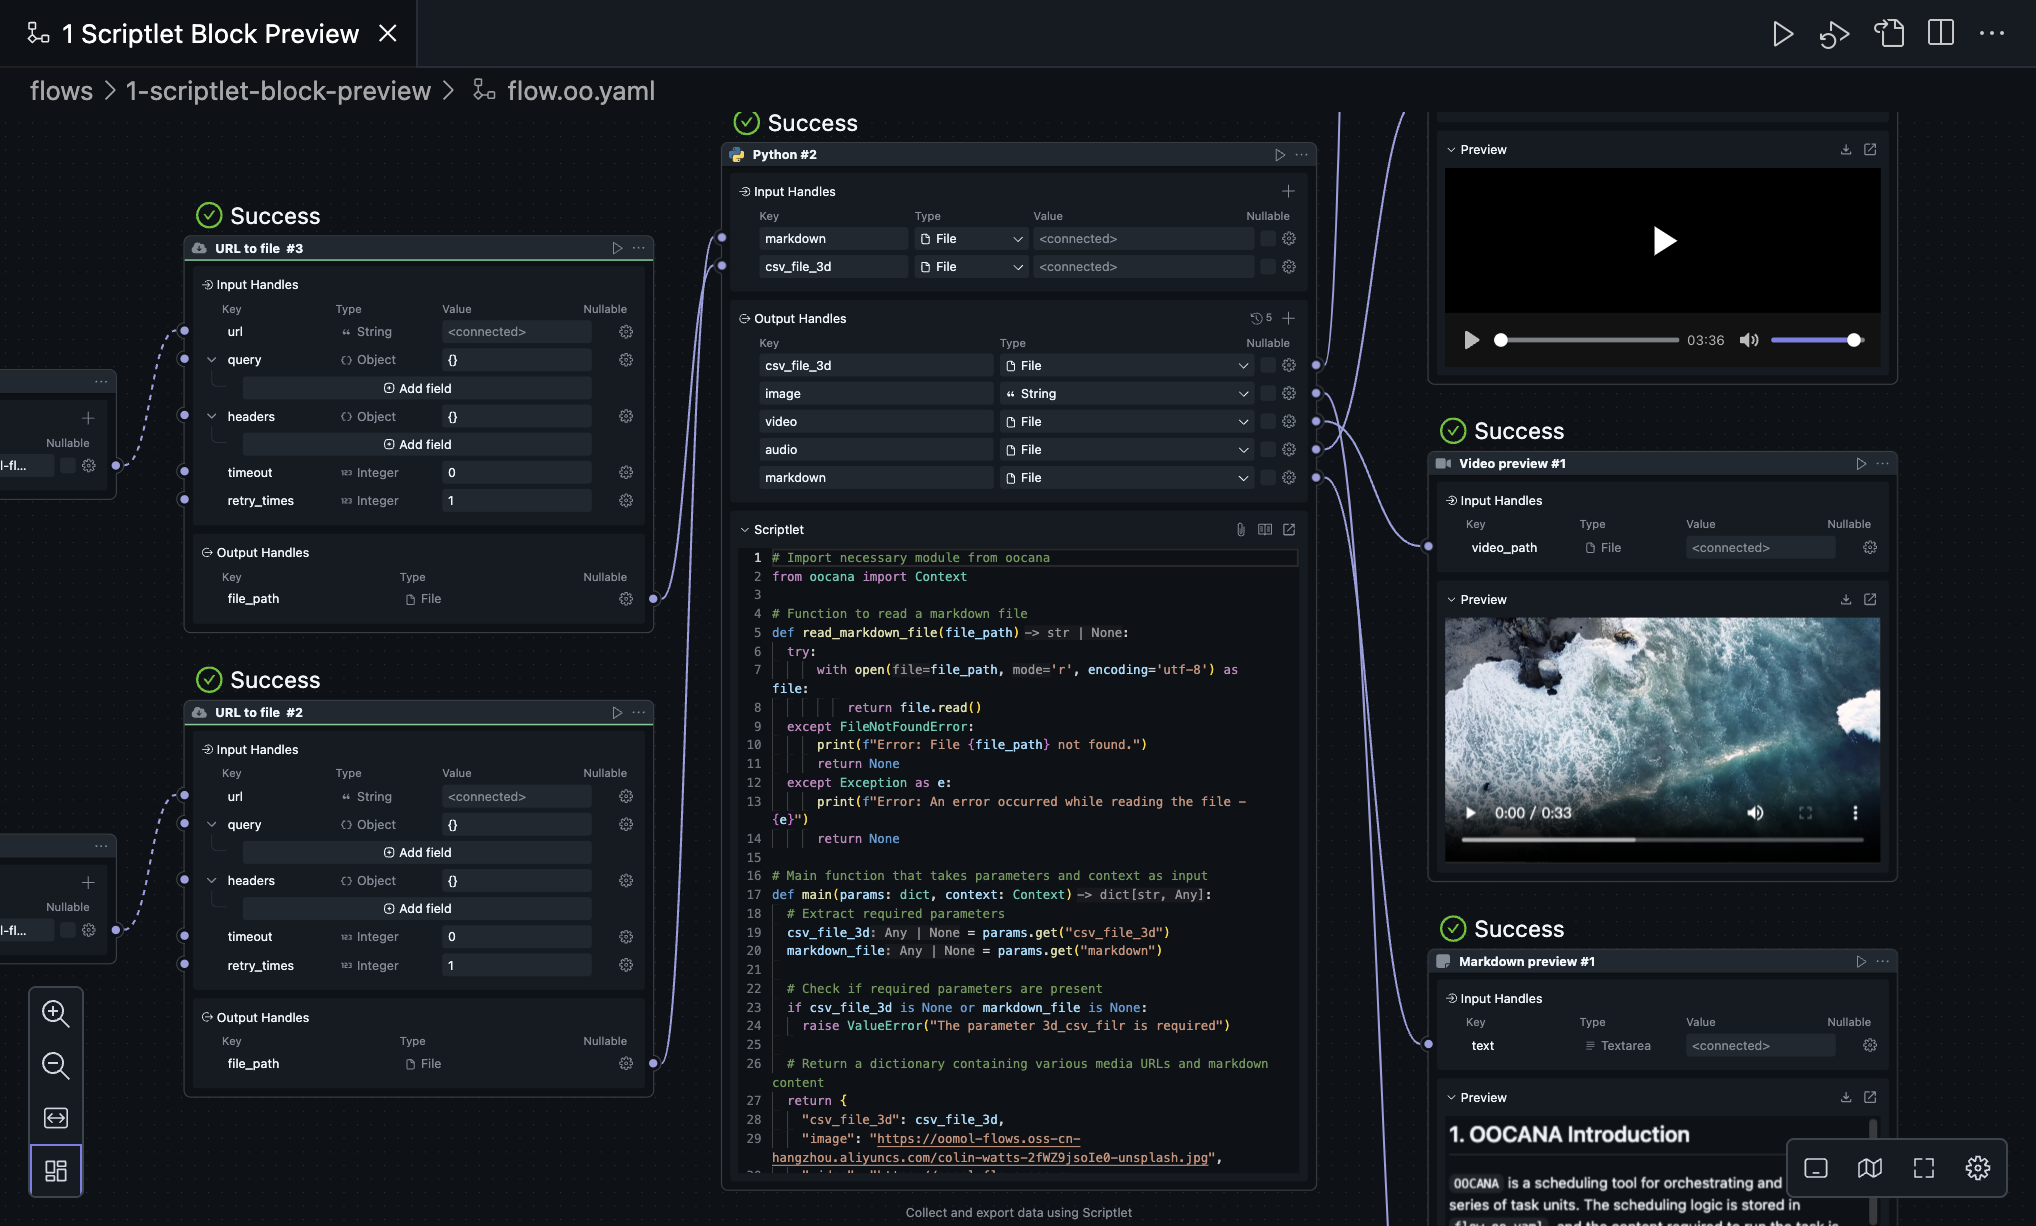
This is the main workflow editing area, and it is where you will spend most of your time. Here you can edit the workflow, run it, debug it, and connect blocks.
The four icons in the upper right represent:
- Run
- Debug
- Toggle between UI and YAML
- The workflow is stored as YAML, but OOMOL Studio shows it as a visual editor by default.
- Split Editor
The four icons in the lower left represent:
- Zoom In
- Zoom Out
- Fit to current view
- Auto Layout
- When there are many blocks and connections, auto layout can reduce visual clutter.
The four icons in the lower right represent:
- Mode switch for touchpad and mouse
- When using the touchpad, we recommend switching to touchpad mode.
- When using the mouse, we recommend switching to mouse mode.
- Open Mini Map
- Full Screen Area
- Workflow Settings
- Icon
- Title
- Description
Bottom Bar
In this area, you can observe runtime logs and manage third-party dependencies needed during development.
Problems
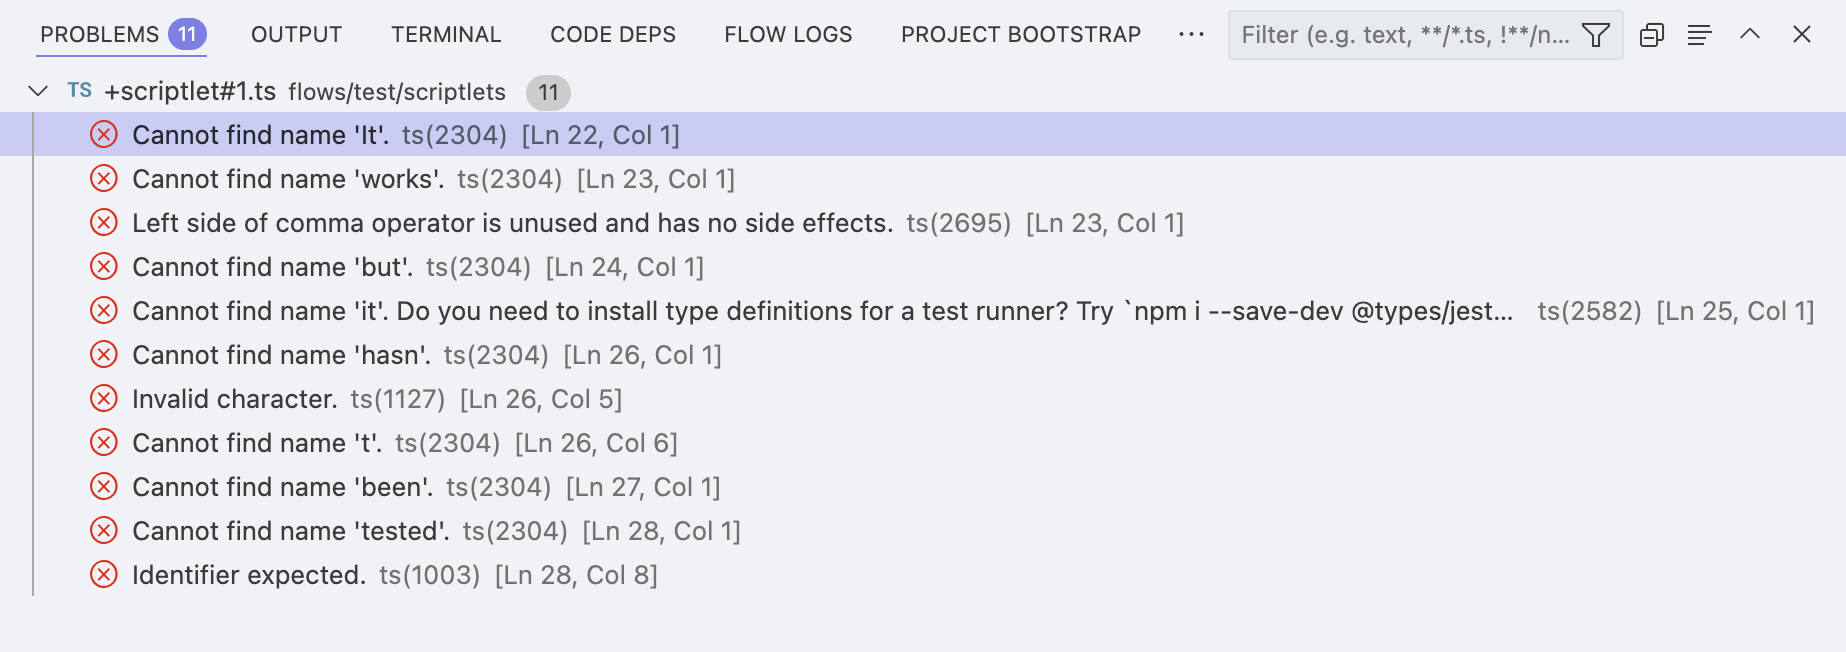
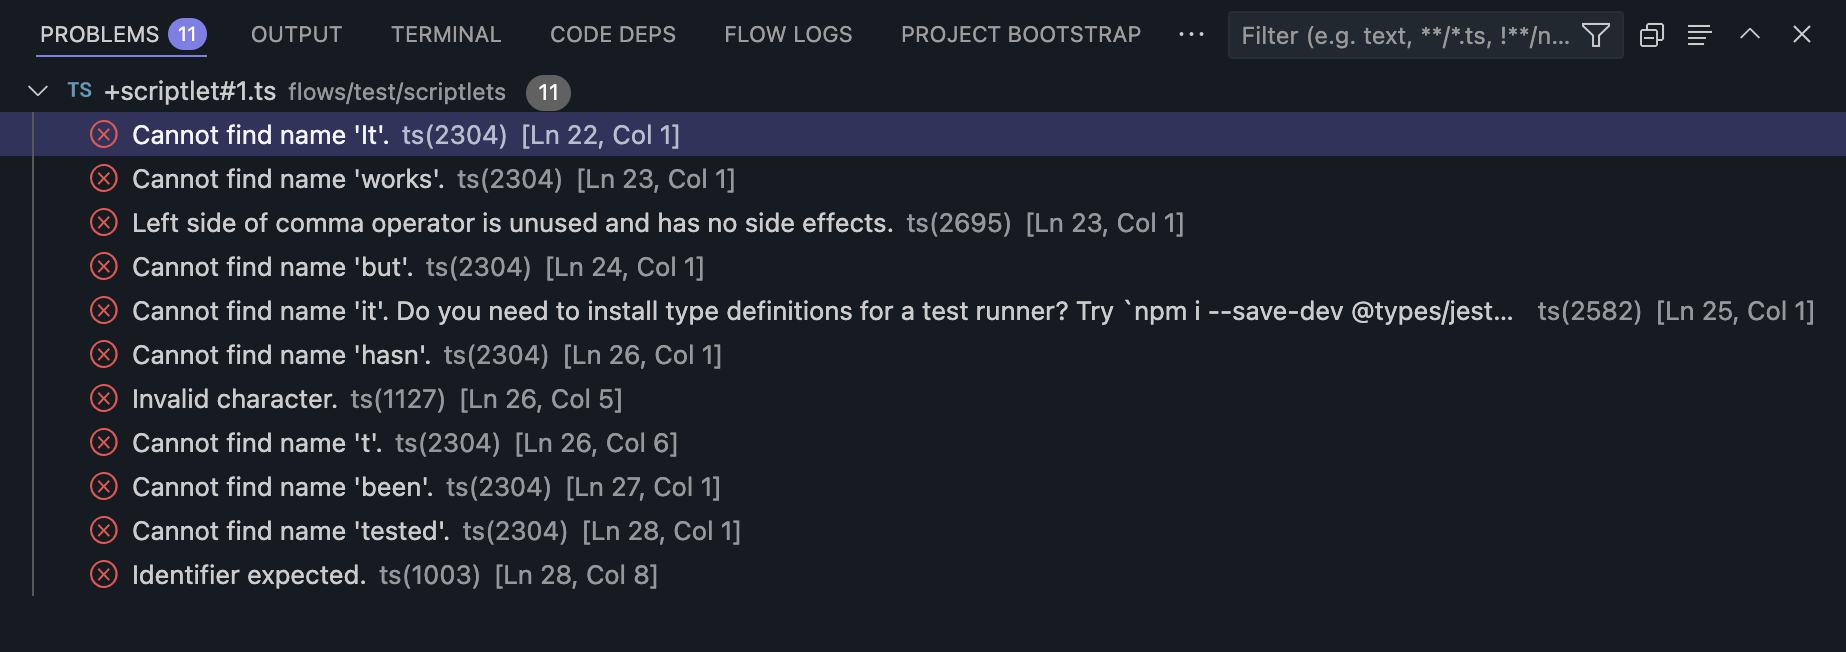
This area automatically collects validation issues and code errors so you can locate problems quickly.
Output

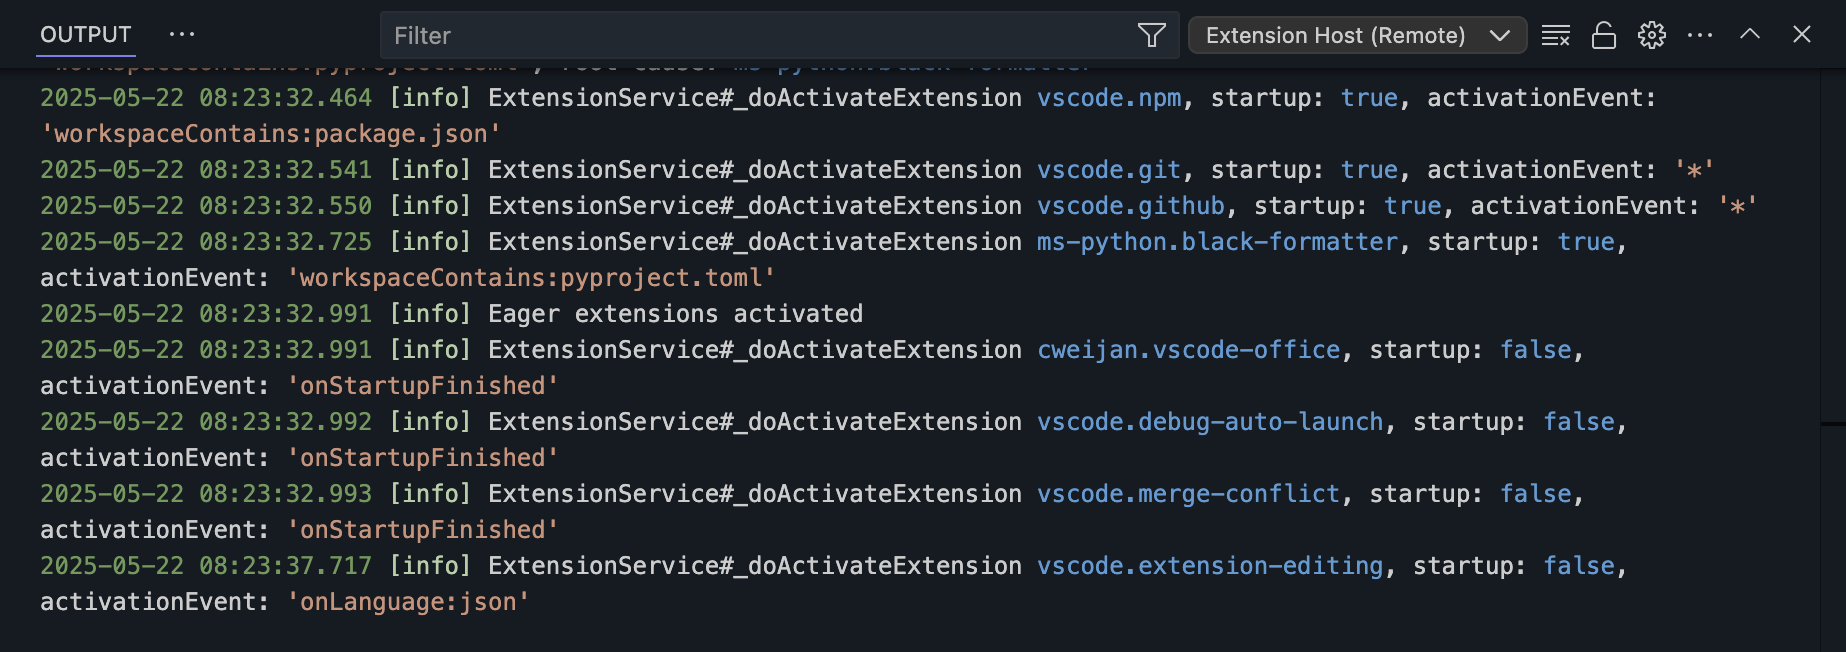
This area shows logs from OOMOL Studio itself and from extensions. In normal usage, you usually do not need to watch it closely.
Terminal
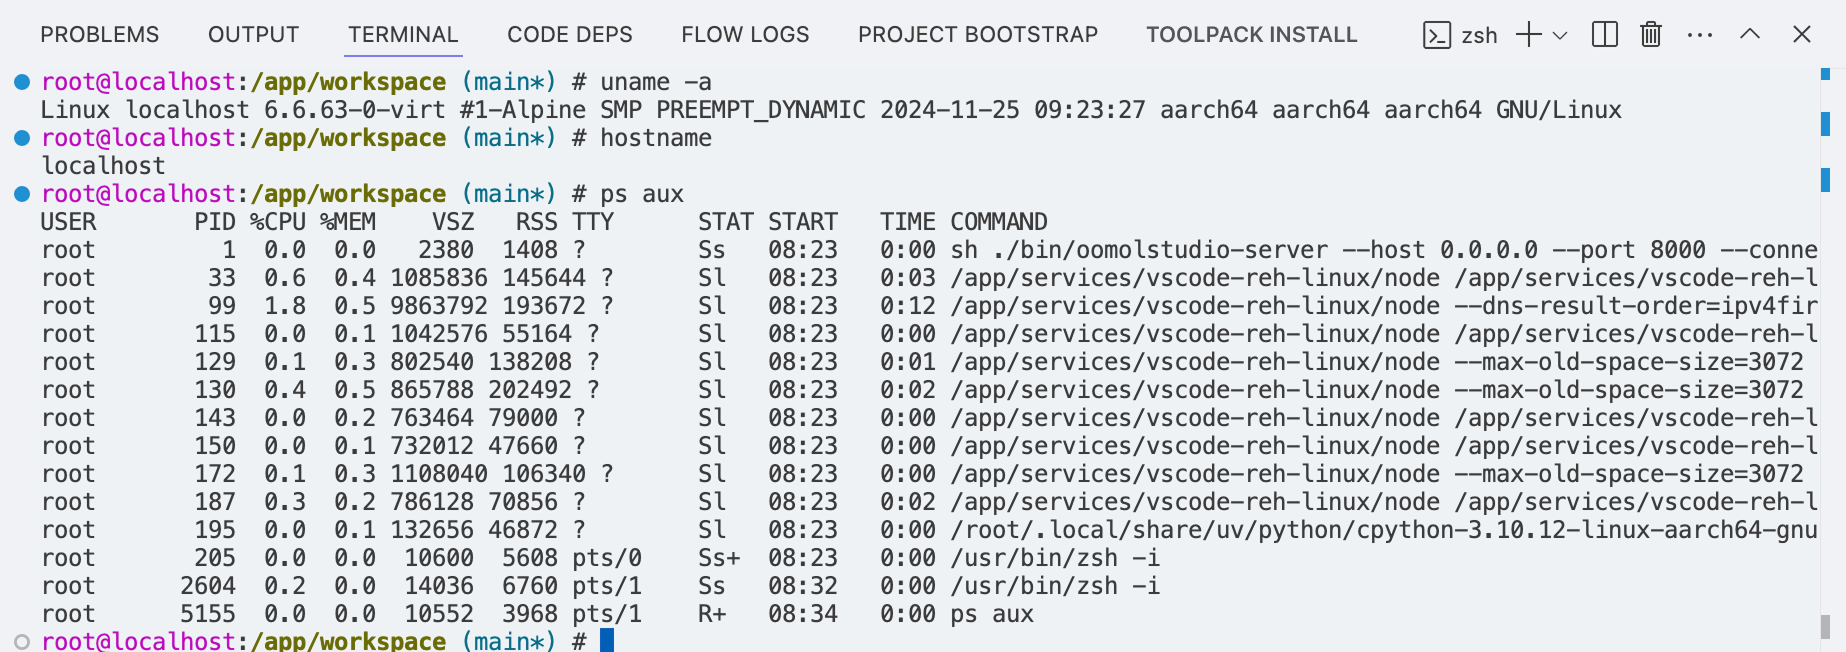
This area gives you a terminal inside OOMOL Studio, where you can run Linux commands. The project runs in a container rather than directly on your host machine, so commands executed here usually do not affect your local environment.
Although the environment is isolated, do not perform dangerous operations, such as rm -rf /, as mounting certain directories may lead to files being deleted from your local machine.
Code Deps
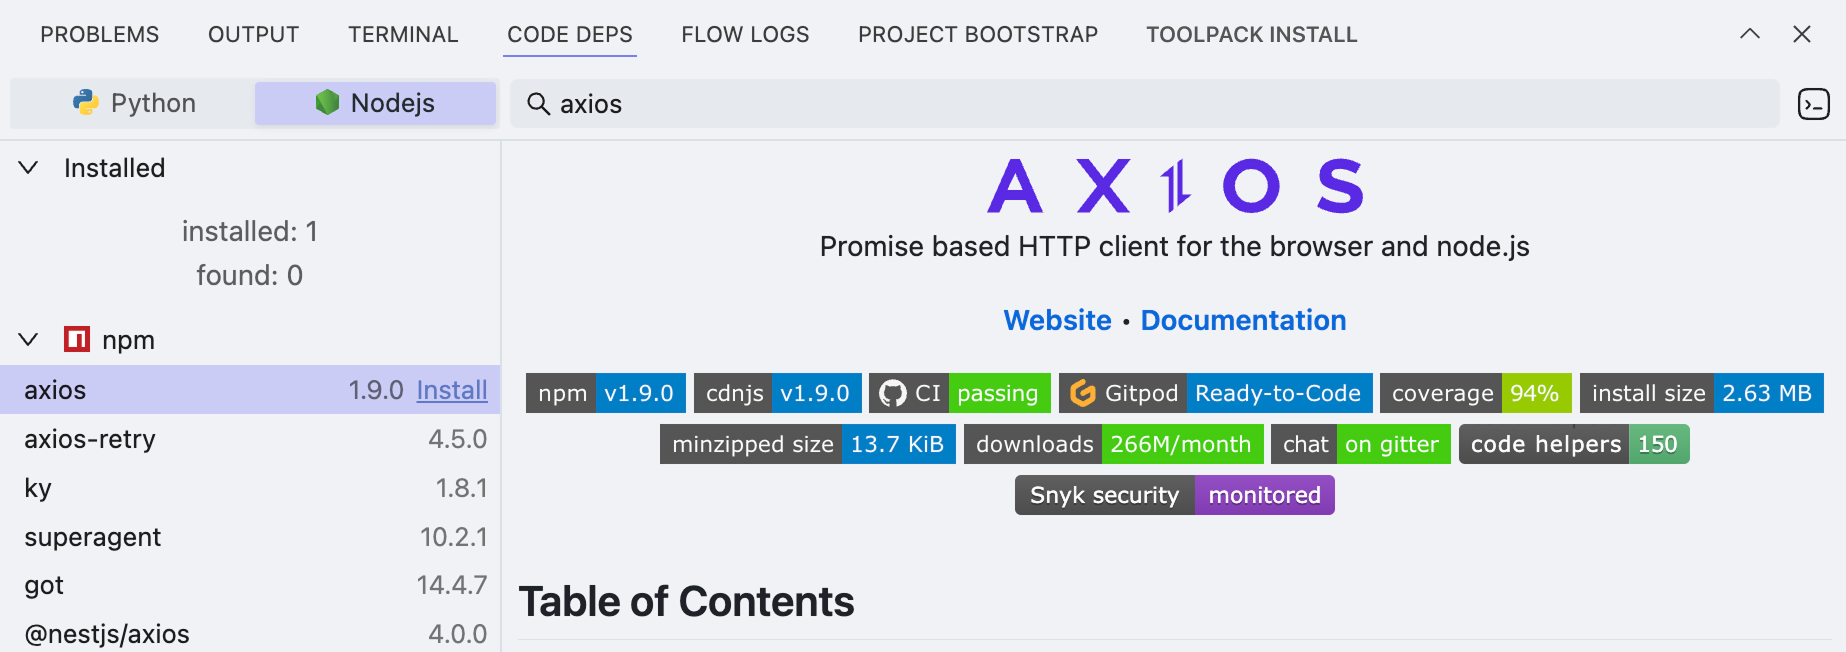
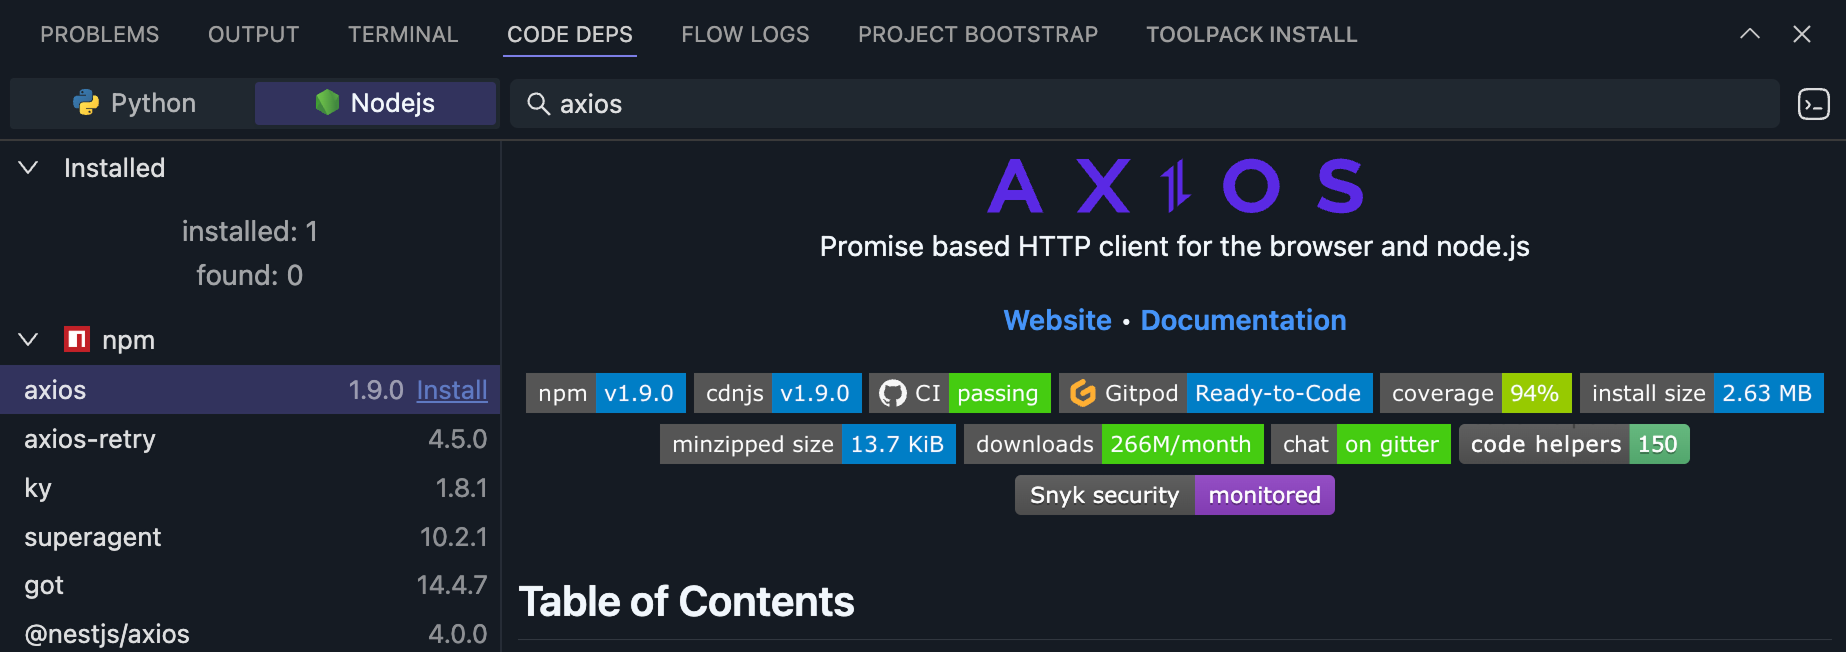
Here you can install npm or PyPI dependencies into the current project so they can be imported from scriptlets and other project code.
Flow Logs
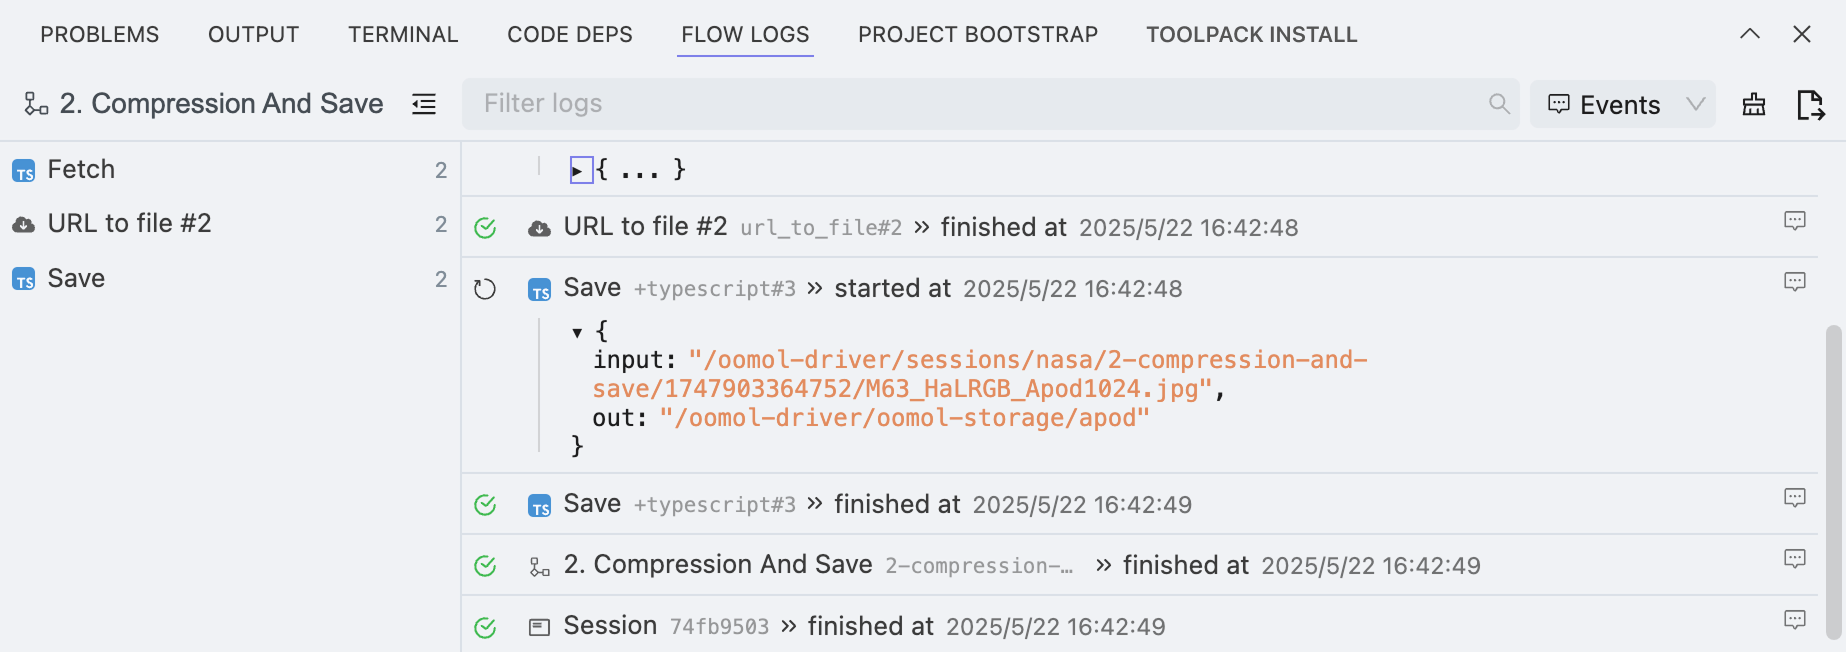
When you run a workflow, its output appears here. If you do not need event-level logs, switch to Stdio in the upper-right corner to show only the workflow's stdout and stderr.
Project Bootstrap
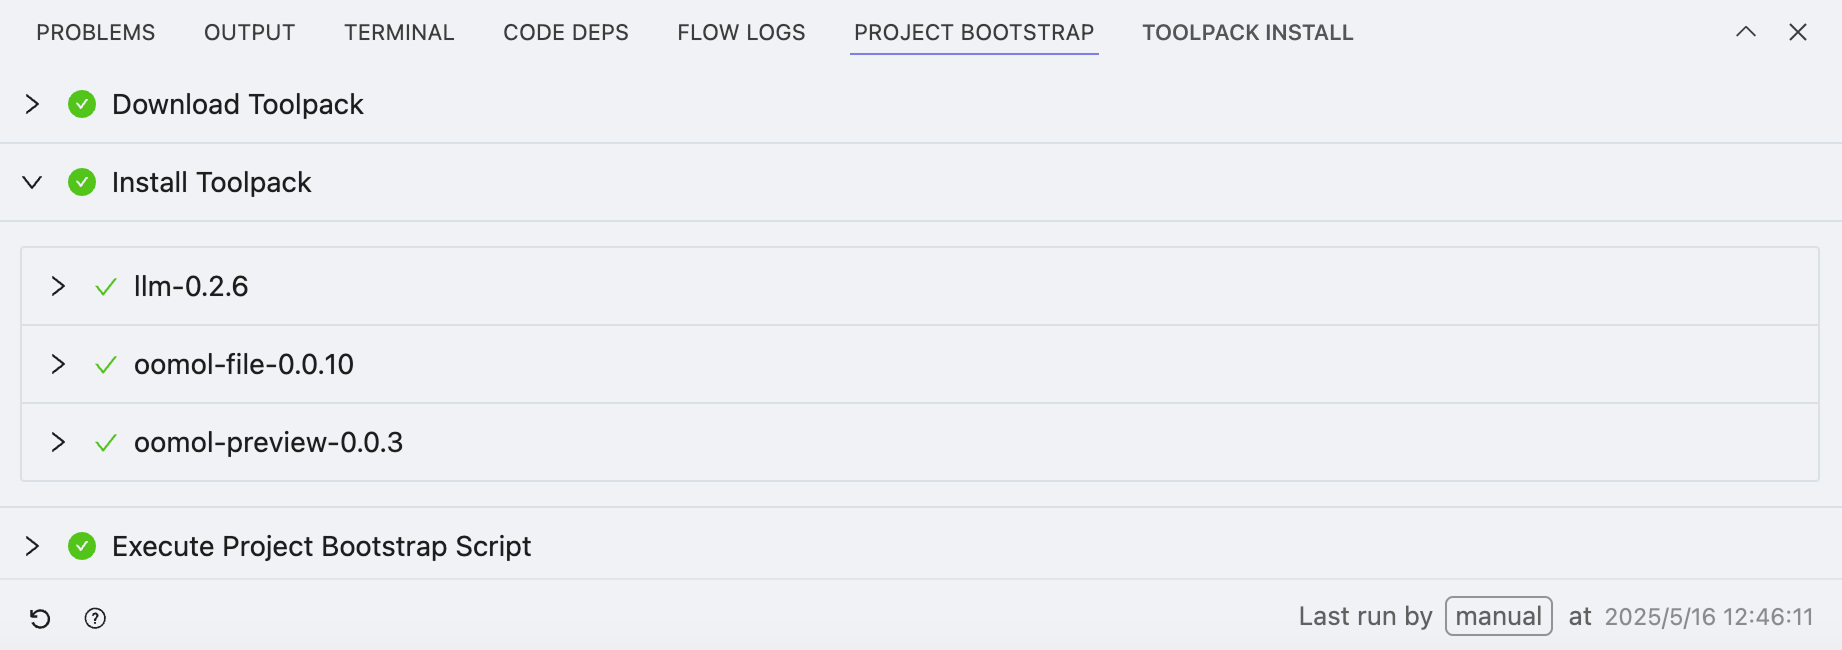
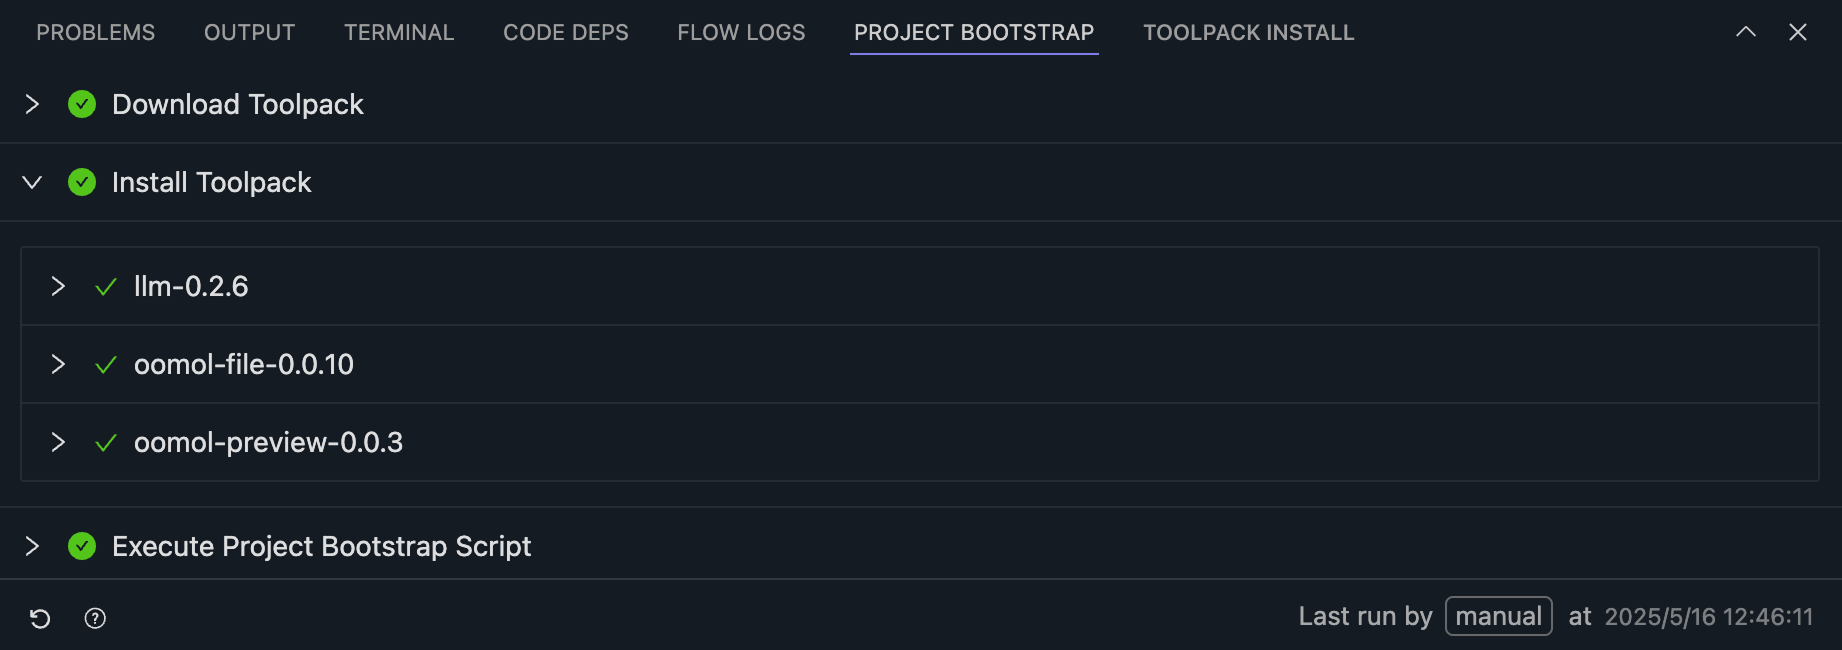
When you import a new project, OOMOL Studio automatically initializes it, including:
- Downloading Toolpack
- Installing Toolpack
- Executing the project bootstrap script
- Defined by the
script.bootstrapfield in the current project'spackage.oo.yamlfile.
- Defined by the
Toolpack Install
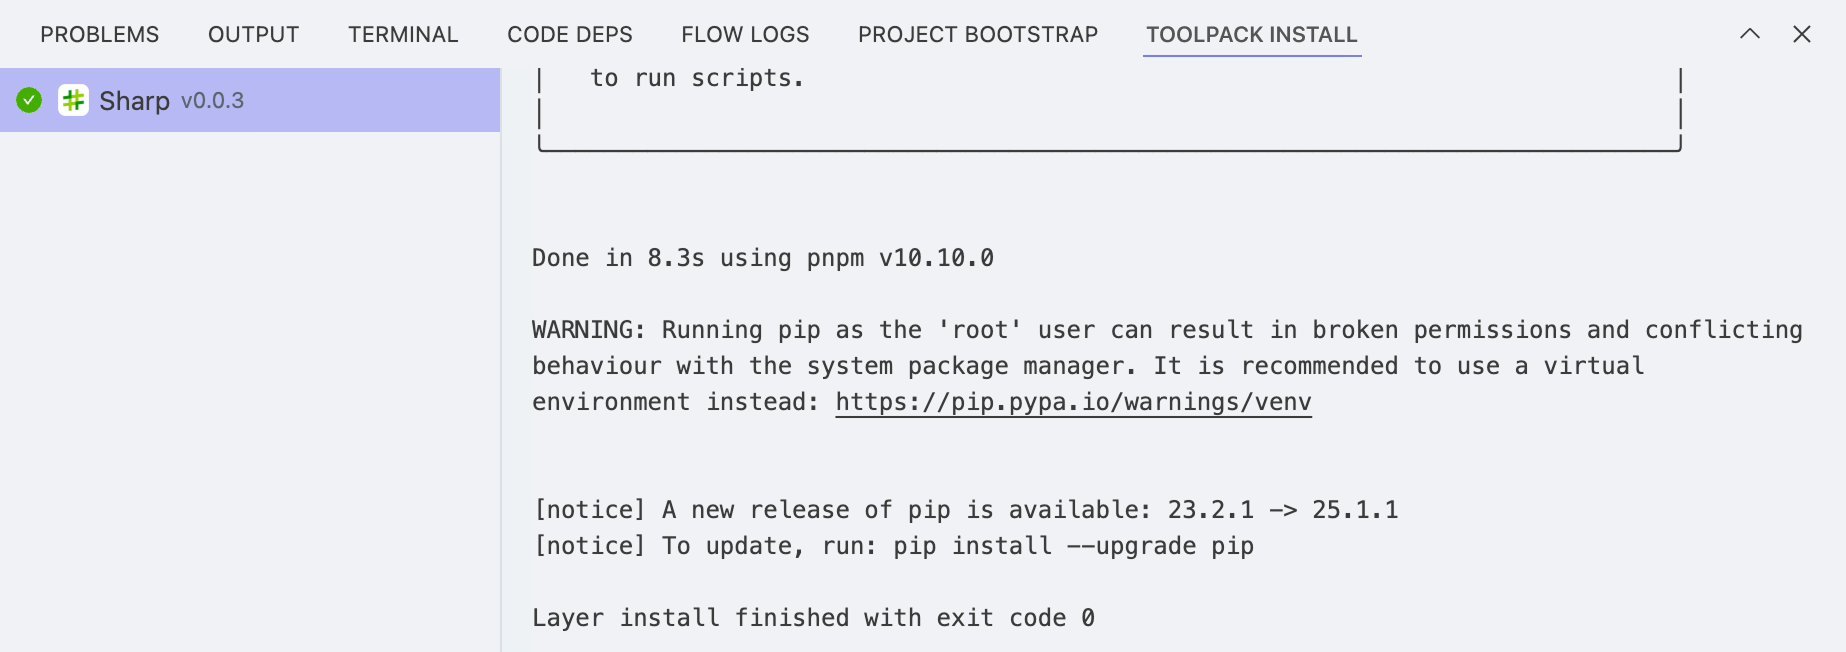
When you install a third-party toolpack, its installation logs appear here.
Right Sidebar
In this area, you can install and use toolpacks, publish the current project, and use the AI assistant for editing tasks.
Toolpack
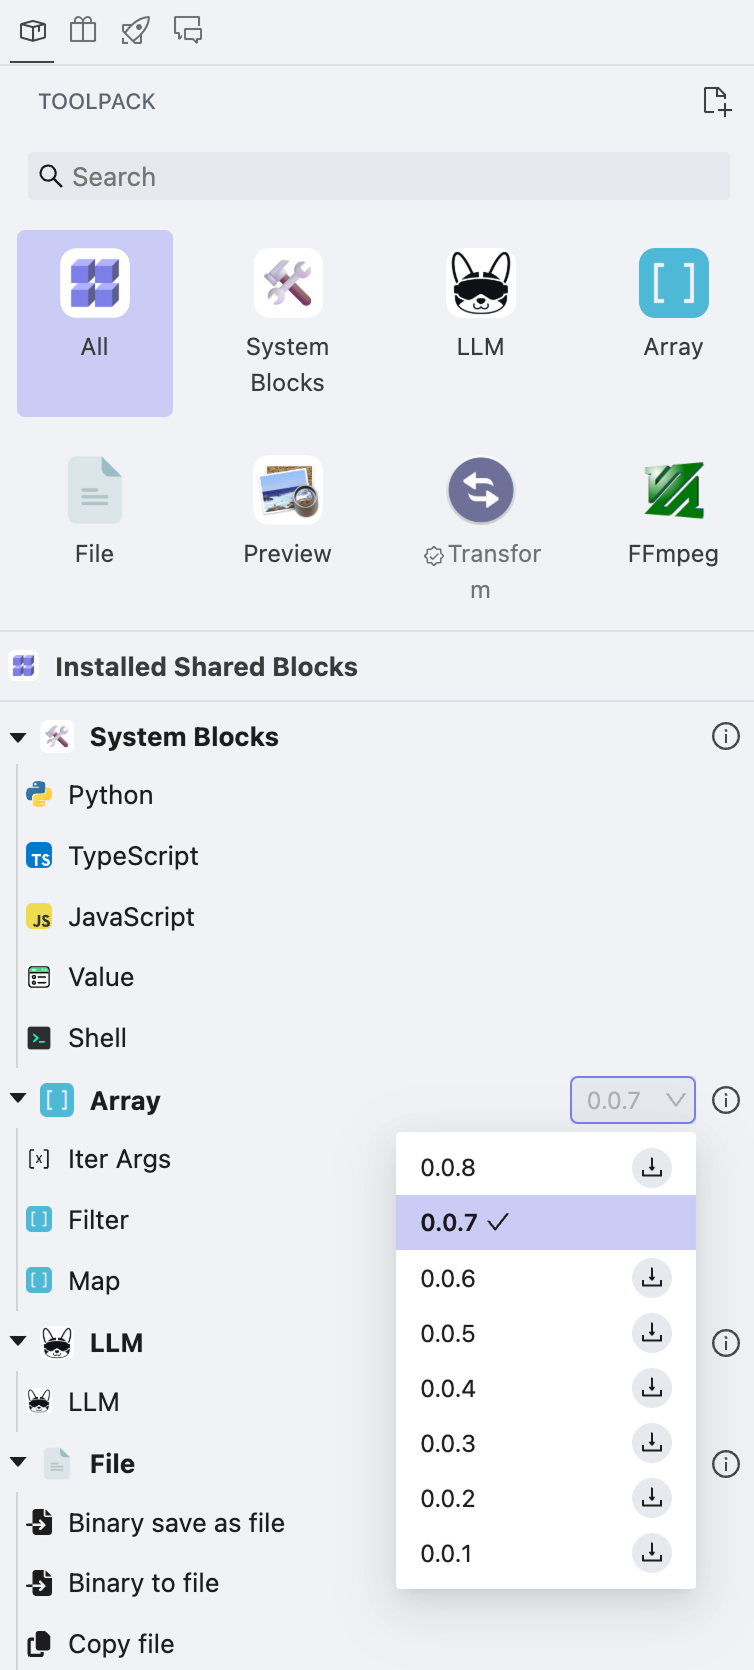
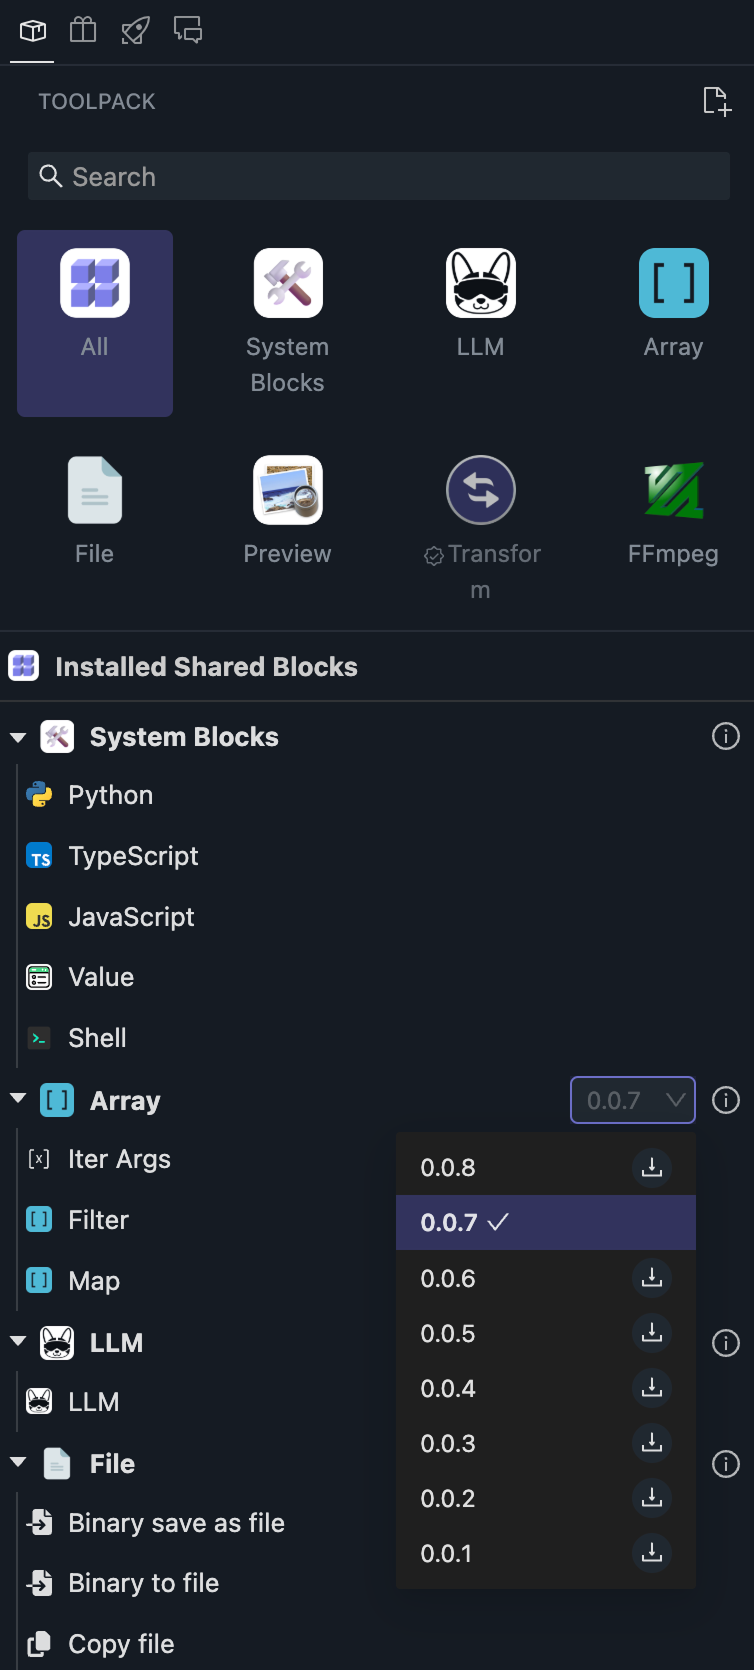
Each toolpack may contain one or more blocks. The package name is shown at the top, and the block list appears below it. Except for built-in system blocks, installed toolpacks can be removed.
Toolpacks can have multiple versions, and you can click the displayed version number to upgrade or downgrade.
When you install Tool-1 in the Proj-A project, you can also use Tool-1 directly in the Proj-B project without needing to reinstall it.
Only when you actually use Tool-1 in the workflow will it be included when publishing to the OOMOL Store. Otherwise, it will not be included.
Store
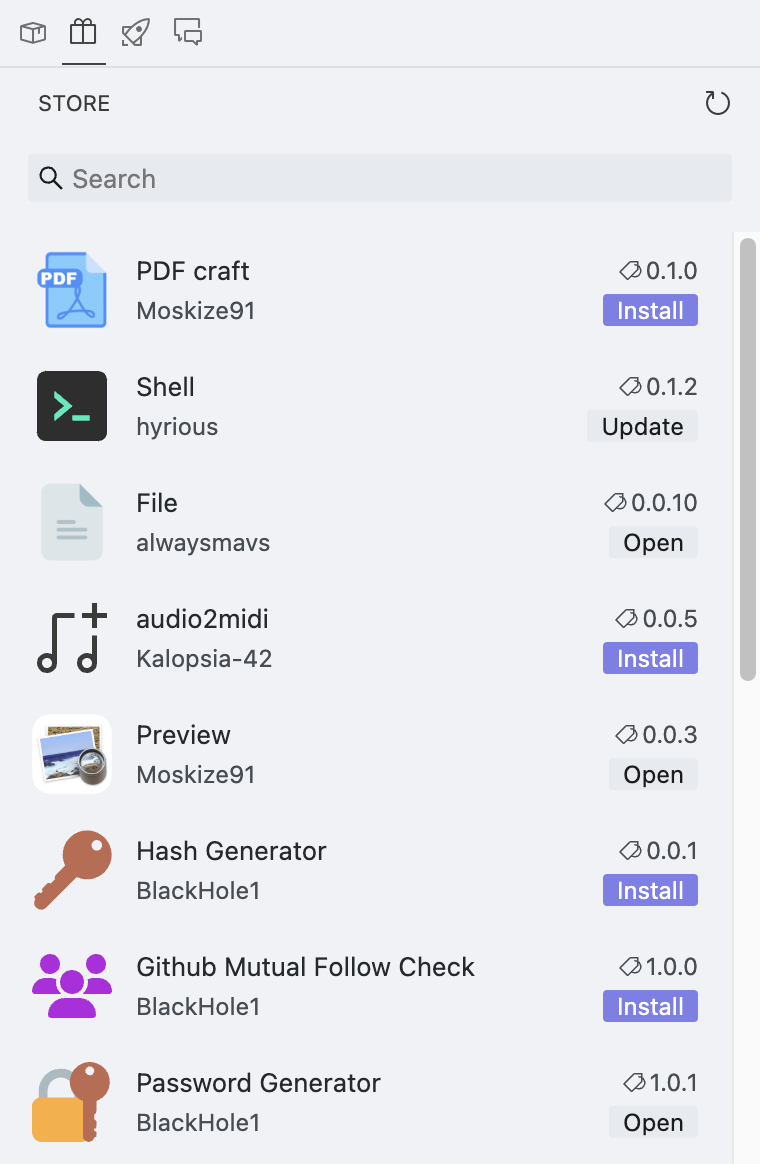
Here you can browse all toolpacks in the OOMOL Store and install them. If some installed packages are outdated, you can also upgrade them with one click.
When you click any toolpack, its README is shown in the center area.
Publish
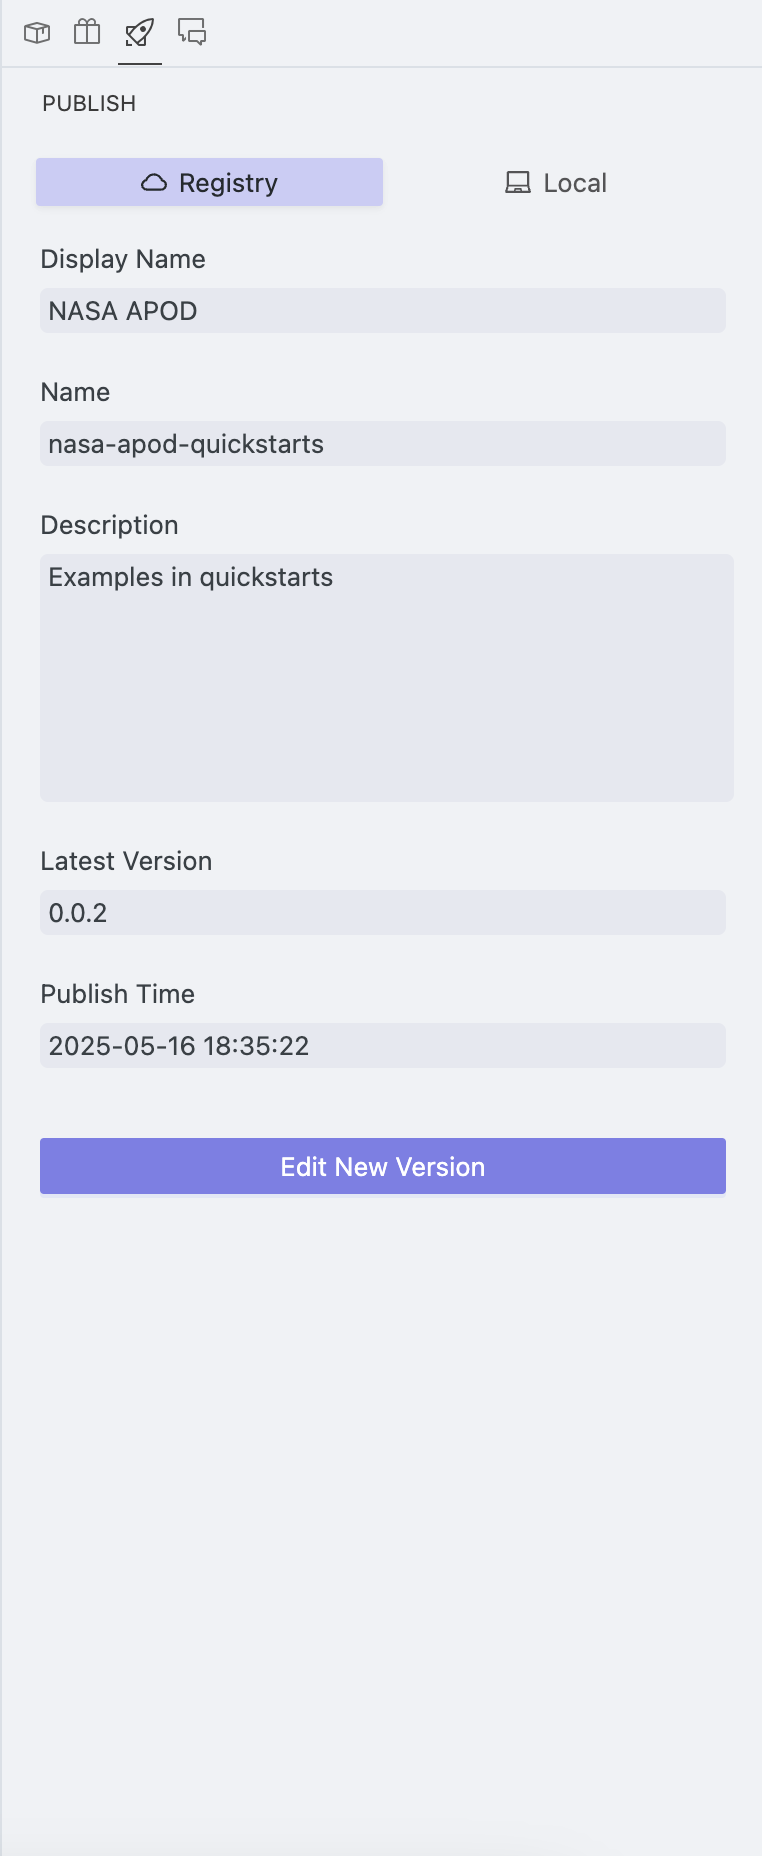
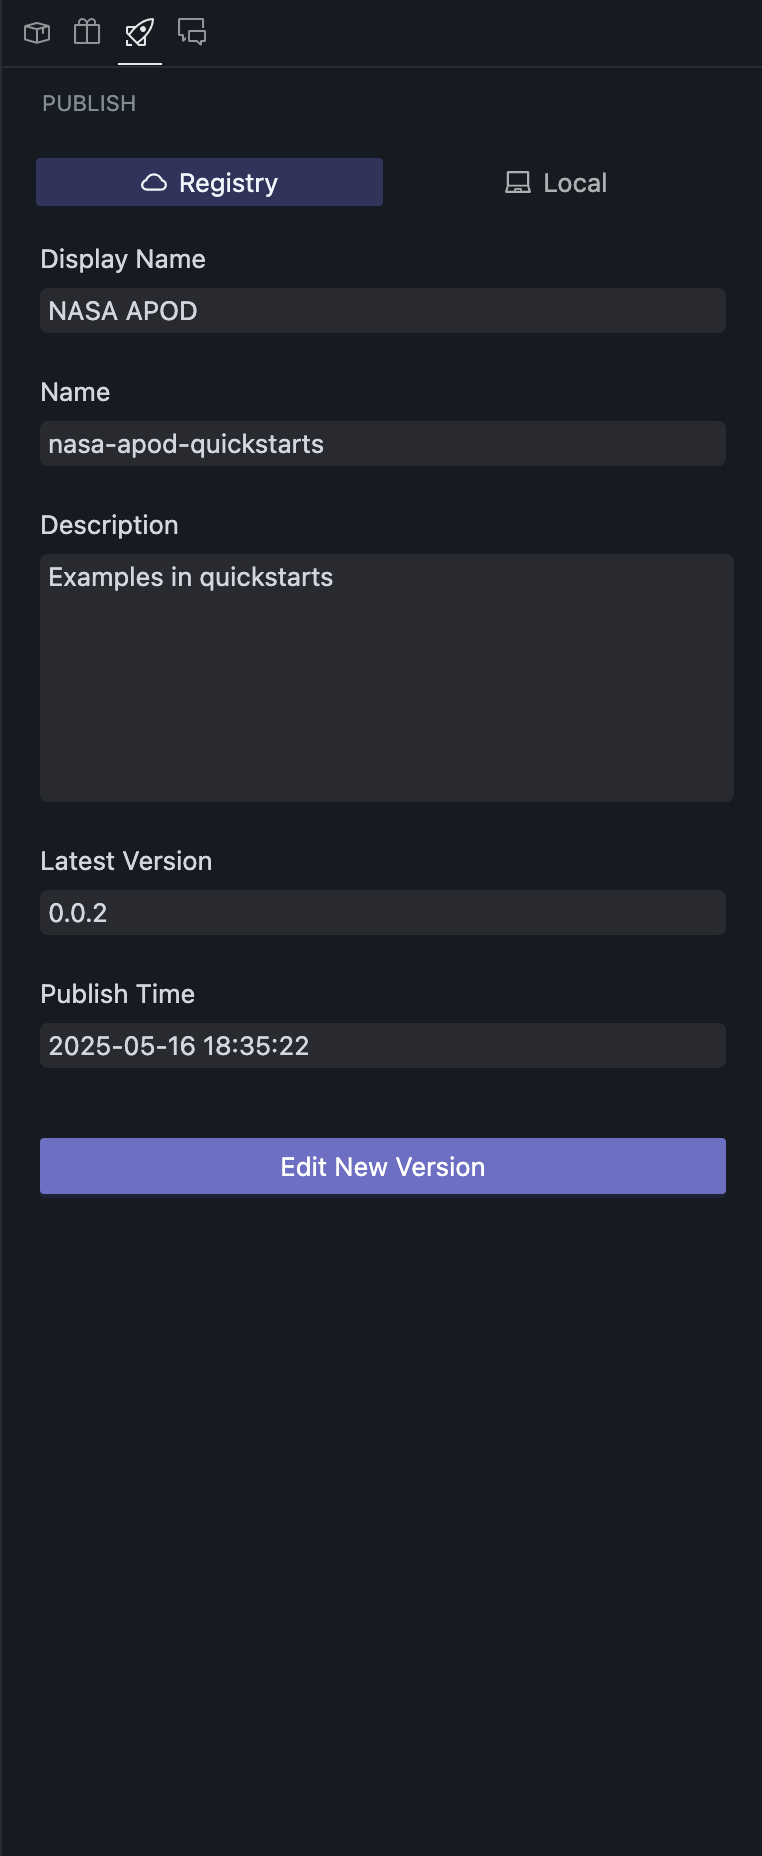
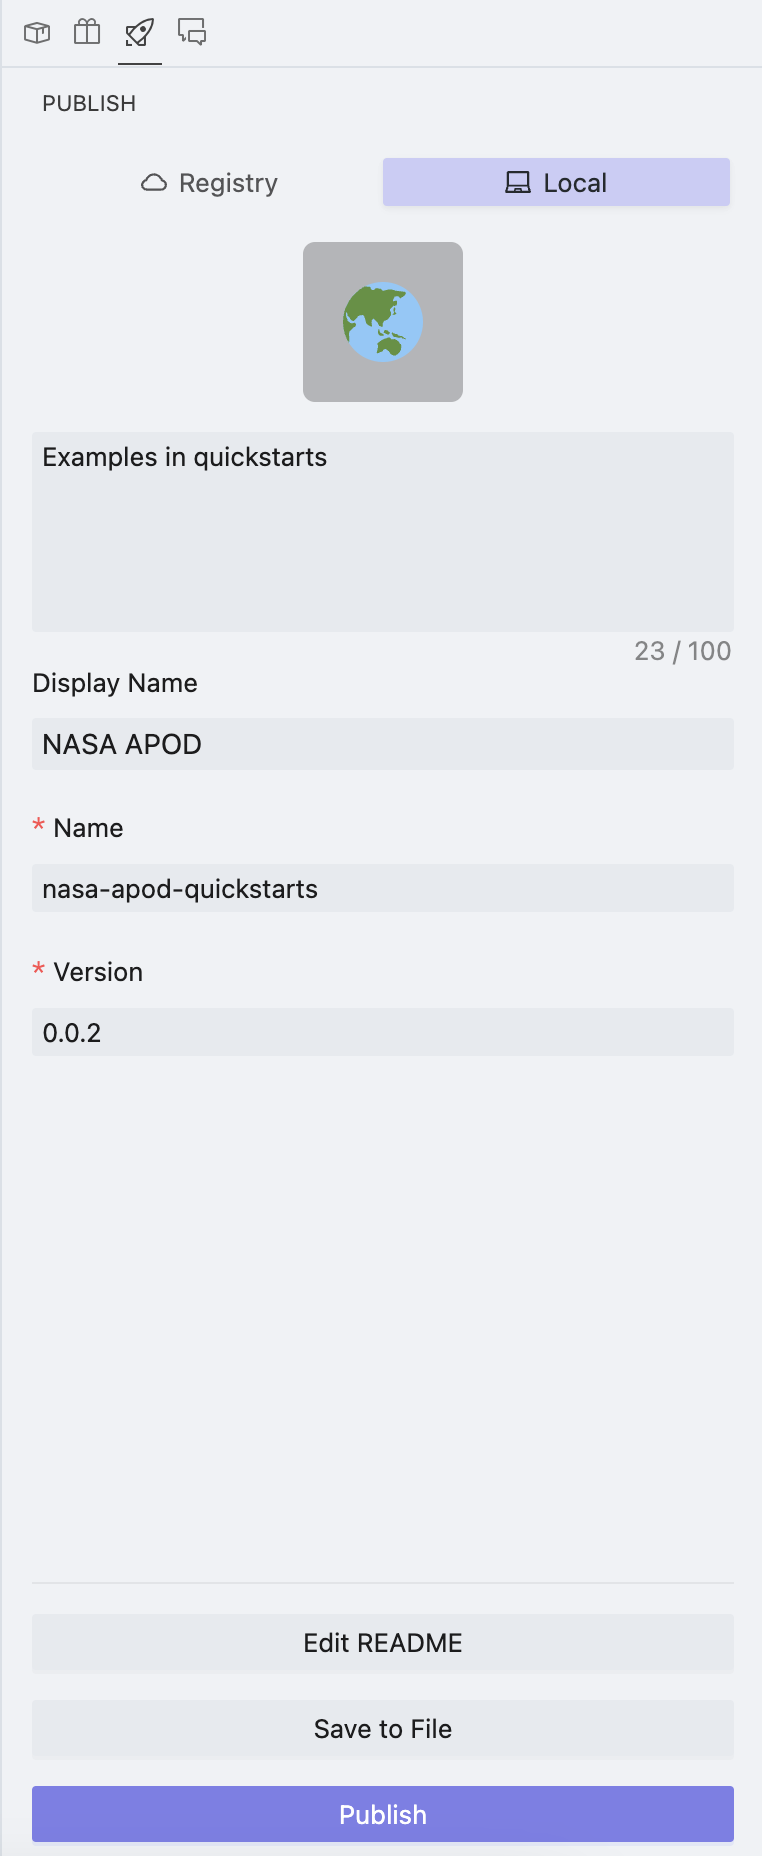
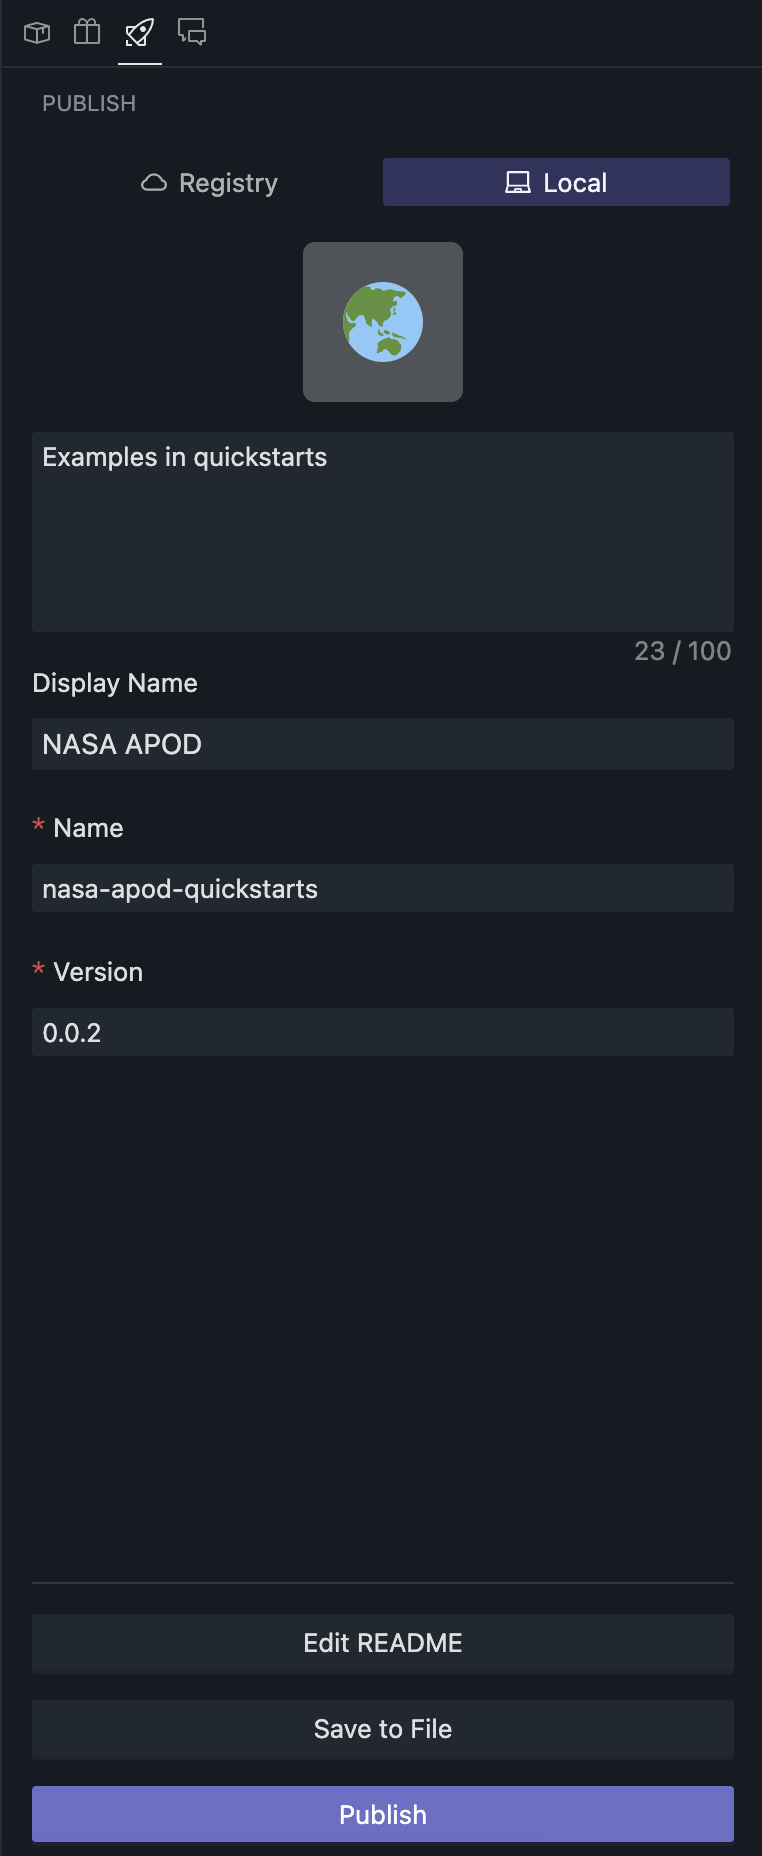
You can check the publishing status of the current project here and perform publishing or exporting operations.
When you click "Save as File," OOMOL Studio will save it as a .oomol file. You can share this file with others, and they can import the project using this file.
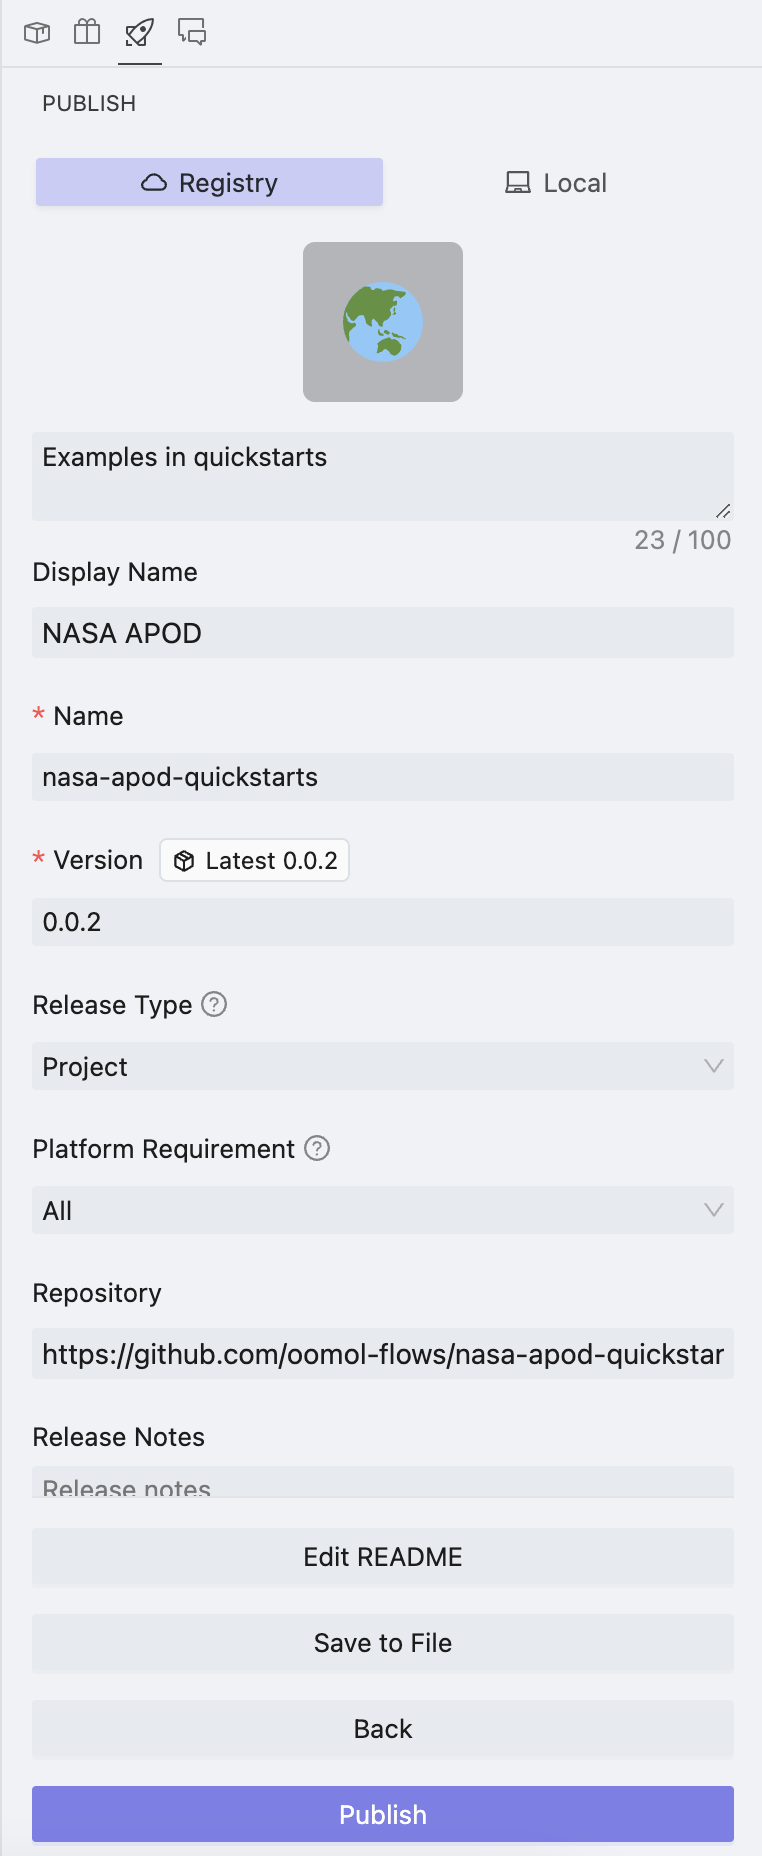
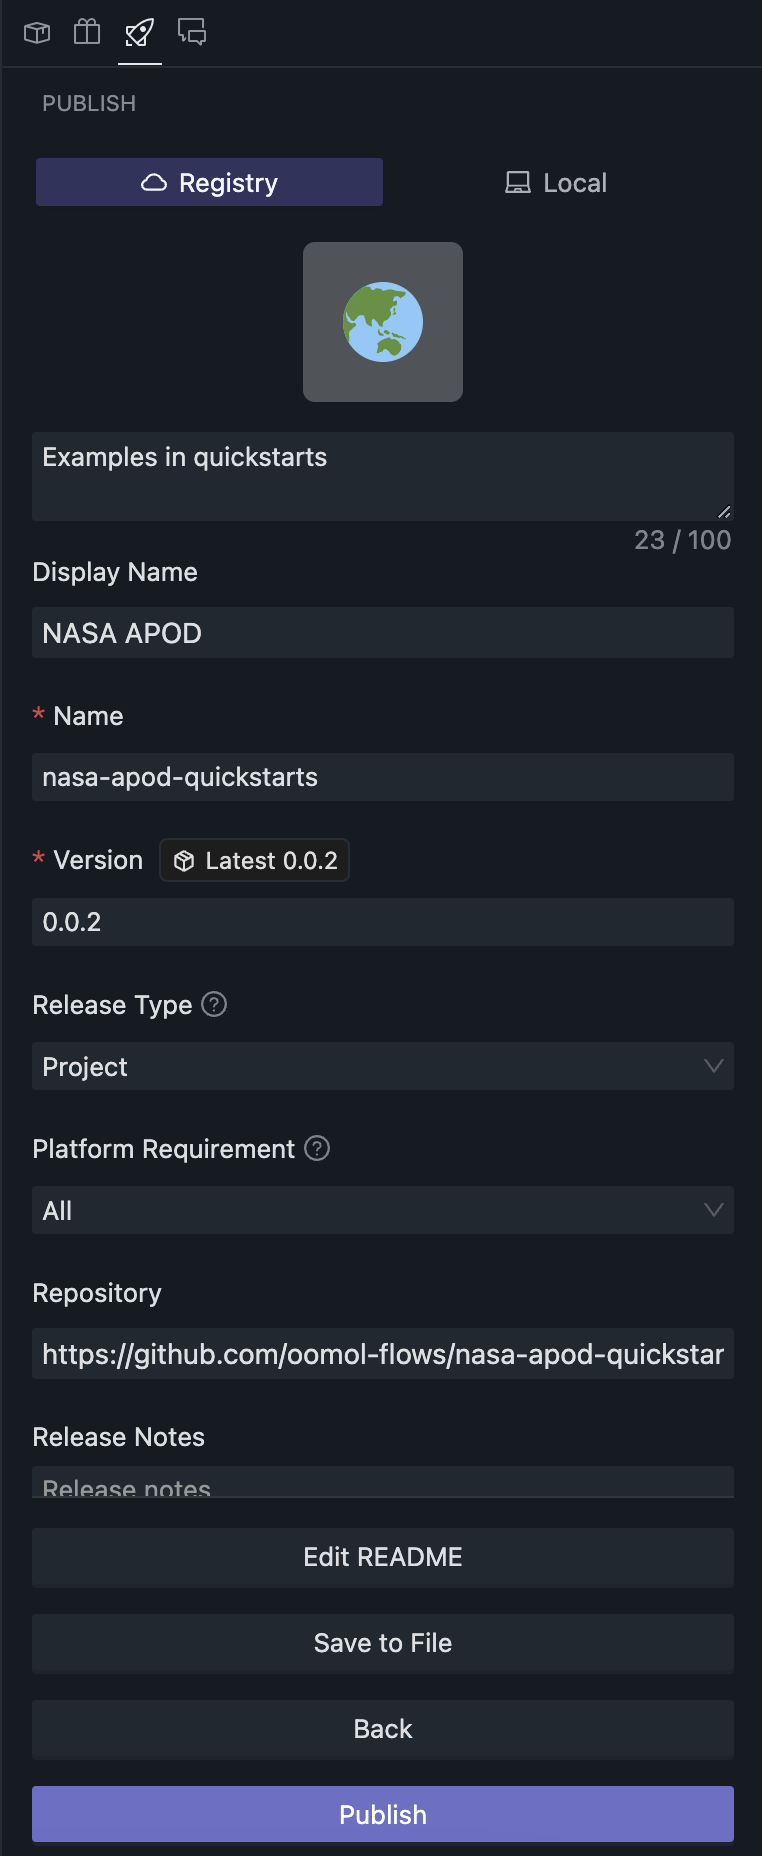
When preparing to publish to the OOMOL Store, you will see many fields to fill out, such as:
- Icon
- Description
- Display Name
- Toolpack Name
- Version
- Release Type
- The release types currently available are: All, Project, and Package.
- When released as All, it means that this project can be used both as a project and a toolpack.
- When released as Project, this project can only be used as a project.
- When released as Package, this project can only be used as a toolpack and not as a project.
- Platform Requirements
- Currently supported: All, macOS (arm64/x64), Windows (arm64/x64-Nvidia/x64-Unlimited)
- When released as All, it means this project/toolpack can be used on all platforms.
- When released as macOS (arm64/x64), this project/toolpack can only be used on specific architectures of macOS.
- When released as Windows (arm64/x64-Nvidia/x64-Unlimited), this project/toolpack can only be used on specific architectures of Windows or only on machines with Nvidia graphics cards.
- Repository
- Release Notes
Chat
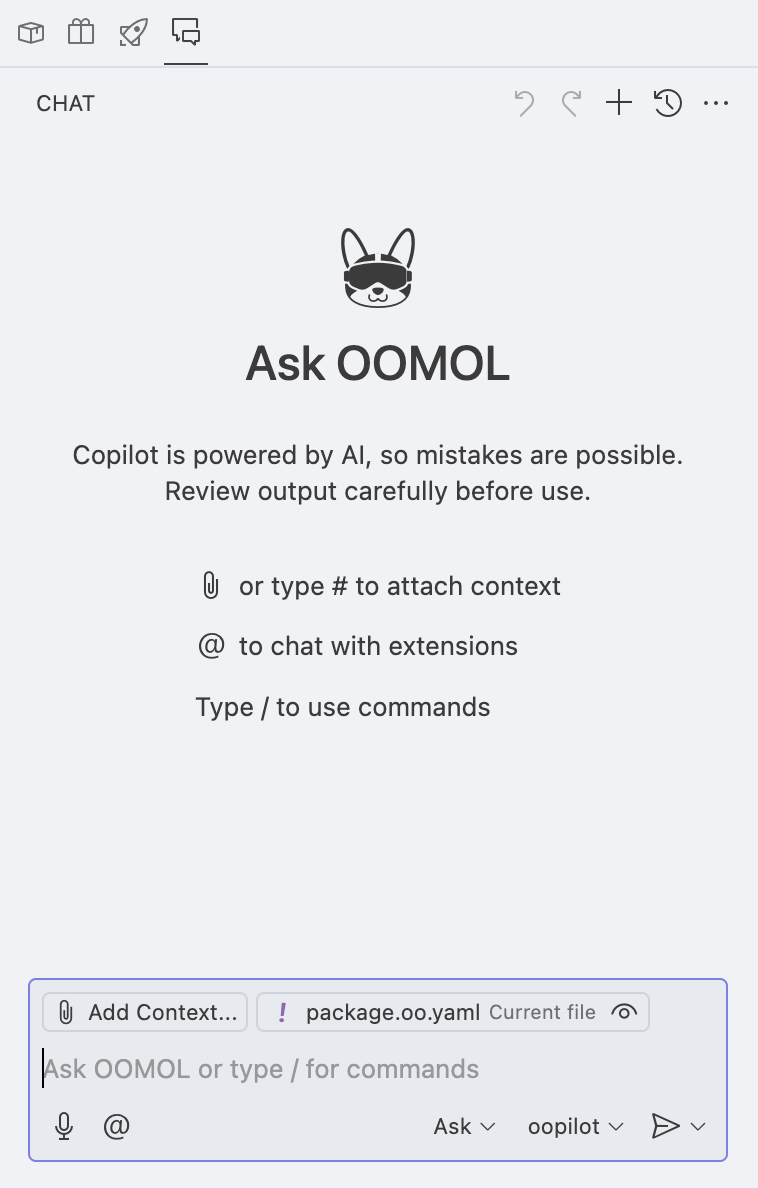
Here, you can use the AI assistant to complete various tasks. Currently, it supports the following models:
- Auto
- Automatically selects the best model
- Gemini2.5 Flash
- Qwen Plus
- Qwen2.5 Max
- Qwen3 235B