

 Leina
Leina  Wanta
Wanta Connector for SaaS guide
Connector for SaaS is an account-connection layer for SaaS products. Use it when each end user needs to connect their own Gmail, Slack, Notion, or other third-party account, and your backend needs to execute Connector actions after authorization. OOMOL Console manages Projects, provider configs, API keys, and connected accounts; your backend creates authorization links, handles callbacks, selects accounts, and starts action calls.
One complete integration has two parts: configure a project and service in OOMOL Console, then have your backend create authorization links, handle callbacks, select accounts, and execute actions.
Main topics:
- Which resources an administrator prepares in OOMOL Console.
- Which IDs and secrets your backend needs to store.
- What your frontend and backend do when an end user connects an account.
- How to select the connected account and execute an action.
- Which Console pages, statuses, logs, and usage views help with troubleshooting.
Integration model
A SaaS integration has a setup phase and a runtime phase.
Administrators complete the setup phase in OOMOL Console before the end-user flow. It prepares the Project, provider config, and backend API key, and records the IDs and secrets needed at runtime.
The runtime phase happens in your product backend. It represents your SaaS Project when creating account-authorization requests, reading request status, and executing actions. Runtime requests include the Project API key:
authorization: Bearer <project-api-key>The project API key stays on your backend. End users only use your product UI or open the OAuth authorization URL returned by Connector.
Data to store
A typical integration stores these values:
| Value | Where to store it | Why it matters |
|---|---|---|
projectId | Backend configuration or database | Identifies one SaaS project. |
providerConfigId | Backend configuration or database | Identifies a provider config inside the project. Runtime calls should prefer it. |
projectApiKey | Backend secret manager | Authenticates Connector runtime calls. The plaintext key is returned only once. |
userId | Your product database | Your product’s end-user ID. Connector stores it as externalUserId. |
connectedAccountId or alias | Your product database | Selects the end user’s connected account when executing actions. |
If your users can connect multiple Gmail accounts, store each account’s connectedAccountId or alias so runtime calls do not depend on the default “latest account” selection.
Step 1: Create a project
A project is the isolation boundary for a SaaS integration. It isolates provider configs, API keys, connected accounts, execution logs, and usage.
In OOMOL Console:
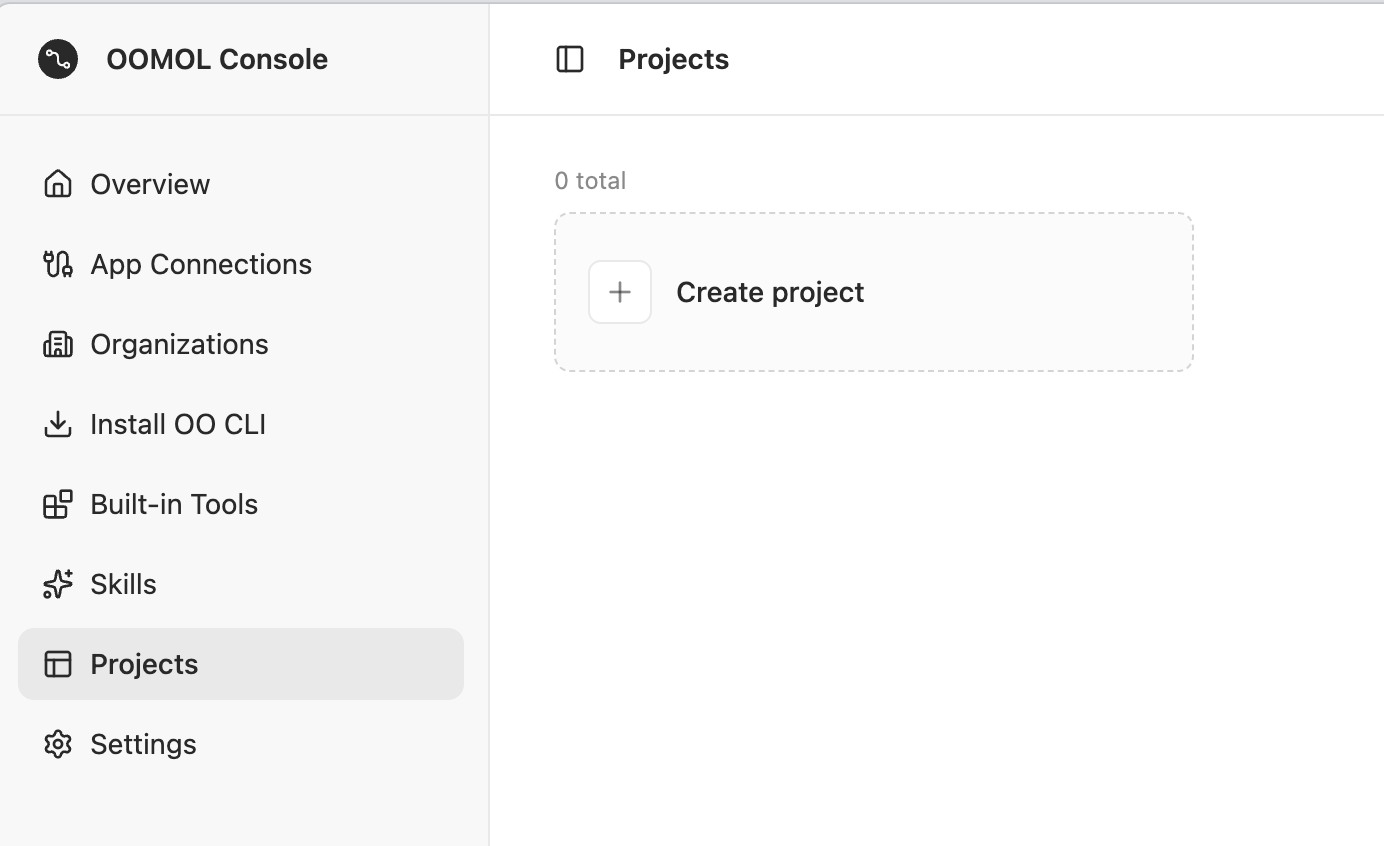
- Open Projects from the left sidebar.
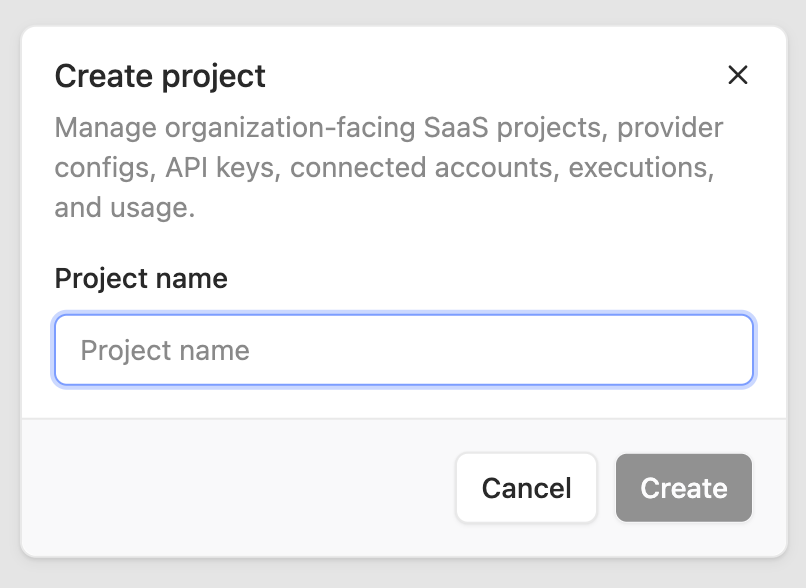
- Click Create project.
- Fill in the project name.
- After creation, open the project and store the project ID as
PROJECT_ID.
The project page has entries such as Provider configs, API Keys, Connected accounts, Execution logs, and Usage. The remaining setup happens inside this project.
The project name appears on the OAuth authorization entry page. Production integrations should use a product name end users can recognize, making the authorization target clear.
Step 2: Create a provider config
A provider config defines how this project connects to one Connector service. Runtime requests pass it as providerConfigId. For Gmail OAuth:

- Open Provider configs from the project sidebar.
- Click Create provider config.
- Select or fill in these fields.
- Click Create.
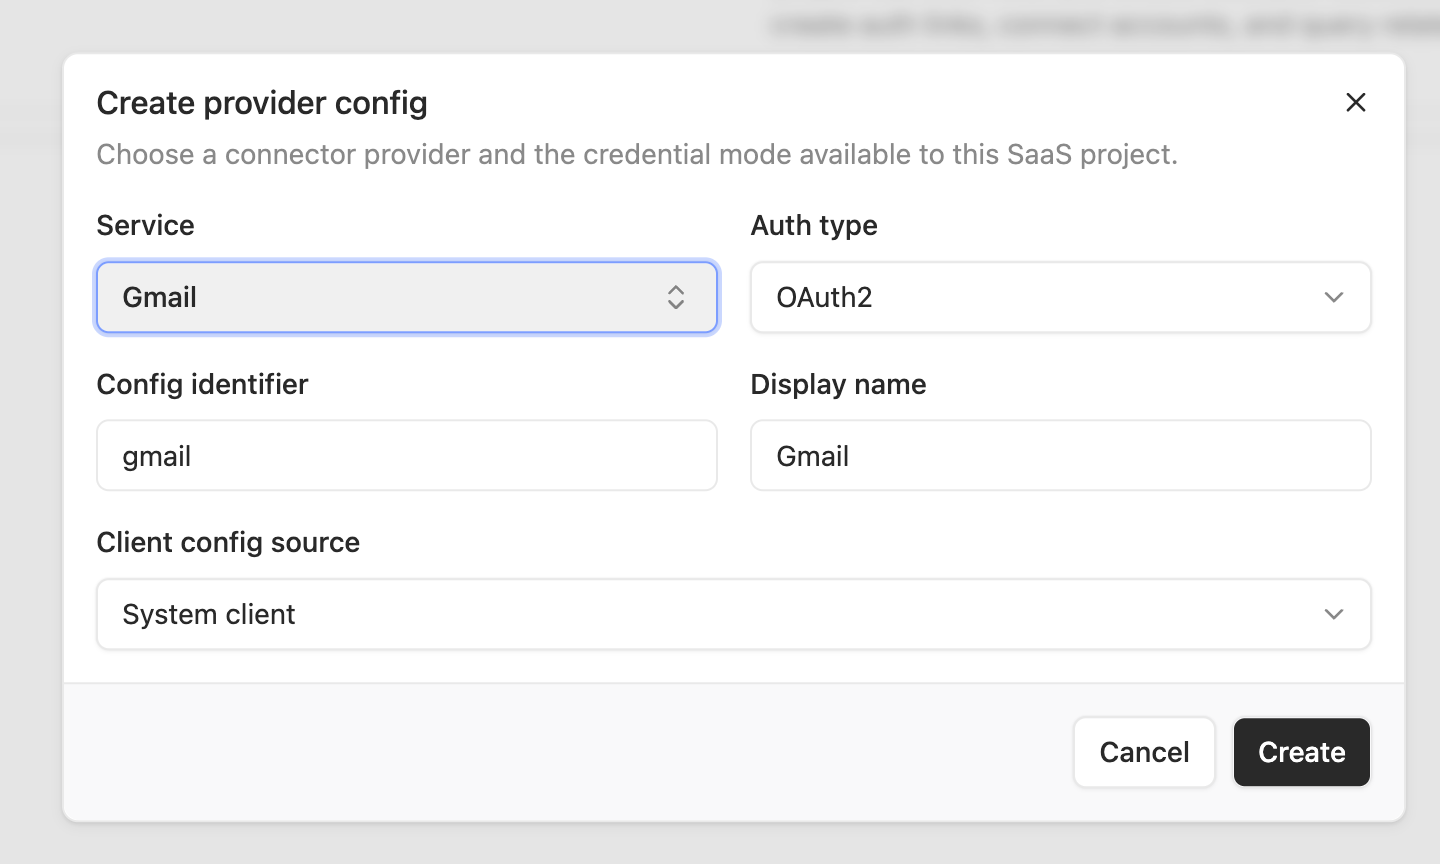
| Field | Gmail example | Notes |
|---|---|---|
| Service | Gmail | The Connector service to connect. |
| Auth type | OAuth2 | Gmail uses OAuth2 authorization. |
| Config slug | gmail | The readable identifier your backend uses for this config. When the same project has multiple configs for one service, use names such as gmail-work or gmail-personal. |
| Display name | Gmail | The name shown to end users on the authorization entry page. |
| Client config source | System Client | Uses the OAuth client provided by OOMOL. |
After creation, store the provider config ID as PROVIDER_CONFIG_ID. Your backend should pass it explicitly when creating authorization links and executing actions.
When each SaaS project uses its own OAuth client, change Client config source to a custom client and provide the matching clientId and clientSecret.
With a custom OAuth client, configure the Connector callback URL in the provider console. OOMOL Console or your deployment configuration provides this administrator-facing URL.
For an API-key service, choose the matching API-key auth type. When an end user connects an account, your backend sends the user’s provider API key to Connector for storage.
Step 3: Create a project API key
Store the Project API key in backend secret storage and use it only from trusted server code.
In the project page:
- Open API Keys from the project sidebar.
- Click Create API Key.
- Fill in a key name. Use a name that makes rotation and troubleshooting easy, such as
production server keyorstaging server key. - Click Create.
- Copy the plaintext key from the one-time dialog and store it as
PROJECT_API_KEY.
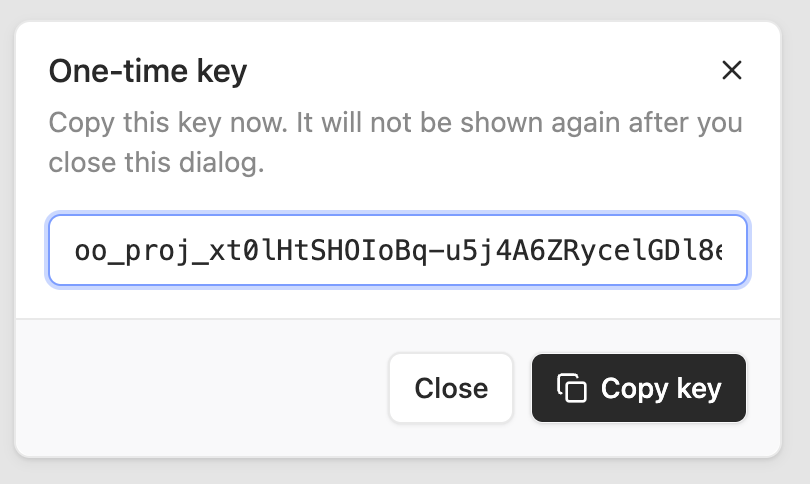
The plaintext key is returned only once. Later lists show only the key prefix, creation time, recent usage time, and similar metadata. If the key leaks, revoke it in Console and create a new one.
Step 4: Let the end user connect an account
Now move to the product runtime flow. Assume your product has a user with the ID customer-1, and they want to connect Gmail.
Your backend creates an OAuth authorization link:
CONNECTOR=https://connector.oomol.com
PROJECT_API_KEY=oo_proj_...

curl -sS -X POST "$CONNECTOR/v1/saas/connected-accounts/link" \
  -H "content-type: application/json" \
  -H "authorization: Bearer $PROJECT_API_KEY" \
  -d '{
    "providerConfigId": "pc-1",
    "userId": "customer-1",
    "alias": "work",
    "returnUri": "https://app.example/connector/callback"
  }'
The response contains data.id and data.authorizationUrl. Before redirecting the end user, store data.id in your trusted backend together with the expected Project, provider config, and product user. Then redirect the user to the Connector-owned data.authorizationUrl.
That page briefly shows the project display title, project icon, and provider config display name, then redirects to the real provider OAuth page. After the user authorizes, the provider calls back to Connector, and Connector redirects to the returnUri you provided.
On success, returnUri receives query parameters like:
status=success
service=gmail
providerConfigId=pc-1
externalUserId=customer-1
connectedAccountId=ca-1
Treat these query parameters as navigation feedback only. Do not use a browser-supplied connectedAccountId as the account binding. Query the saved connection request from your backend with the Project API key; the API path retains the connection-requests name:
curl -sS "$CONNECTOR/v1/saas/connection-requests/$REQUEST_ID" \
  -H "authorization: Bearer $PROJECT_API_KEY"
Persist the response’s data.connectedAccountId only when data.status is connected and its projectId, providerConfigId, and externalUserId match the values your backend stored for that request. Handle failed and expired as terminal states without creating an account binding.
If the user cancels or the provider returns an error, returnUri receives:
status=error
code=<connector-error-code>
message=<human-readable-message>
returnUri must use http or https. OAuth links expire after 10 minutes by default.
Step 5: Execute an action
After the account is connected, the backend can execute actions with the stored account selector.
curl -sS -X POST "$CONNECTOR/v1/saas/actions/gmail.send_email" \
  -H "content-type: application/json" \
  -H "authorization: Bearer $PROJECT_API_KEY" \
  -H "x-request-id: req-saas-action-1" \
  -d '{
    "providerConfigId": "pc-1",
    "userId": "customer-1",
    "connectedAccountId": "ca-1",
    "input": {
      "to": "someone@example.com",
      "subject": "Hello",
      "body": "Hello from My SaaS"
    }
  }'
Rules:
- Pass exactly one of
providerConfigIdorservice. Production integrations should preferproviderConfigId. - Pass at most one of
connectedAccountIdoralias. Production integrations should pass one of them explicitly. - If no account selector is present, Connector chooses the latest active connected account under the same
projectId + providerConfigId + userId. - The action ID service prefix must match the provider config service. For example,
gmail.send_emailmust use a Gmail provider config.
The success response includes executionId, actionId, and the action output. Store executionId in your own operation logs for support and troubleshooting.
Step 6: Manage user connections
Products usually need to show users which accounts they have connected. The recommended approach is to store connectedAccountId, alias, service, providerConfigId, and your own userId in your product database after a successful callback, then render the account list from that data.
To verify Connector-side state, use Connected accounts in OOMOL Console to view connected accounts under the current project.
The available field tells whether the account can currently execute actions. It is true only when the provider config is active, the connected account is active, the underlying app is active, and a credential exists.
If your product lets users rename accounts, update the display name in your product database first. When an administrator needs to verify Connector-side state, use Console to inspect the matching account.
When a user disconnects an account, have your product backend run the disconnect flow and update your product database. Administrators can use Console to verify whether the account is still available.
Disconnect keeps the connected account record but removes the underlying credential. Historical logs can still reference the account; future actions cannot use it.
Step 7: Troubleshoot and operate
When troubleshooting a user’s action, open Execution logs in OOMOL Console. Common filters include providerConfigId, userId, appId, status=success|error, and action.
When troubleshooting, narrow the view by service or provider config first. If your operation logs store executionId, use it to connect one product-side operation with the Connector-side log.
For operations, use Usage to review daily usage trends and usage grouped by service. Common windows are 7, 30, or 90 days.
days supports only 7, 30, or 90.
What your backend calls at runtime
For the Gmail OAuth flow in this guide, the backend handles three jobs:
- Create an authorization link and send the user to the Connector authorization entry.
- Confirm the authorization request after callback, then store
connectedAccountId. - Execute actions with the stored account when the user triggers a product feature.
Prefer OOMOL Console for setup and operations such as creating projects, creating provider configs, creating project API keys, reviewing connected accounts, reading execution logs, and checking usage.
Troubleshooting
When account connection or action execution fails, check in this order:
- Confirm your backend is using the
PROJECT_API_KEYfor the current Project and keeps it in backend secret storage. - Confirm the request uses the
providerConfigIdfor the provider config you created. - Confirm each account for the same user has a unique
alias. - Open Connected accounts in Console and check whether the account is still available.
- Open Execution logs in Console and filter by provider config, user ID, or
executionId.